- Home
- Easy Beginner Knit Projects
Easy Knitting Projects for Beginners
Easy Knitting Projects for Beginners by Janice Jones
If you're a beginner knitter, you may be feeling overwhelmed with all the potential projects out there. You may be wondering how to choose a project that is simple enough for you to handle.
Don't worry! Choosing the right pattern for your first knitting project doesn't have to be complicated. With a few tips and some patience, you can find a pattern that is both simple and enjoyable.
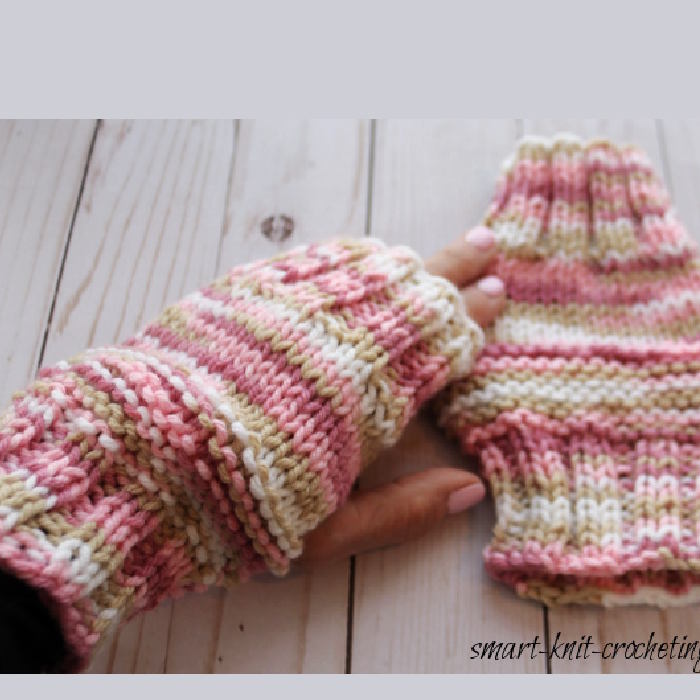
1. Free Knit Fingerless Gloves
This project requires you to knit and purl, understand casting on and binding off, seaming, and working in rib and stockinette stitch.
Get your Free Knit Fingerless Gloves Pattern
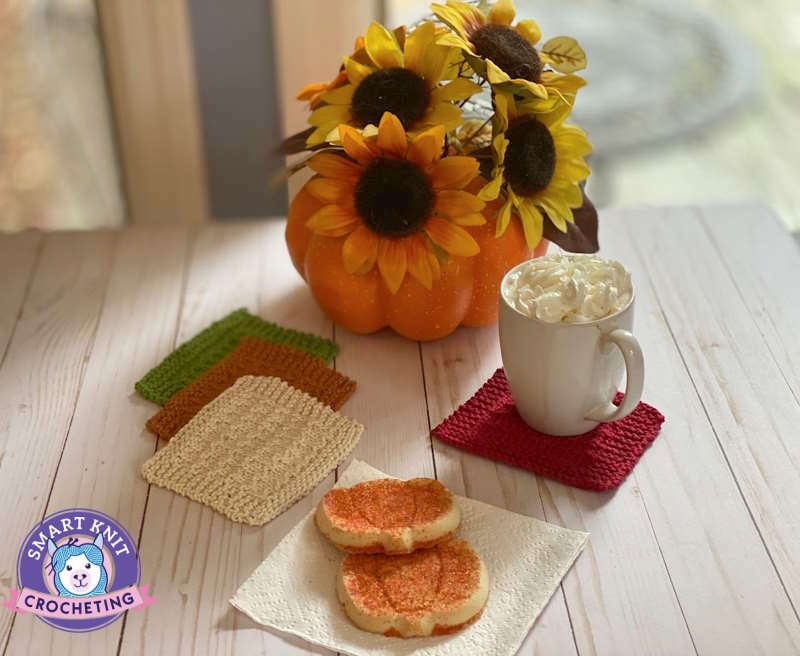
2. Free Fleck Stitch Coaster Set
Whether you're just getting started with knitting or need a last minute hostess gift, these coasters can be personalized just by changing the color, or by adding a fringe making them cute little mug rugs.
Get your free Knitted Fleck Stitch Coaster Pattern
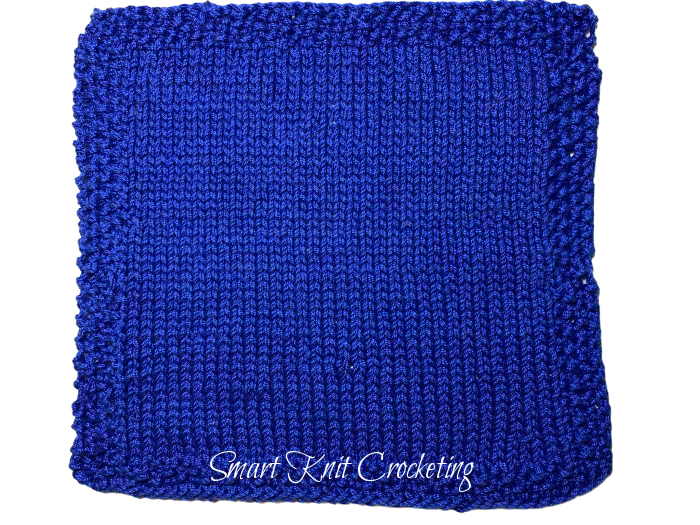
3. Free Stockinette Stitch Dishcloth
Perfect your stockinette stitch including improving your tension by making this super easy dishcloth project.
Get your free Stockinette Stitch Dishcloth Pattern
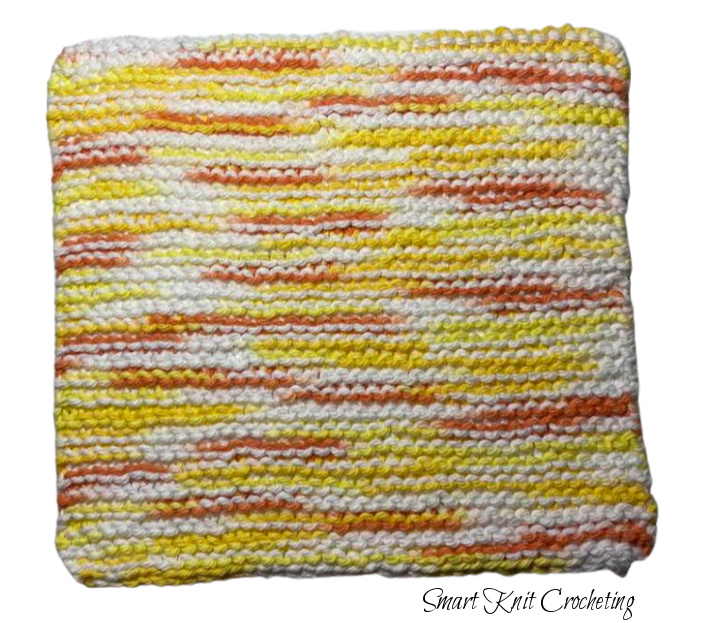
4. Free Garter Stitch Dishcloths
There are several different garter stitch dishcloths on this page and anyone of them will challenge your skills. Start with the basic garter stitch cloth that only requires you to know the knit stitch and then work up to one that is a bit more advanced.
Get all four free Garter Stitch Dishcloths
5. Free Seed Stitch Knit Scarf
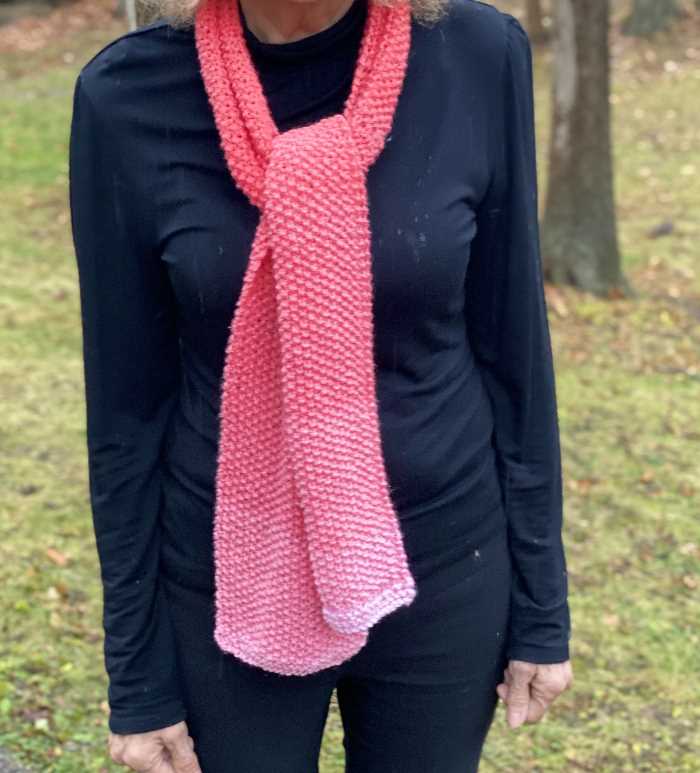
This project might be on the borderline between basic and easy based on the definitions above, but it's well worth checking out. In the article about How Long Does it Take to Knit a Scarf, I explain how to judge the time it will take you to make a project and then challenge you to make a scarf using the seed stitch.
If you'd like more information about creating your own scarf (how long it should be, how many stitches to cast on, what type of yarn to use, check out How to Knit a Scarf.
6. Easy Knit Dishcloth Patterns
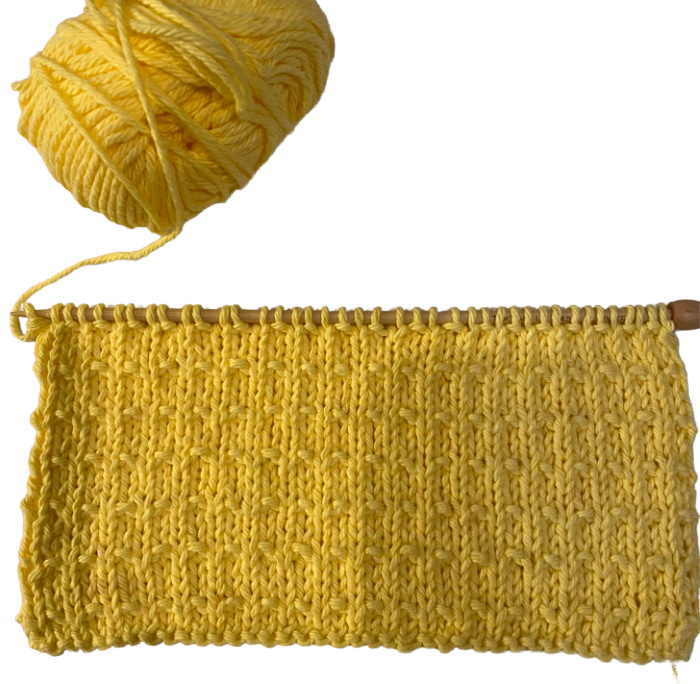
I mentioned a couple of dishcloth/facecloth patterns above, but the rest of the collection can be found on this page. They all are easy but some require a bit more knowledge of stitch patterns such as the hurdle stitch, basketweave, and Andalusian stitch.
15 Free Easy Knit Dishcloth Patterns
7. Easy Knit Scarf
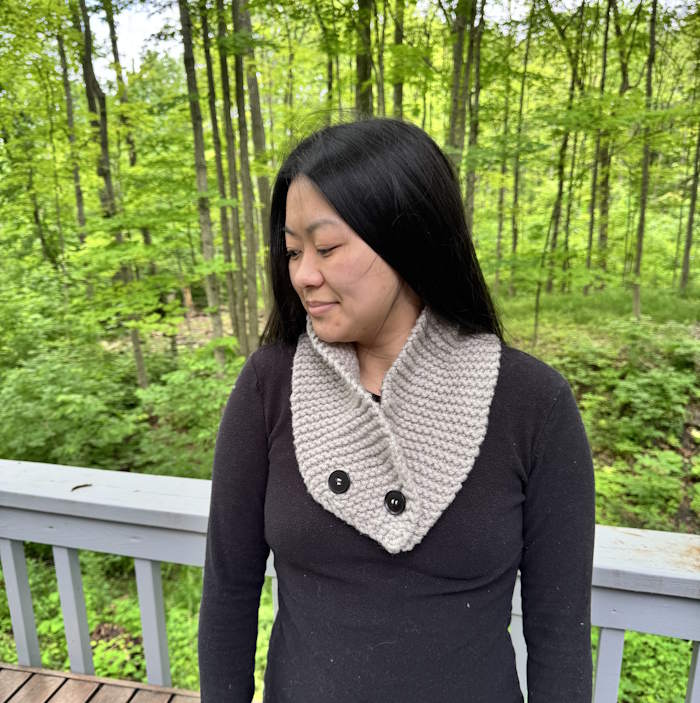
Scarves are definitely beginner friendly, but only for the beginner with some patience as they do take time to knit. Just how long it takes to knit a scarf depends on a number of factors.
8. Free Dog Sweaters Patterns to Knit
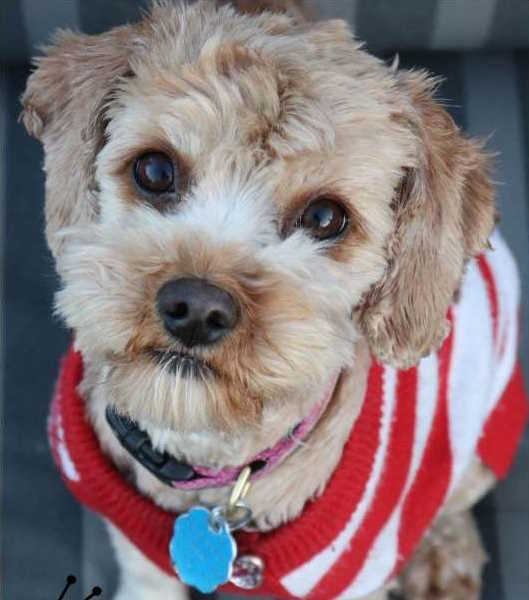 Free knit dog sweater patterns are ready to download.
Ready to try your skills out on your dog? Here are 6 patterns that are free and ready to download.
Check out these Beginner Friendly Dog Sweaters to Knit
9. Beannie Knit Hat Pattern
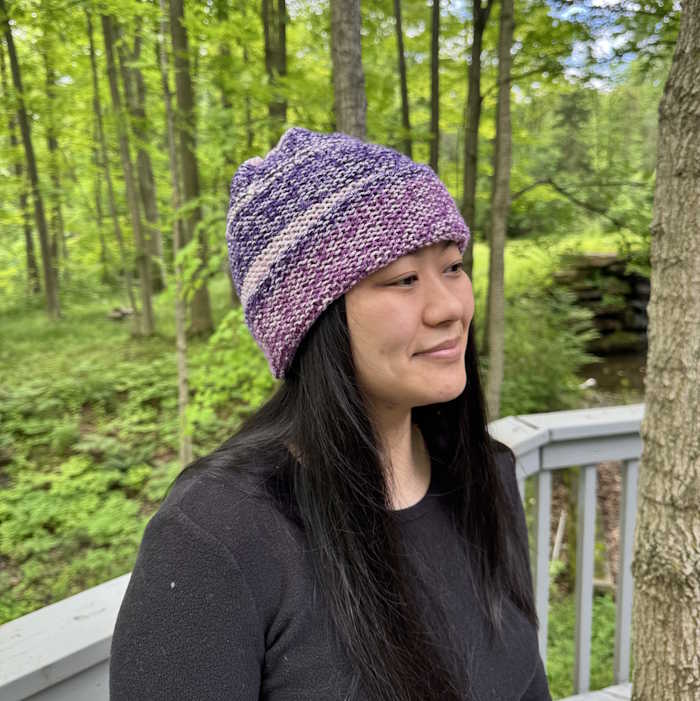
This is an incredibly easy hat knitting pattern. In fact it is so fast and easy that you’ll want to make more than one.
Simple, easy to knit with just one stitch, this can get you started with a quick project - make several for gifts, or even to donate.
10. Knitting Blankets for Beginners
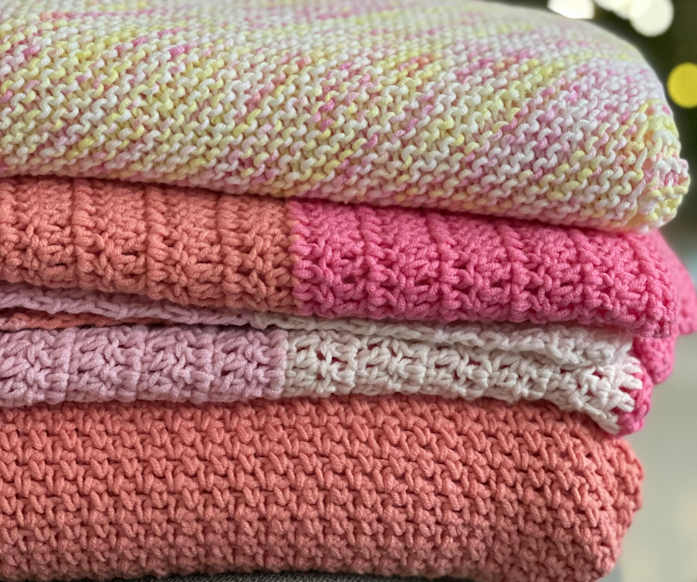
If you have never knitted a blanket, you will want to check out this comprehensive article providing you with step-by-step instructions for making your very first blanket. This article covers topics such as selecting knitting needles and yarn, determining a stitch pattern, creating a gauge swatch, and determining the appropriate blanket size.
Knitting Blankets for Beginners
What Supplies Do I Need to Get Started?
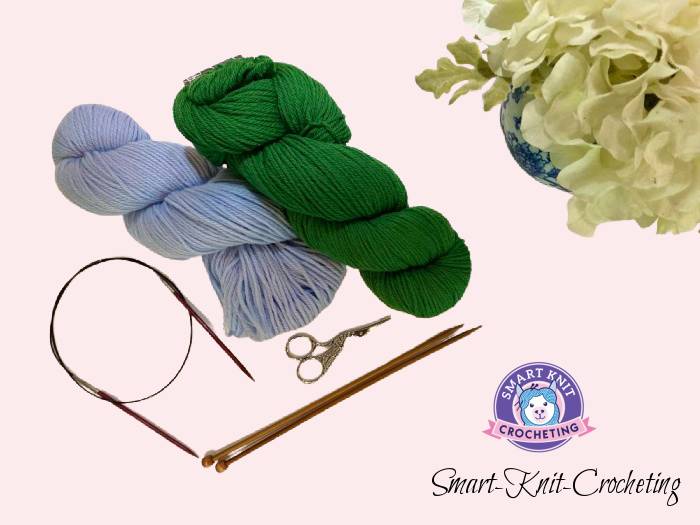
Before you can start knitting, you'll need some basic supplies. The three essential items you'll need are a pair of knitting needles, some yarn, and a pattern.
When it comes to needles, you'll want to choose a size that is appropriate for your yarn. The size of the needle will depend on the type of yarn you're using.
Thicker yarns will require larger needles, while thinner yarns will require smaller needles. Once you have the right size needles, you'll be ready to select your yarn.
When selecting your yarn, you'll want to make sure you choose one that is easy to work with. Natural fibers like wool, cotton, and alpaca are best for beginners, as they are easier to work with than synthetic fibers.
You'll also want to make sure you choose a yarn that is not too thick or too thin, as this can make knitting more difficult.
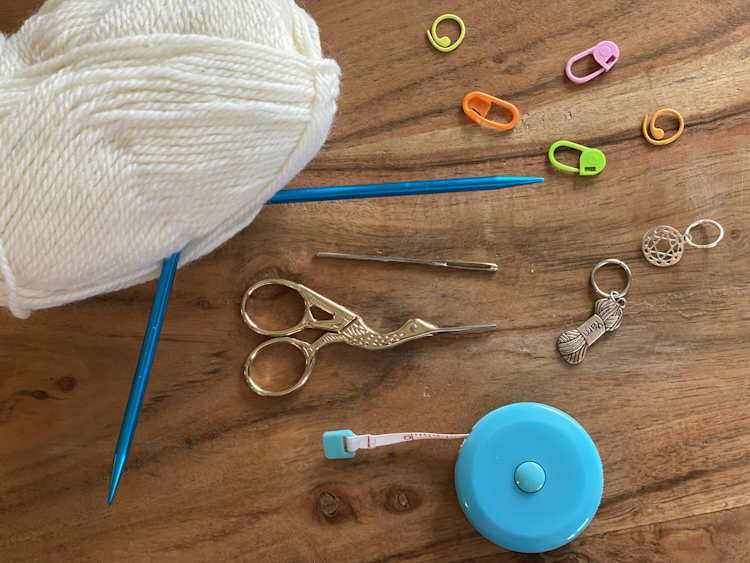
Once you have your needles and yarn, you'll need to find a pattern. Patterns are available for free online or for purchase in craft stores.
You can find both beginner and advanced patterns, so make sure you choose one that is suitable for your skill level.
- Yarn
- Needles (see below for the correct size)
- Scissors
- Yarn needle or tapestry needle
- Stitch markers
Project or Skill Levels
One thing that I found confusing was skill levels and what was needed to finish a project with a specific skill level.
The Craft Yarn Council has four skill levels with a short description of each.
- Basic
- Easy
- Intermediate
- Advanced
These project levels do not give you much information to go by so they are often interpreted differently by different designers. The following is my take on how to understand each level.
Skills Needed for Project Level Basic/Beginner
 May include basic increases and decreases.
- Understanding of how to knit and purl and create stockinette or garter stitch pattern
- How to cast on
- How to bind off
- How to weave in ends
- Simple increases like Knit front and back
- Simple decreases such as Knit 2 together
- Troubleshooting such as how to pick up a dropped stitch
- Projects would include working on straight needles
- Examples of projects: Simple scarves, cowls, washcloths, coasters, blankets
Skills Needed for Project Level Easy
 Projects may include simple stitch patterns, color work, and/or shaping.
All of the above, plus
- Blocking
- Seaming
- Working in the Round with circular needles or double pointed needles
- Understanding gauge
Skills Needed for Project Level Intermediate
 Projects may include involved stitch patterns, color work, and/or shaping.
All of the above, plus
- Color work such as Easy Intarsia, Fair Isle, Mosaic
- Cables
- Lace
- Different types of cast ons and bind offs
Skills Needed for Project Level Complex
 Projects may include complex stitch patterns, color work, and or/shaping using a variety of techniques and stitches simultaneously.
All of the above, plus
- Complex designs, shaping and fitting properly
- Complicated color work
- Brioche Knitting
- Entrelac Knitting
- Double Knitting
- Steeking
- Everything else
A Word to the Wise about Project Levels
If you are uncertain about where you are or have questions about a pattern, read it through thoroughly and see if you understand everything. If so, go ahead and make your project. If not, don't be afraid to ask the designer to clarify.
Tips for Choosing a Project
When selecting a project,
- What is your skill level?
- How much time you have to work on the project?
- How much of a challenge do you want?
- Can you understand the pattern instructions?
- Does the project appeal to you?
Tips for Making Your Project Easier
There are a few things you can do to make your project easier.
- First, you'll want to make sure you read the pattern carefully and understand all the instructions before you begin. You should also take your time and pay attention to each step. If you make a mistake, don't be afraid to rip out your stitches and start over.
- It can also be helpful to use stitch markers to keep track of where you are in the pattern. This will help you stay on track and keep your work organized.
- Don't be afraid to print out a pattern and scribble on it. Highlight anything such as sizes or row repeats. Add comments that will help you remember your place.
Conclusion
Knitting can be an incredibly rewarding hobby, but it can also be overwhelming for beginners. With a few simple tips, you can find a pattern that is both simple and enjoyable.
Start by selecting the right needles and yarn for your project and then choose a pattern that is suitable for your skill level.
With patience and practice, you'll be able to master the essential skills of knitting and create beautiful projects that you can be proud of.
