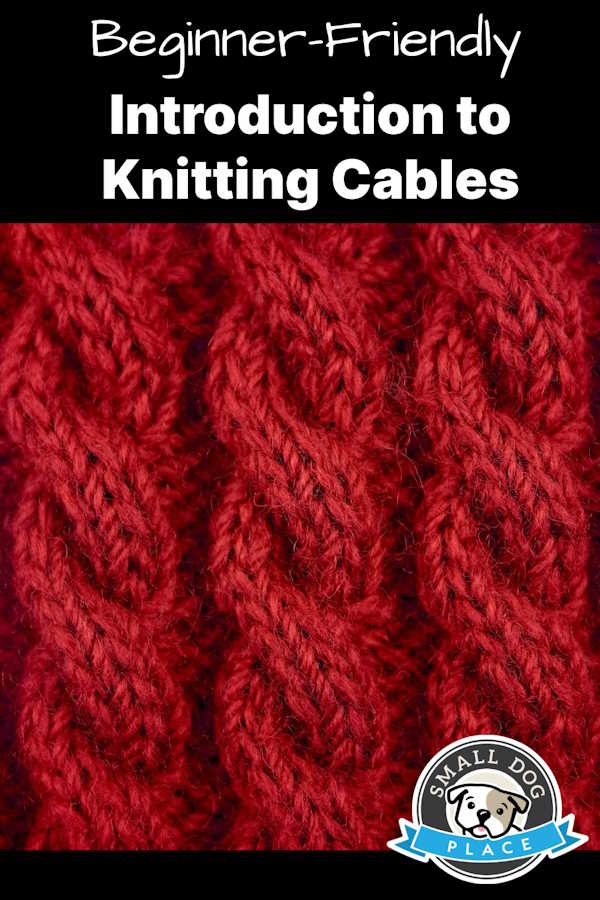
How to Knit a Cable: Beginner's Guide to Cable Stitches
Knit a Cable Rewritten by Janice Jones
Cables are actually easy to knit, but making them beautiful may take some practice. To knit a cable you will need to be able to do a couple of beginner friendly techniques:
- Know how to Knit and Purl Stitches
- Purchase a Cable Needle or use a Home Made Version
- Understand Tension
- Practice reading your knitting stitches and understanding patterns
- Practice, practice, practice
It sounds easy and after you get the hang of it, you might find this to be your favorite type of knitting.
Cable knitting is only about 100 years old. It originated in a group of islands in the Atlantic off the coast of Ireland, the Arans.
Known for fishing, these islanders were the first to develop the technique. Often called the "guernsey jumper" women first made them to keep fisherman warm in the northern Atlantic ocean. You might see them referred to as Aran Sweaters, Fishermen Sweaters, or just plain cable cardigans or sweaters.
How to Knit a Cable
There are many ways to create cables, but the basic premise is that stitches are knitted in a different order from how they appear on the knitting needle. A cable needle or third type of needle is used to hold a few stitches while the next group of stitches are knit and finally the stitches on the cable are worked.
Cable stitches are usually worked in a stockinette stitch that has reverse stockinette (purl) stitches on either side of the cable. But other patterns can be used include garter stitch or seed stitch.
The fabric that is created with a cable stitch is dense and less flexible than other types of knitted fabrics, and the gauge is narrower than typical for stockinette, reverse stockinette, or garter stitches.
By crossing a set number of stitches over other stitches you can produce a variety of different textures including twists, rope like fabric, cables and braids.
Specifics of How to Knit a Cable in a Nutshell
- Most cables are worked by transferring a set number of stitches temporarily onto a cable needle. The cable needle is either held in front or in back of the fabric depending on what the instructions tell you to do.
- You would next knit a certain number of stitches (depending on the pattern) on the regular needles.
- Finally, you work those stitches on the cable needle. This change in the order of knitting stitches creates a twist or cable in the fabric.
- The pattern will tell you how often to make a cable twist, usually after a set number of rows that are worked traditionally.
Knit a Cable: Where are Cables Found
People first think that knitted cables are only used for sweaters, cardigans and pullovers, but they are found in patterns for a wide variety of projects:
Mittens, gloves, hats, scarves, socks, and housewares are only a few of the many places to see cables in practice.
You Can Change the Way a Cable Looks
- Change the number of stitches in a strand making wider or narrower cables
- Hold the Cable Needle in the front or back
- Change the number of rows knitted between crossings. It will make sections of your cable between crossing either shorter on longer
Unless you are the designer, it's best to follow the directions in the pattern you are using.
There are Two Ways to Make a Cable Twist
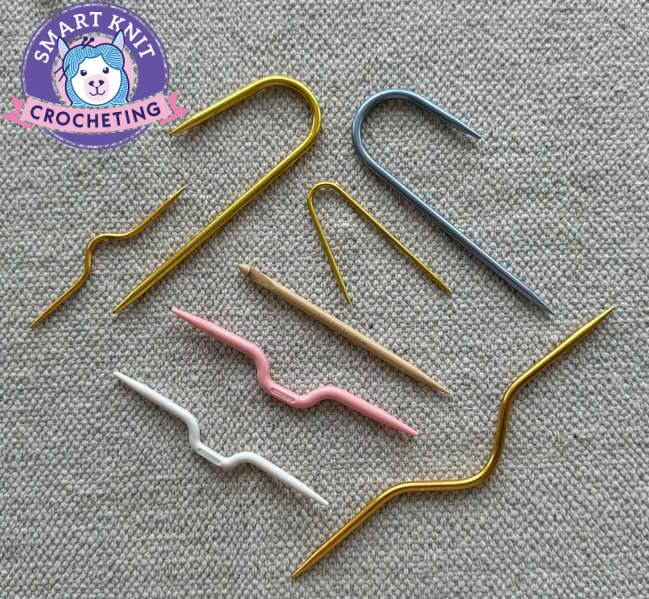
- With a cable needle: It can be a
specially shaped cable needle, a double-pointed needle or just a
large safety pin.
- Without the aid of the additional needle. Cable knitting without an extra needle. Many people prefer this method but for beginners, a cable needle is a welcome addition.
If you are a visual learner, the videos presented here will be the best help for you to be prepared for mastering any pattern designed of braids and cables. Let's watch and follow tutorials.
To knit a cable with the Aid of the Cable Needle
Without the Aid of the Cable Needle
Left-handed knitting. Left-crossing cables.
Left-handed knitting. Right-crossing cables.
What Abbreviations are Used When You Knit a Cable?
Just like any other type of knitting pattern, there are some common abbreviations that are used so that the designer does not need to spell out the entire instructions word for word.
Cable instructions can be very confusing because there are more than one way to describe a step.
LC: Left Cross
RC: Right Cross
CN: Cable Needle
C4F: (Cable Four Front) Means there are four stitches involved with the cable, two on the cable needle and two on the regular needle and you hold the cable needle in the front.
Normally easy cables are made with an even number. When the needle is held in the front, the cable looks like it is twisting to the left so you might also see the exact same procedure notated as C4L, where L refers to left. C4F and C4L mean the same thing.
C4B: (Cable Four Back): There are four stitches involved in the cable, so two would be placed on the cable needle and two would be worked from the regular needle. The cable needle is held in back. Cables that are held in the back of the fabric will look like they lean to the right, so you might see C4B written as C4R. Both mean the same thing.
2/2 LC: Still another way you might see C4F written. This means that you are to slip 2 stitches onto the cable needle and hold in front. Knit the next two stitches on the needle and then finally knit the 2 stitches on the cable needle.
2/2 RC: Another way to write C4B. In this case you slip 2 stitches onto the cable needle and hold in the back. Knit the next two stitches on the regular needle and then finally knit the two stitches on the cable needle.
As you can see this gets confusing. Excellent designers will include their abbreviations within the pattern so you will know what to do.
Cr4L: Odd Cross 4 Left: In this case, you would slip 1 stitch onto the cable needle and hold in front. Next knit 3 from the regular needle and then knit the stitch on the cable needle.
Cr4R: Odd Cross 4 Right: Slip 3 stitches onto the cable needle and hold in back of fabric. Knit one from the regular needle, then knit three from the cable needle.
Tw3B: Purl Twist 3 Back: Slip one stitch onto the cable needle and hold in back of work. Next, knit two stitches from the regular needle, and then finally purl one from the cable needle.
Tw3F: Purl Twist 3 Front: Slip two stitches onto the cable needle and hold in front of your work. Purl one stitch from regular needle, and then knit two stitches from the cable needle.
T8B rib: Twist 8 Back Rib: The T stands for twist and the B stands for Back. For this one you would slip four stitches onto the cable needle and hold in back of work. Next, K1, P2, K1 from regular needle, and then K1, P2, K1 from the cable needle.
T6L (twist 6 left): T stands for Twist and L stands for left. Remember if you see L or Left you will be holding the cable in the front of your work. First, slip 4 stitches onto the cable needle and hold in front of your work. Next, knit two stitches. Slip 2 purl stitches from the cable needle onto the regular needle and purl them. Finally knit two stitches from the cable needle.
As you can see, these abbreviations represent a progression from easier to more challenging cable patterns. The last few are beyond the realm of beginner knitting.
The Many Cable Stitches
There are so many different types of cable stitches that I could make an entire website on how to make the different cable stitches. There have been books written on this very subject.
If you would like to practice making cables before you tackle your first cable sweater, may I suggest you use the instructions below and incorporate them into a scarf or headband. Both are fast and easy and you can get very proficient at cables in no time.
Alternately, if you have a pattern or project in mind that uses cable stitches, it is always a good idea to make a swatch first to be sure you understand the directions. This goes for projects where gauge is not so important such as a scarf as well as where gauge is critical.
Examples of How to Knit a Cable
Knit a Cable: Single Cross
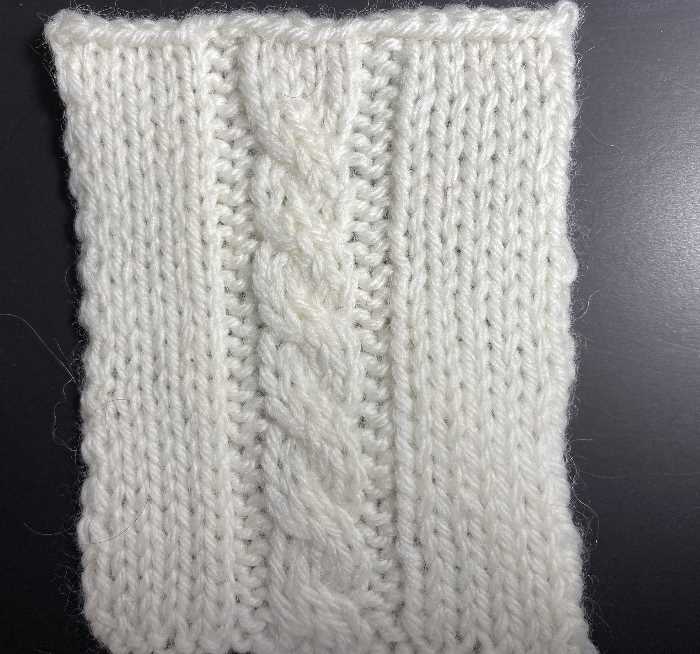
Single Cross: (multiples of 2)
Row 2 (WS): P6, k2, p4, k2, p6.
Row 3: K6, p2, 2/2 LC, p2, k6.
Row 4: Repeat Row 2.
Repeat Rows 1–4 until piece measures your desired length
Knit a Cable: Horseshoe Cable
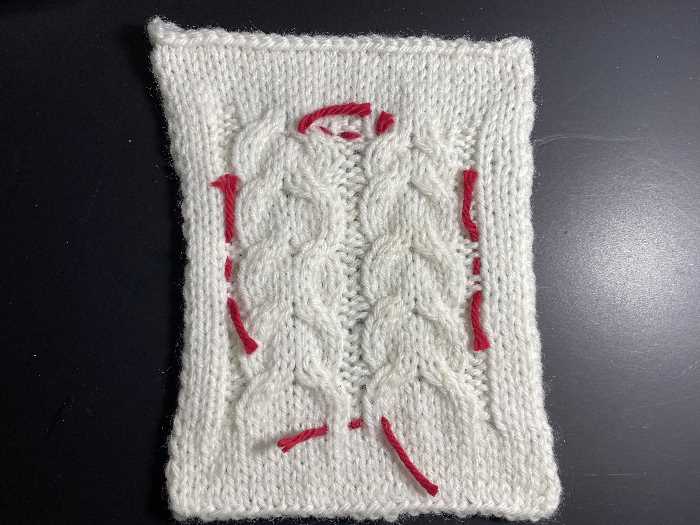
Horseshoe Cable (multiple of 10 sts + 2)
Rows 1 and 3 (RS): P2, *k8, p2; rep from *.
Rows 2 and 4 (WS): *K2, p8; rep from *, end k2.
Row 5: P2, *2/2 LC, 2/2 RC, p2; rep from *.
Row 6: Repeat Row 2.
Repeat Rows 1–6 until the cable portion reaches your desired length.
Knit a Cable: Uneven Rope Cable
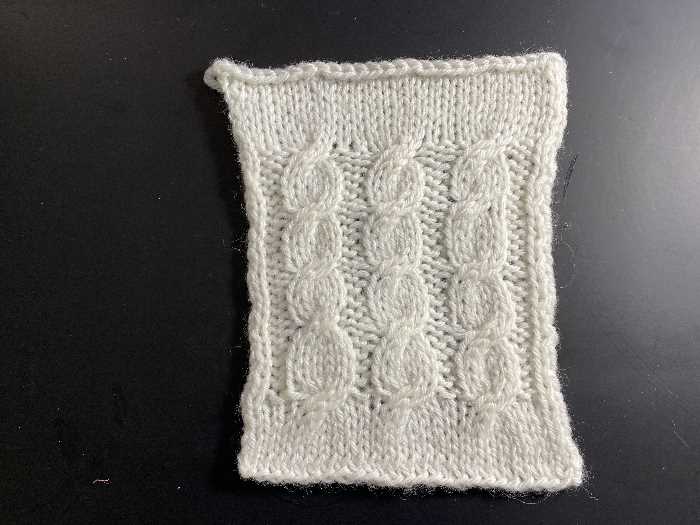
Uneven Rope Cable (multiple of 7 sts + 2)
Row 1 (RS): *P2, 3/2 RC; rep from *, end p2.
Rows 2 & 4 (WS): K2, *p5, k2; rep from *.
Rows 3 & 5: *P2, k5; rep from *, end p2.
Row 6: Repeat Row 2.
Repeat Rows 1–6 for pattern.
Knit a Cable: OXOX Cable
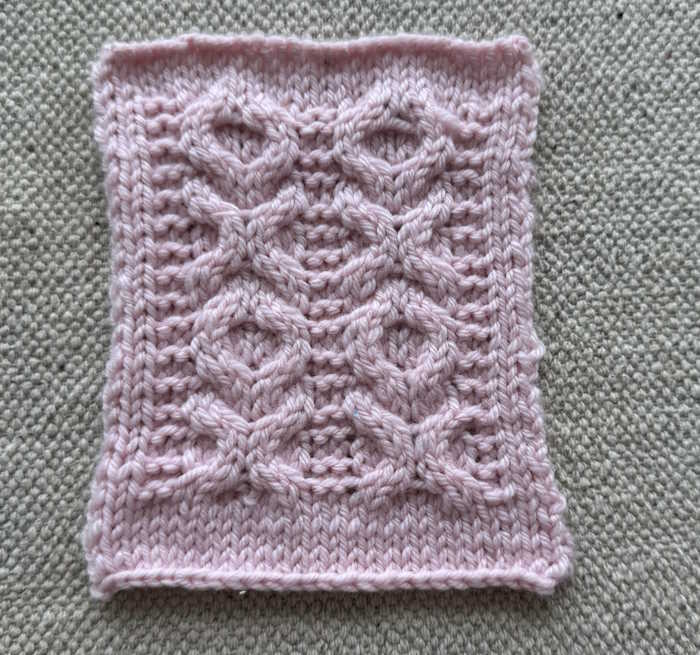
OXOX cable pattern is worked multiples of 12 stitches
Rows 1, 5, 9, & 13 (RS): K3, p2, *k8, p2; rep from * once more, ending, k3.
Row 2 and all WS rows: Purl.
Row 3: K3, p2, (C4B, C4F, p2) twice, end K3.
Rows 7 & 11: K3, p2, *C4F, C4B, p2; rep from * to last 3 sts, k3.
Row 15: K3, p2 (C4B, C4F, p2) twice, end k3.
Row 16: Purl.
Repeat rows 1 -16 for the length you desire.
Final Words
There is so much information about cables and how to knit a cable, that it is impossible to cover it all in this article. The article does however, give you an overview about cables and how to knit them. In future articles, I will be covering individual cable patterns and more specific instructions on knitting them.
