- Home
- Herringbone Half Double Crochet
Herringbone Half Double Crochet Stitch: Tutorial and Free iPhone Case
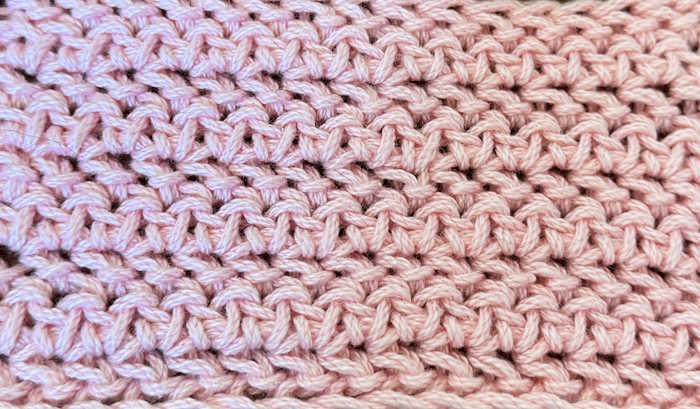
This is an exciting stitch because it starts as a half-double crochet stitch but works similarly to a double crochet. The subtle difference creates a stitch that is not as straight and tall as you might expect for a double crochet, but the slanted appearance of the stitches gives it that unique appearance.

The big difference between your typical half-double crochet and the Herringbone HDC is that after yarning over and inserting your hook into the next stitch, you immediately pull through the first loop, all in one motion. It is actually very easy.
The one-row repeat creates the herringbone appearance as each row's stitches slant in opposite directions.
Start as if you are making a half double-crochet
- Yarn over, insert hook into next stitch, and pull up a loop (3 loops on hook).
- Without doing another yarn over, Pull the first loop straight through the second (similar to a slip stitch).
- Yarn over and pull through the two remaining loops on the hook.
That’s it! It doesn’t get much easier than this.
Notes About the Half Double Crochet Herringbone Stitch

- The abbreviation for the half-double crochet herringbone stitch is HHDC or you might also see it referred to as the Herringbone HDC.
- There is no set number of stitch multiples, so you can chain as many as you like.
- It is always worked in rows.
- This is a one-row repeat pattern.
- It looks great on both sides of the fabric.
- The stitch starts as a typical half-double crochet (yarn over, insert hook, and pull up a loop), but instead of yarning over again, you immediately pull through the first loop on the hook.
Abbreviations
- ch = chain
- yo = yarn over
- st/sts = stitch/stitches
- hdc = half double crochet
- hhdc = herringbone half double crochet
Skills Needed
- How to make a slip knot and chain stitch
- How to make the herringbone half double crochet stitch
- How to seam Crochet fabric (if making the project below)
- Fasten off and weave in ends
Supplies for Swatching
- Yarn (any scrap yarn will do)
- Hook (choose a hook that corresponds to the type of yarn you are using
- Scissors
- Yarn Needle for weaving in ends.
Instructions for a Swatch
Option: Make something useful in lieu of this swatch. Jump to Pattern
Chain any number of chains. For a decent size swatch, Chain 22.
Row 1:
- Yarn over and insert your hook into the 2nd chain from the hook.
- Pull up a loop, and at once, pull through the first loop on your hook. Two loops on the hook.
- Yarn over and pull through both loops on your hook.
Work the hhdc in each chain across the row until you reach the end—chain two and turn.
Row 2 and all further rows:
Make one hhdc in each stitch across the row. Repeat this row until you reach your desired length. Fasten off and weave in ends.
What Can You Make with the Herringbone Half Double Crochet?
This handy stitch can substitute for the traditional half-double crochet. It is perfect for blankets, Afghans, potholders and placemats, pillow covers, other wearables, and even a Phone Case.
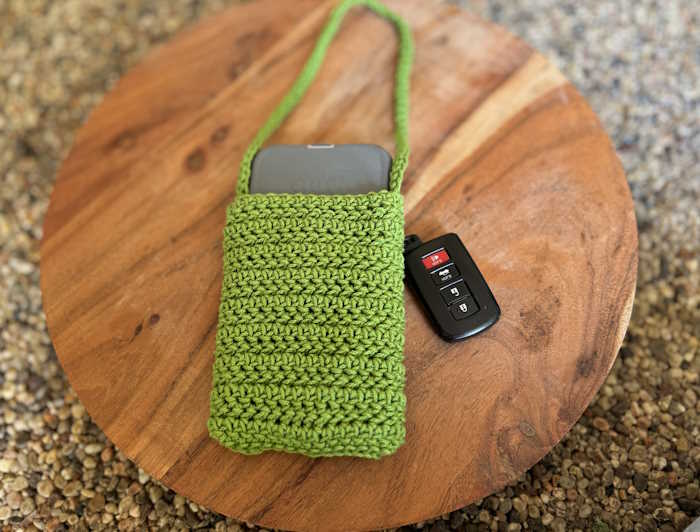
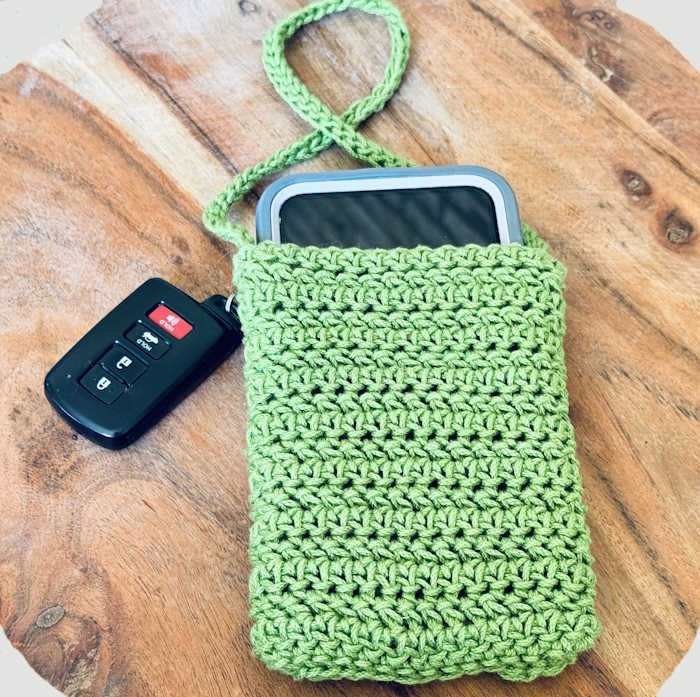
Herringbone Half Double Crochet iPhone Case: FREE Pattern

This handy case is perfect when you don’t want to carry a heavy purse. It’s big enough for a phone, credit card, and driver’s license, and you can even slip in a key or two in the back. What more do you need?
Supplies Needed
- Lion Brand 24/7 Cotton yarn
- US H (5.00 mm crochet hook)
- Scissors
- Tapestry needle
- Stitch marker (if you want to mark the right side)
Skill Level
Easy
Finished Size (approximately)
- Length: 6”
- Width: 4.0”
Instructions
This pattern works as a large rectangle, then folded over and seamed on the side and bottom to create the case. The strap is created by making chains and slip stitches.
Why did I make it this way, you may ask? I didn’t crochet it into a tube because the only way to create the herringbone look is to work in rows, turning your work at the end of each row.
Ch 30.
Row one: Work into the third chain from the hook. Make one dc in each chain across the row. Turn.
Row two: Chain 2. (Chain two counts as one HDC). Work in 2nd stitch from hook: Make one HHDC here and across the row.
Row three and beyond: Repeat row two until you reach your desired height, depending on your phone size. Fasten off and weave in all ends.
Finishing
With the wrong side of the fabric facing out, fold the rectangle so that the center seam is in the middle. Sew the center seam using the mattress stitch or a joining method of your choice. Sew the seam at the base of the phone case. Weave in those ends.
Making the Strap
The strap can be any length you choose.
To begin, turn the case inside out so the right side shows. Attach yarn on one side of the case using a couple of slip stitches. Chain enough stitches until you have reached the length you desire for the strap.
Turn and work back along the chain, placing one slip stitch into each chain stitch until you reach your starting point. Make one last slip knot to finish, then cut the yarn, leaving a long tail for sewing the strap to the other side of the case.
Sew the last side of the strap to the case on the opposite side of the first to balance it out. Weave in the ends. You're done!
Happy Crocheting, Smart Crocheter
Janice

Herringbone Half Double Crochet Stitch
Pin for Future Reference
About Janice
Hi, I’m Janice, the voice behind Smart-Knit-Crocheting. I love to knit and crochet and even more, I love teaching others what I know.
Though I learned to knit and crochet as a child, I didn’t get serious about these amazing hobbies until I retired. I’m a certified knit and crochet instructor through the Craft Yarn Council and am working on becoming a Master Hand Knitter through The Knitting Guild Association.
I’m currently living with my husband of over 50 years and our 6 Shih Tzu dogs.
I love hearing from you, so please drop me a line and let me know what you’re working on, whether you love knitting or crocheting more, and if you have any questions. Please visit my about me page for more information.
Happy Crocheting


