- Home
- Crochet Stitches
- Crochet the Parquet Stitch
How to Crochet the Parquet Stitch and Free Beginner Pattern
Crochet the Parquet Stitch by Janice Jones
|Published 07-01-2023
Crocheting is a timeless craft that allows for the creation of beautiful and intricate designs using just a hook and some yarn.
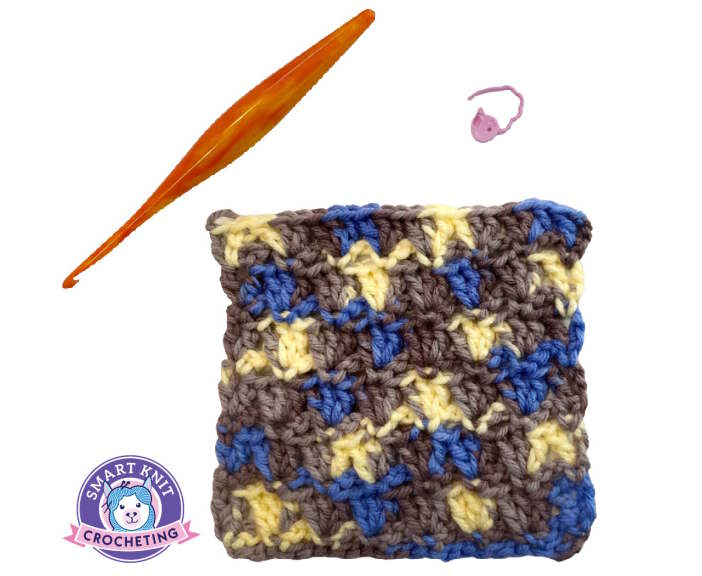
One stitch that has gained popularity among crochet enthusiasts is the crochet parquet stitch. This unique stitch creates a stunning geometric pattern that resembles a parquet floor, hence its name.
In this comprehensive guide, I will take you through mastering the art of the crochet parquet stitch step-by-step.
Benefits of learning How to Crochet the Parquet Stitch
Learning the parquet crochet stitch opens up a world of possibilities for your crocheting projects. This stitch adds a touch of elegance and sophistication to any piece, whether you are making a blanket, a scarf, or even a garment. The intricate geometric pattern created by the crochet parquet stitch will impress anyone who sees your finished work.
The lovely fabric you create with this stitch is open, drapey, yet relatively sturdy. It is also reversible, so it's perfect for projects where you see both sides, such as scarves and cowls. Best of all, it produces a gorgeous texture that looks very elegant.
Furthermore, mastering this stitch allows you to experiment with different color combinations and yarn types, giving you the freedom to unleash your creativity.
The crochet parquet stitch can be adapted to suit various styles and preferences, allowing you to customize your projects to reflect your unique taste.
The good news is that it is very beginner-friendly, employs a 2-row repeat stitch pattern, and only uses the basic crochet stitches of double and single crochet stitches.
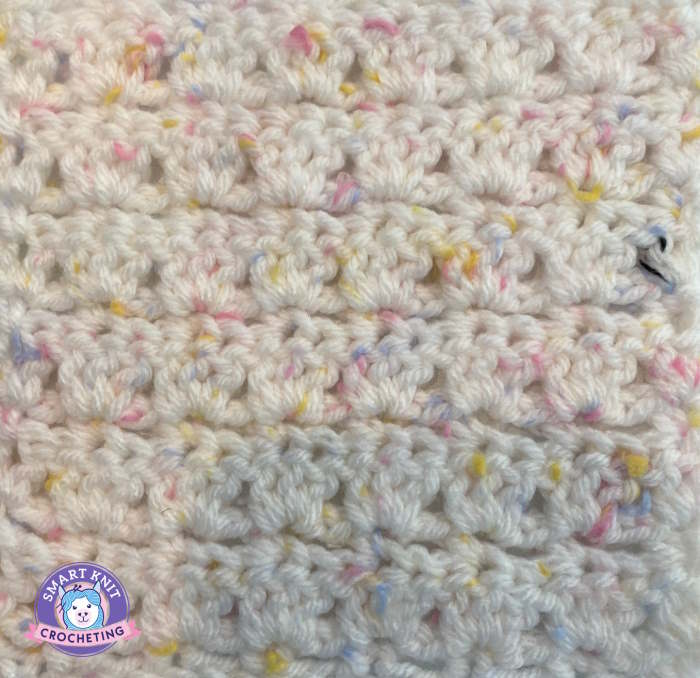
You can create the crochet parquet stitch in a solid color or different colors or use a variegated yarn for yet a third look.
Materials Needed for the Crochet Parquet Stitch
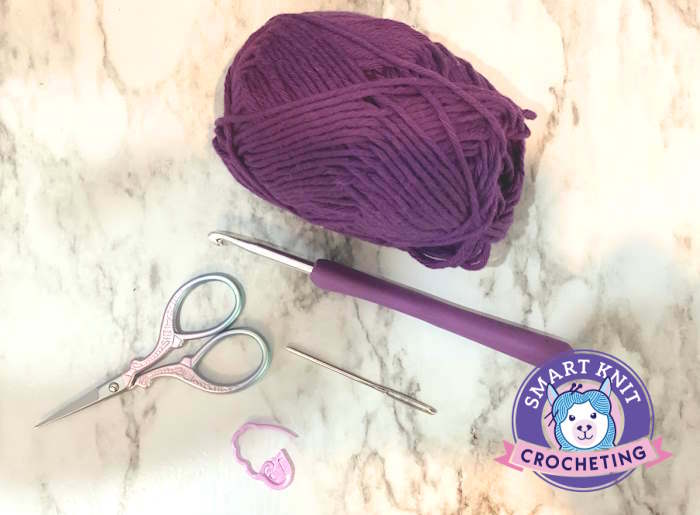
Before you embark on your crochet parquet stitch journey, it is essential to gather the necessary materials. Here is a list of items you will need:
• Crochet hook: Choose a hook size that complements the weight of your yarn. A size G (4mm) or H (5mm) hook is commonly used for medium-weight yarn. You may use any size yarn with the corresponding appropriately sized hook.
• Yarn: Opt for a yarn that is suitable for the project you have in mind. Worsted weight yarn is a popular choice for the crochet parquet stitch due to its versatility and availability in various colors.
• Scissors: A sharp pair of scissors will help cut yarn and trim loose ends.
• Yarn needle: A yarn needle with a large eye is necessary for weaving in ends and finishing touches.
• Stitch Marker: optional but helpful for keeping your place.
Abbreviations
Ch: Chain
SC: Single Crochet
DC: Double Crochet
St/Sts: Stitch or Stitches
Sk: Skip
Sp: Space
Rep, * * Repeat
Skill Level:
Beginner or Easy
Project Notes
All Directions are written in US Terms
This stitch is worked on a multiple of 3 plus 2 ( meaning you will cast on a multiple of 3 stitches plus 2)
Crochet Parquet Stitch Tutorial - Step-by-Step Instructions
Now that you have gathered your materials let's dive into the step-by-step tutorial on how to master the crochet parquet stitch.
For this tutorial, I will chain 23.
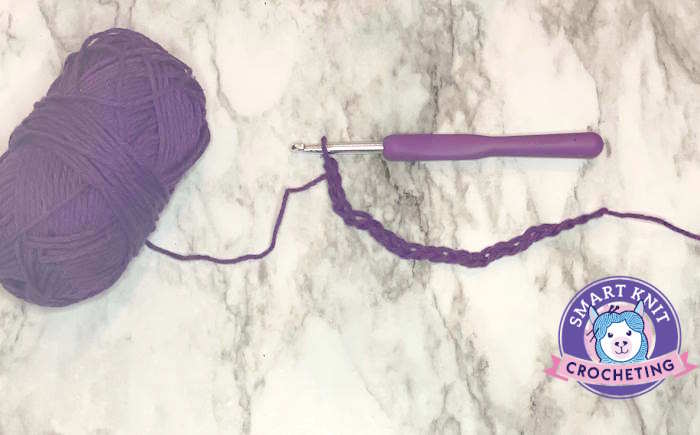
Make a foundation chain or Ch 23.
Row 1: 1 sc in 2nd ch from hook, *ch2, sk2, 1 sc in next ch,* rep from * to end of row. Turn. (Count 7 ch-2 spaces)
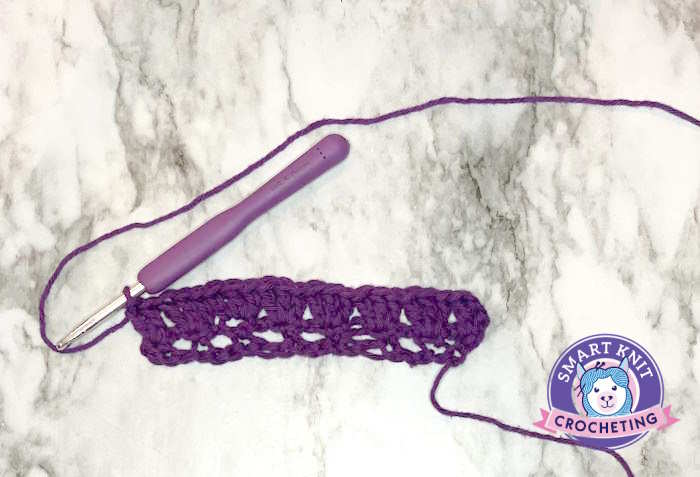
Row 2: (Right Side): Ch 3 (counts as a dc here and throughout), 1 dc in same st, *sk next ch-2 sp, 3 dc in top of next st,* to last ch-2 sp, sk ch-2, 2dc in last sc st. Turn. (count 6 sets of 3 dc clusters plus 4 dc, 2 on either end of row)
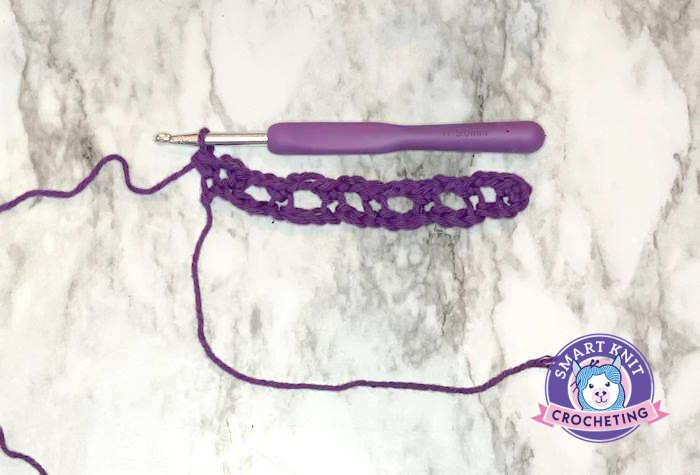
Row 3: Ch 1, 1sc in same st, *ch 2, sk next sts, 1 sc in next dc* rep from * to end. 1sc in top of ch3. Turn.
Note: the single crochet stitches in Row 3 are made in the center of the 3 double crochet cluster.
The second and third row is repeated for the pattern. Work row 2 and 3 to obtain your desired length.
Fasten off, weave in ends.
Beginner Friendly Free Crochet Project: Crochet Parquet Stitch Dishcloth Pattern
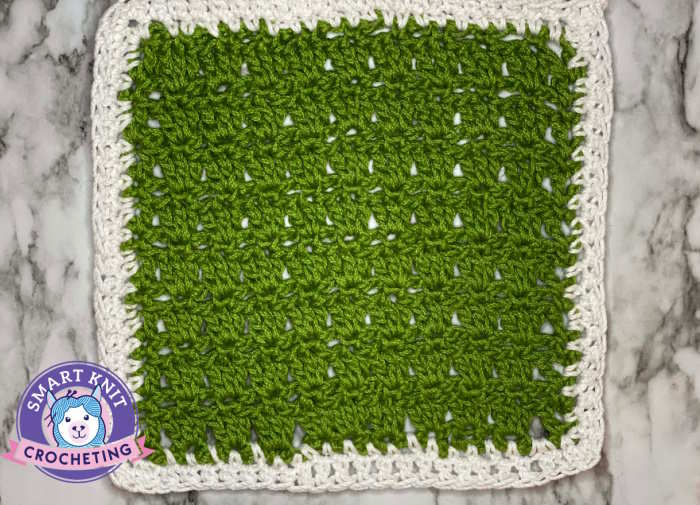 Crochet the Parquet Stitch
Materials:
- 100 % Cotton Yarn, worsted weight, number 4 yarn
- Hook: H (5 mm)
- Scissors
- Tapestry Needle
Final Measurements: 7.5 by 7.5 inche square without added border. (about 19 x 19 cm)
Gauge: Not important for this project
For this tutorial, I have written out all words rather than using abbreviations so you can see the difference.
Chain 32.
Row 1: Single crochet in 2nd chain from hook,*Chain 2, skip next two chains, single crochet in next chain*, repeat from *to* across, turn.
Row 2: Chain 3(counts as first double crochet), double crochet in same beginning single crochet * skip next two chains, three double crochet in next single crochet *, repeat from *to* across to within last three stitches, skip next two single crochet, two double crochet in last single crochet, turn.
Row 3: chain 1, single crochet in beginning double crochet * chain 2 skip next two double crochet, single crochet in next double crochet*, repeat from *to* across row ending by working last single crochet in top of ending chain 3, turn.
Repeat Rows 2 and 3 for the pattern.
Edging: 2 rows of single crochet around the project in a similar or contrasting color
Tips for Mastering the Crochet Parquet Stitch
- Practice tension control: Maintaining consistent tension throughout your work is crucial for achieving neat and uniform stitches. Practice keeping your yarn tension neither too loose nor too tight.
- Count your stitches: Counting your stitches at the end of each row will help you identify any mistakes early on. This habit will save you from having to unravel your work later.
- Experiment with color: The crochet parquet stitch lends itself well to color experimentation. Try using contrasting colors or different shades within the same color family to create striking effects. You can change colors in every row, but remember that many ends must be woven in. An option for this would be to carry your yarn up the sides and then create a border of two rows of single-stitch crochet stitches.
- Take breaks: Crocheting can be a relaxing activity, but it is important to take breaks to prevent hand and wrist fatigue. Stretch your hands and fingers regularly to avoid strain. If you find you begin to feel achy, stop for a break. Sometimes tight arthritis gloves may help.
Crochet Parquet Stitch Patterns and Variations
Once you have mastered the basic crochet parquet stitch, you can explore various patterns and variations to add more complexity and visual interest to your projects.
Some popular patterns include the diagonal parquet stitch, the honeycomb parquet stitch, and the staggered parquet stitch. These patterns introduce different arrangements and angles of the basic stitch to create unique designs.
Feel free to experiment with different yarn weights, hook sizes, and stitch combinations to create your signature crochet parquet patterns.
Troubleshooting Common Issues with the Crochet Parquet Stitch
- Uneven edges: If you find that your edges are uneven, make sure to count your stitches at the end of each row. Skipping or adding stitches is common, resulting in accidentally uneven edges.
- Tangled yarn: To prevent your yarn from tangling, use a yarn holder or place your yarn in a bowl to keep it organized and easily accessible. This can be a problem if you use two colors and carry them up the side of your work.
- Crochet too tightly: If your stitches are too tight, try using a larger hook size or relaxing your tension. Tight stitches can make it difficult to work into the stitches of the previous row.
- Crochet too loosely: If your stitches are too loose, use a smaller hook size or tighten your tension. Loose stitches can result in a project that lacks structure and shape.
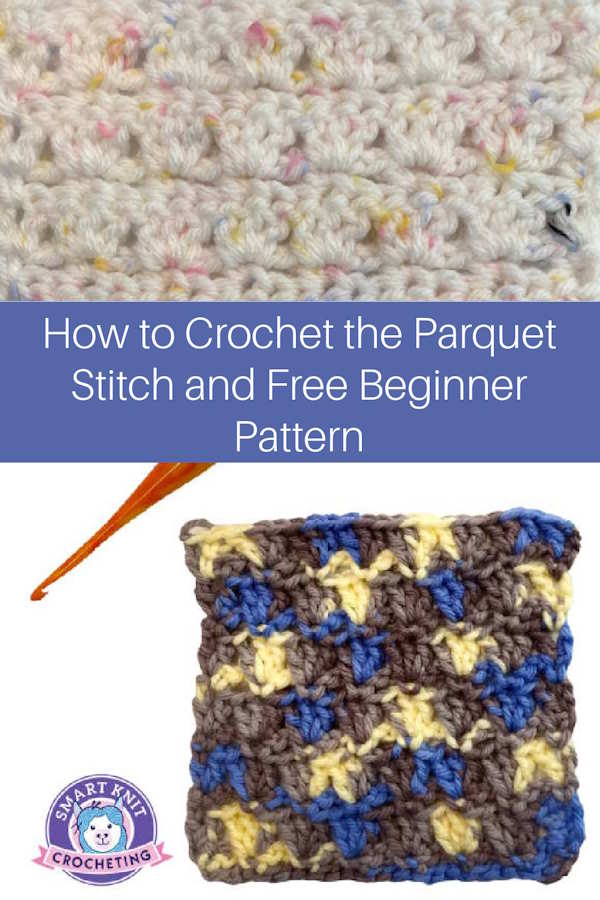
How to Crochet the Parquet Stitch:
Pin for Future Reference
Conclusion
The crochet parquet stitch is a versatile and visually appealing stitch that can elevate crocheting projects. By following this step-by-step guide, you are well on mastering this beautiful stitch.
Remember to gather the necessary materials, practice tension control, and explore different patterns and variations to make the crochet parquet stitch your own.
Now that you have learned the art of the crochet parquet stitch, it's time to put your skills to the test.
Start by creating a simple project, such as a scarf or a cushion cover, using the stitch. Share your creations with fellow crochet enthusiasts and inspire others to explore the beauty of the crochet parquet stitch. Happy crocheting!
About Janice
Hi, I’m Janice, the voice behind Smart-Knit-Crocheting. I love to knit and crochet and even more, I love teaching others what I know.
Though I learned to knit and crochet as a child, I didn’t get serious about these amazing hobbies until I retired. I’m a certified knit and crochet instructor through the Craft Yarn Council and am working on becoming a Master Hand Knitter through The Knitting Guild Association.
I’m currently living with my husband of over 50 years and our 6 Shih Tzu dogs.
I love hearing from you, so please drop me a line and let me know what you’re working on, whether you love knitting or crocheting more, and if you have any questions. Please visit my about me page for more information.
Happy Crocheting
