- Home
- Crochet Stitches
- Crochet Sedge Stitch
How to Create the Crochet Sedge Stitch Tutorial: Beginner-Friendly Tips & Free Patterns
Crochet Sedge Stitch Tutorial by Janice Jones
In this article, I will explain the sedge stitch, how to make it, its benefits, variations, and patterns, and provide free patterns with a step-by-step tutorial for making baby blankets and washcloth projects.
This is probably one of my favorite stitches because it works quickly, adds texture, and can be memorized easily, making it an ideal candidate for working while watching television.
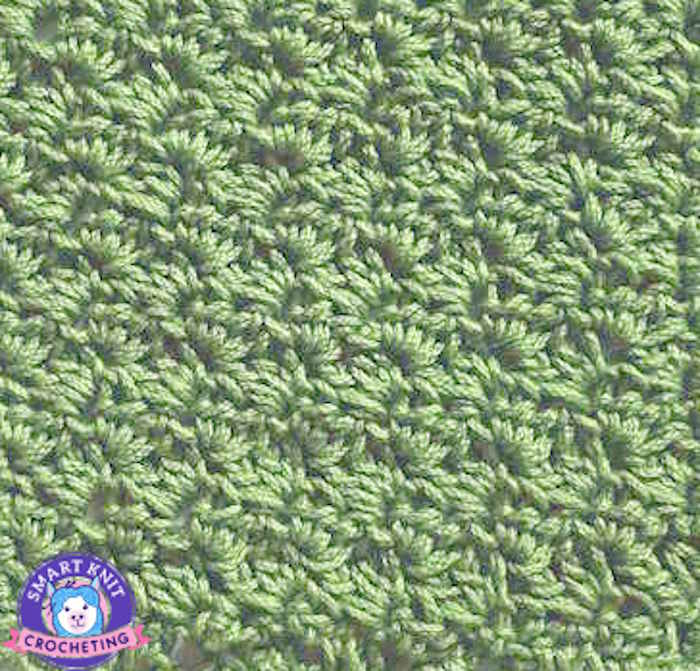 Crochet Sedge Stitch Tutorial
Introduction to the Crochet Sedge Stitch Tutorial
Crochet enthusiasts always look for new and exciting techniques to incorporate into their projects. One such technique that has gained popularity in recent years is the crochet sedge stitch.
The sedge stitch is a dense crochet stitch that creates a beautiful, textured fabric. It is known for its versatility and ability to add depth and visual interest to any project.
What is the Sedge Stitch and How to Achieve It
The sedge stitch is achieved by working basic crochet stitches, including single crochet (sc), half double crochet (hdc), and double crochet (dc) stitch all in the same space.
This combination of stitches creates a dense and tightly woven fabric, perfect for warm and cozy projects like baby Afghans and blankets.
You must understand these three crochet stitches and how to work them together to achieve the sedge stitch.
How to Create the Crochet Sedge Stitch Tutorial: Written Instructions for a Practice Swatch
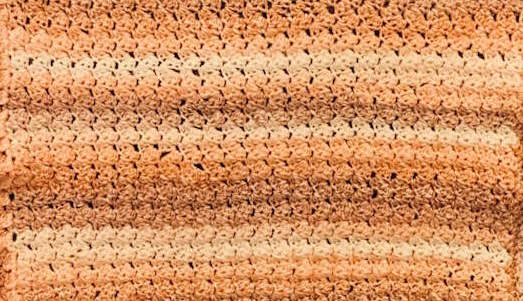 Create the Crochet Sedge Stitch Tutorial: Close Up of the Crochet Sedge Stitch
You might see this in a written pattern for the crochet sedge stitch. There is also an explanation below.
This stitch is worked over a multiple of 3 stitches.
Start with a multiple of 3 ch.
For this practice, I chained 18, but feel free to choose how wide you want your swatch to be.
Row 1: (hdc, dc) in the 3rd ch from hook, *skip 2 chs, (sc, hdc, dc) in next ch, repeat from * until 1 ch remains, sc in last ch, turn.
Row 2: ch 1, (hdc, dc) in the first sc, *skip 2 sts, (sc, hdc, dc) in next st, repeat from * until 2 sts remain, skip 1 st, sc in last stitch, turn.
Repeat Row 2 until you’ve reached the desired length.
Crochet Sedge Stitch Tutorial: Understanding the Instructions.
- Chain a multiple of 3 stitches. For the Swatch shown, I made 18 chains.
- Row 1: In the third chain from the hook, work one half double crochet and one double crochet all in the same space. Next, Skip two chains and work one single crochet, one half double crochet, and one double crochet, all in the next chain stitch. Repeat these instructions that start with the word, Next until one chain remains. Work one single crochet in that last chain and turn.
- Row 2: Chain 1. Place one half double crochet and one double crochet in the first single crochet. Next, skip 2 stitches. In the next stitch, work one single crochet, half double crochet, and one double crochet.
- Repeat row 2 for all subsequent rows until your desired length is achieved.
Benefits of Using the Sedge Stitch in Crochet Projects
There are several benefits to using the sedge stitch in crochet projects. Firstly, the dense nature of the stitch creates a fabric with excellent insulation properties, making it perfect for cozy items like baby blankets.
The tightly woven fabric also provides added durability and stability to the finished project, ensuring that it will withstand the test of time. If you don’t want such a tightly woven fabric, go up a hook size or two to add more drape to your fabric.
Additionally, the sedge stitch creates a unique texture that adds visual interest to any project, making it stand out from traditional crochet stitches. The sedge stitch will impress whether you're making a baby blanket or a cozy sweater.
Sedge Stitch Variations and Patterns
Sedge stitch is a versatile technique that can be adapted to create various patterns and designs. By changing the number of stitches worked in each sequence or incorporating different colors or yarn weights, you can create endless variations of the sedge stitch.
Some popular variations include the crossed sedge stitch, the ribbed sedge stitch, and the diagonal sedge stitch. These variations can create unique textures and patterns, adding visual interest to your crochet projects.
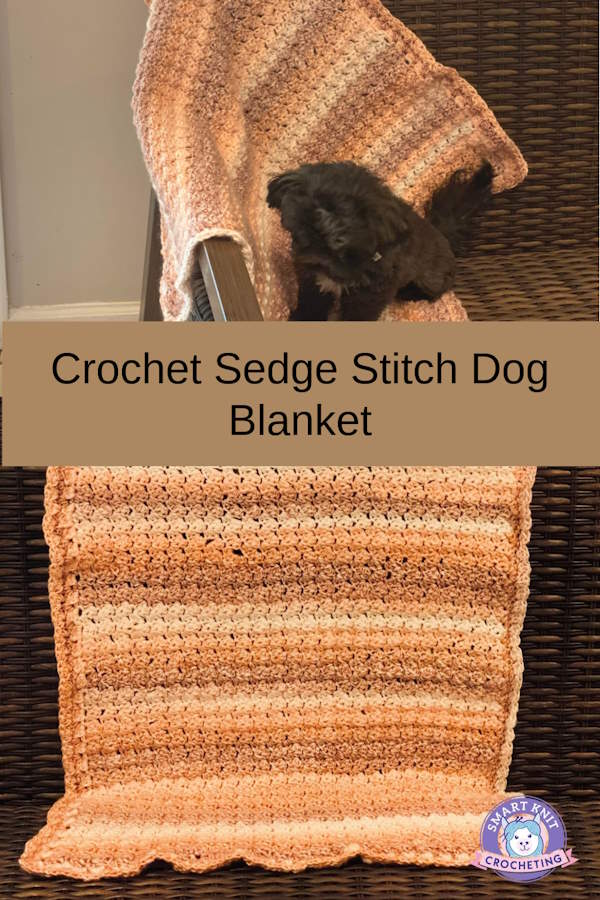
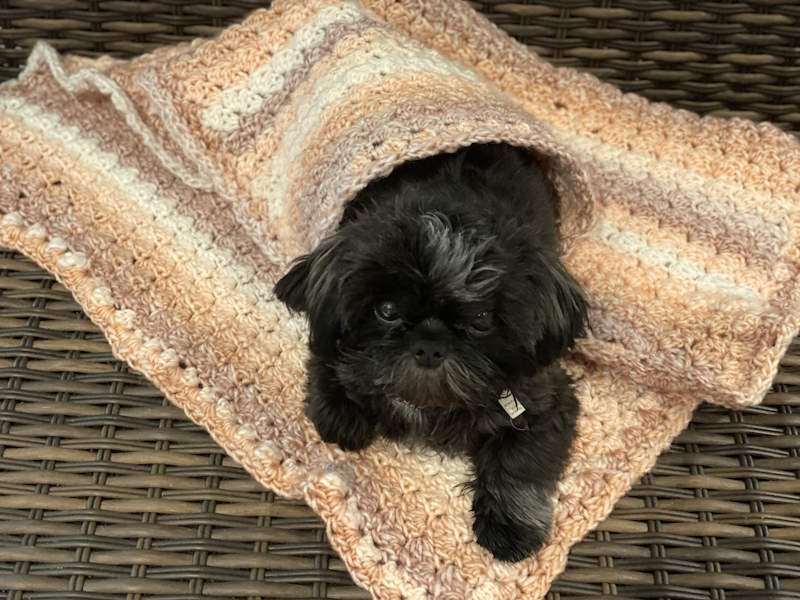
Free Pattern Number 1: How to Crochet the Sedge Stitch Dog Blanket
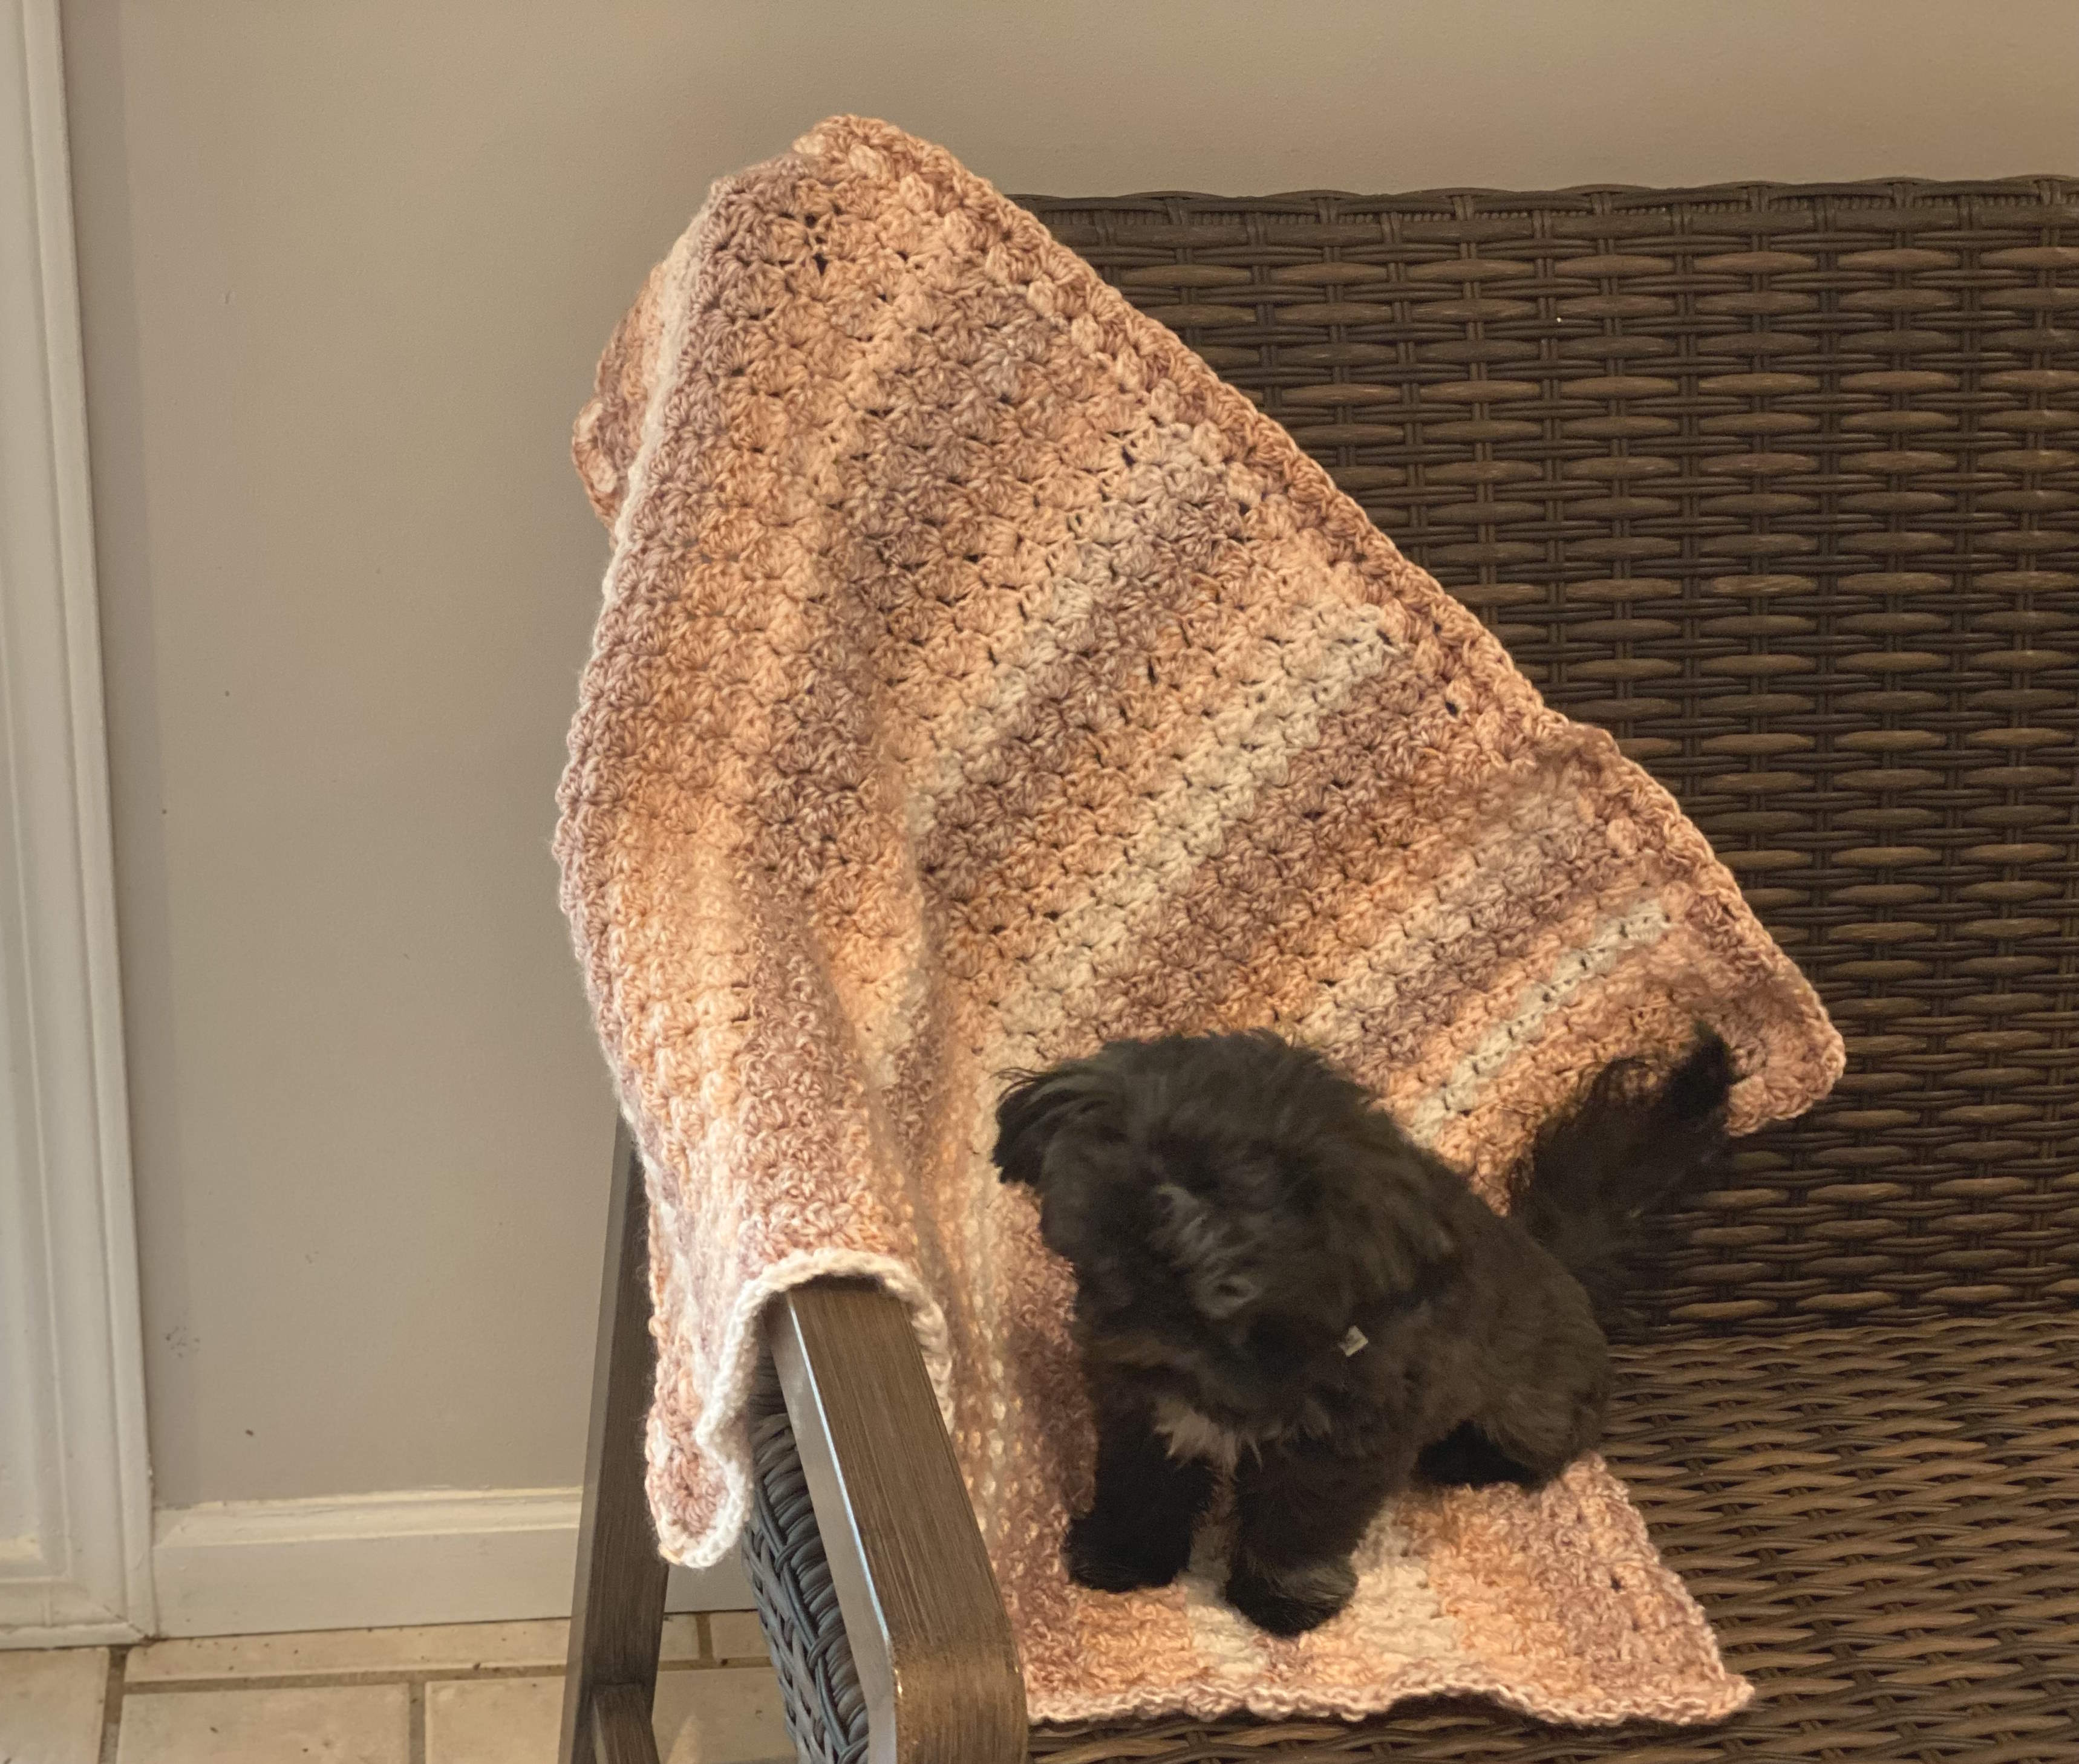 Crochet Sedge Stitch Dog Blanket for a Small Dog
Now that you understand what the sedge stitch is and its benefits, let's dive into a step-by-step tutorial on how to crochet a dog blanket using this technique.
This tutorial is suitable for beginner to intermediate crocheters and will guide you through creating a beautiful and cozy baby blanket. If you prefer to make a larger blanket, here are some typical blanket sizes for your information.
Crochet Blanket Sizes
These measurements are slightly bigger than the base to account for draping over the mattress.
• Baby - 24” x 30-36”
• Crib – 36″ x 54″
• Crochet Throw – 48” x 60”
• Twin – 69″ x 90″
• Full/Double – 84″ x 90″
• Queen – 90″ x 95″
• King – 106″ x 95″
Notes
This pattern uses United States (US) terms.
Finished Size
23 x 28 inches
Materials Needed
- Worsted weight yarn in your choice of color. I am using Lion Brand Yarn Ice Cream Roving in Double Bubble. (7 oz/200g) 437 yds/400 m) 100% Acrylic
- Crochet hook in the appropriate size for your yarn. If you are using worsted weight yarn (CYC #4) Choose a size 7 (4.5), H (5.0 mm), or I/9 (5.5 mm). I chose to use an I/9 (5.25 mm) hook.
- Scissors
- Tapestry needle
Directions
Step 1: To begin, chain 72.
Step 2: First Row: In the third chain from the hook, work 1 sc, 1 hdc, and 1 dc all in the same stitch. Skip the next 2 chains and repeat this sequence (sc, hdc, dc) in the next chain.
Continue working (sc, hdc, dc) in every third chain across the row until you reach the end. End with the last sc in last chain.
Step 3: Second Row and Beyond Chain 1 and turn your work. In the first stitch, work (sc, hdc, dc) all in the same stitch. Skip the next 2 stitches and repeat this sequence in the next stitch.
Continue working (sc, hdc, dc) in every third stitch across the row. Repeat this row until your blanket reaches the desired length.
Step 4: Finishing Touches: Once your blanket is the desired length, fasten off your yarn and weave in any loose ends using a yarn needle.
You can also add a border to your blanket using the sedge stitch or any other pattern you choose. I chose a border of 2 rows of additional sedge stitches.
Work 2 hdc in corner space where you finished your last row of crochet sedge stitches. Work even around the border until you reach a corner. Then, work 2 hdc, ch 2, 2 hdc in each corner. Continue to second corner space. Work 2 hdc, ch 2 and slip stitch. Continue to do the same when you reach the 3rd corner. When you reach your starting place, work 2 hdc, 2 chains, and connect to previous row with a slip stitch.
If you plan to make an additional row, Chain 3. Work 1 hdc, and then 2 ch. Work one sedge stitch in the chain spaces from previous rows around, treating the corners as described above.
Free Pattern Number 2: Crochet Sedge Stitch Washcloth or Cleaning Cloth

 Crochet Sedge Stitch Tutorial and Free Patterns
Materials
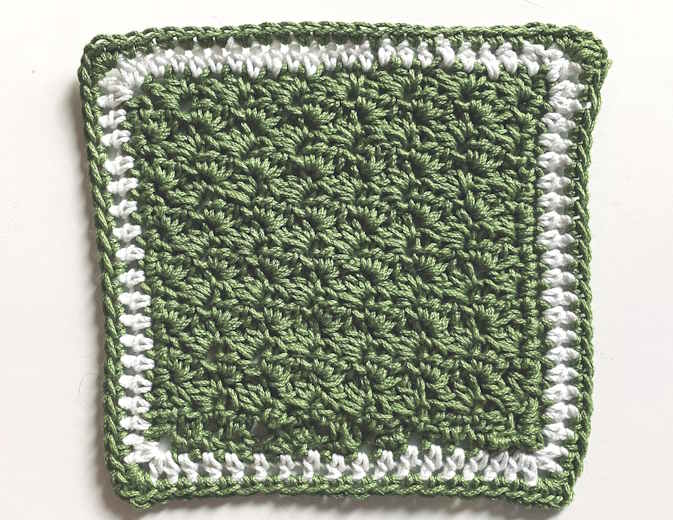
- Yarn: Lion Brand 24/7 Cotton in color, Grass, 186 yd, (170 m) 3.5 oz (100 g)
- US Size 7 (4.5 mm) crochet hook
- Yarn or Tapestry needle
- Scissors
Finished Size
6.5” x 6.5” with a sc border, hdc border, sc border.
Instructions
Ch 24.
Row 1: (Hdc, dc) in 3rd ch from hook (skipped 2 chs count as 1st sc), *skip 2 chs, (sc, hdc, dc) in next ch; repeat from * across to last 3 chs, skip 2 chs, sc in last, turn—7 clusters.
Rows 2: Ch 1 (counts as 1st sc), (hdc, dc) in same, *skip (dc, hdc), (sc, hdc, dc) in next sc; repeat from * across to last 3 sts, skip (dc, hdc), sc in last st at end of the row. Turn.
Repeat row 2 until the desired length is reached. Fasten off unless you want to add the edging.
Edging
Ch 1, sc evenly around edge, working two sc, ch, 2 ch in each corner. sl st to 1st sc to join. Connect 2nd color and work hdc around with 2 hdc, ch, 2hc in each corner. Sl st to join.
Attach the main color and work sc around, working corners with 2 sc, ch, 2 sc then finish with sl st and fasten off. Weave in ends.
Tips and Tricks for Working with the Crochet Sedge Stitch
Working with the sedge stitch can be challenging, especially for beginners. Here are some tips and tricks to help you master this crochet technique and create beautiful projects:
- Practice the Basic Stitches: Before attempting the sedge stitch, make sure you are comfortable with the single crochet (sc), half double crochet (hdc), and double crochet (dc) stitches. Practice these stitches separately until you can work them smoothly and consistently.
- Use the Right Hook Size: The size of your crochet hook will significantly affect the tension and appearance of your sedge stitch. Use the hook size recommended for your yarn to achieve the desired gauge and fabric density. Experiment with different hook sizes to find the best one for you.
- Count Your Stitches: The sedge stitch requires working multiple stitches in the same stitch. It's easy to lose track of your stitch count, especially when working on larger projects. Use stitch markers or count your stitches frequently to ensure accuracy and prevent mistakes.
- Take Breaks: Crocheting the sedge stitch can be physically demanding, requiring working multiple stitches in the same stitch. Take regular breaks to rest your hands and prevent strain or fatigue. Stretching exercises can also help relieve tension in your hands and wrists.
- Block Your Finished Projects: Blocking shapes and stretches your finished crochet project to give it a more polished and professional look. For sedge stitch blankets, blocking can help even out the stitches and enhance the texture of the fabric.
By following these tips and tricks, you'll be well on your way to mastering the sedge stitch and creating beautiful crochet projects.
Creative Ways to Incorporate the Sedge Stitch in Different Crochet Projects
The sedge stitch is a versatile technique used in various crochet projects. Here are some creative ways to incorporate the sedge stitch into different types of projects:
- Scarves and Cowls: The sedge stitch creates a dense and warm fabric, making it perfect for scarves and cowls. Experiment with different yarn colors and stitch variations to create unique and stylish accessories.
- Hats and Headbands: Add a touch of texture to your hats and headbands by incorporating the sedge stitch. This technique works well for adult and baby hats, providing warmth and style.
- Pillows and Throws: Use the sedge stitch to create cozy, textured pillows and throws. This technique adds depth and visual interest to home decor items, making them stand out in any room.
- Bags and Totes: The sedge stitch creates a sturdy and durable fabric, making it perfect for bags and totes. Whether you're making a market bag or a stylish handbag, the sedge stitch will add a touch of sophistication to your project.
- Amigurumi: While the sedge stitch is not typically used in amigurumi projects, you can experiment with incorporating it into small details like edging or appliques. This will add a unique and unexpected element to your amigurumi creations.
These are just a few examples of using sedge stitch in different crochet projects. Don't be afraid to get creative and think outside the box. The possibilities are endless!
Recommended Yarns and Hook Sizes for this Crochet Sedge Stitch Tutorial
When working with the sedge stitch, choosing the right yarn and hook size is important to achieve the desired fabric density and texture. Here are some recommended yarns and hook sizes for this technique:
- Worsted Weight Yarn: Worsted weight yarn is a popular choice for sedge stitch projects, as it provides a good balance of warmth and drape. Look for yarns with good stitch definition and come in various colors. Different yarn weights can also be used with the sedge stitch. Just assure you use the hook size that's appropriate for your yarn weight.
- Size H (5.00 mm) or I (5.50 mm) Hook: These hook sizes are commonly used for sedge stitch projects and are suitable for most worsted-weight yarns. However, experiment with different hook sizes to achieve the desired fabric density and drape.
- Cotton Yarn: If you're making a summer-weight project like a lightweight blanket or a market bag, consider using cotton yarn. Cotton has excellent breathability and is perfect for warm-weather garments and accessories.
- Chunky Yarn: Use chunky or bulky weight yarn with the sedge stitch for a more textured and chunkier look. This will create a thicker fabric with enhanced visual interest.
Remember, these are just recommendations. Feel free to experiment with different yarns and hook sizes to find the best combination for you and your project.
Conclusion: Why the Crochet Sedge Stitch Tutorial is a Must-Try Technique for Enthusiasts
In conclusion, the sedge stitch is a must-try technique for crochet enthusiasts looking to add depth and visual interest to their projects.
Whether you're making a cozy baby Afghan, a stylish scarf, or a textured pillow, the sedge stitch will surely impress. Its dense and tightly woven fabric provides warmth and durability, while its unique texture adds a touch of sophistication to any project.
By following the step-by-step tutorial, tips and tricks, and exploring different variations and patterns, you can unlock the secrets of the sedge stitch and take your crochet skills to the next level. So grab your yarn and hook, and explore the endless possibilities of sedge stitch. Happy crocheting!
Note: This article responded to a user request only for informational purposes. Always follow the instructions provided by the pattern designer and use your judgment when working on crochet projects.
Crochet Sedge Stitch Tutorial:
Pin for Future Reference
About Janice
I've been kniting and crocheting since childhood, but never got serious until about 4 years ago. Taking classes, reading books, and most importantly, practicing, I've gained an understanding of how one might struggle when learning to knit or crochet.
Now, I'm on a mission to help others learn how to knit and crochet, and to love these needlearts as much as I do. More about Janice.
