- Home
- How to Knit: Basics
- Joining Yarn in Knitting
Joining Yarn in Knitting
Joining Yarn in Knitting by Janice Jones
If your yarn ball is getting very sparse, it will soon be time to join a new ball of yarn. The method of joining yarns is not complicated, but there is more than one way to do it. I'll give you a few suggestions to try and then decide for yourself which one you prefer.
Unless you are doing a small project, chances are you will need more than one ball of yarn.
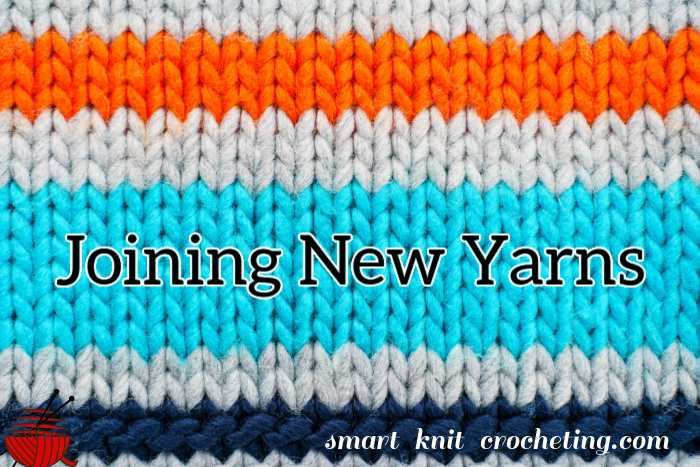
Why Join a New Yarn?
When you come to the end of one skein and need to add another, having a method to join one yarn end to the other is vital. However, there may be other reasons why you would want to join two yarns together.
Sometimes the yarn has an imperfection or is not uniform in some way. If you encounter a yarn section that is spun too thick, you may want to cut that part out so the piece you are working on is uniform.
If you are making something that requires more than one color, you will need a way to join the new color.
Sometimes, especially in less expensive yarns, you will discover a knot in the yarn. You won't want to continue to knit the knot into your fabric, and the best way to deal with this is to cut it out.
Joining Yarns Tips
It is best to join new yarn at the beginning of a row if at all possible. Some people will take the old and new strands and tie them in a knot.
Tying a knot is easy, but this method's disadvantage is that the knot tends to look like a lump in your finished project. It can also work its way to the front and look unsightly. It's best to avoid knots if possible.
To Join Yarn at the Beginning of a Row
To join new yarn at the beginning of a row, all you need to do is drop the old yarn, pick up the new yarn, and continue knitting the new yarn. This could be the preferred method if your project requires stripes of color. Here are a couple of ways of doing just that.
Drop the Old, Start the New
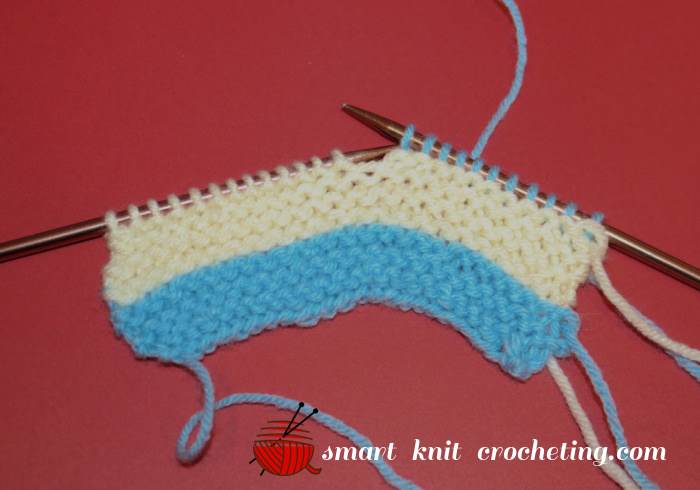
This is the easiest way to join a new ball of yarn.
Stop knitting when you have about a five or six inch tail. Place your needle as if to knit the next stitch, but don't use your old yarn tail. Holding the new yarn in place with your other fingers, loop it over the left hand or working needle and complete the stitch using the new yarn. Repeat this for about three stitches.
Be sure to hold the new yarn in place so it doesn't accidently ravel out. That first stitch is going to be loose, so hold on to the yarn as you work.
No knots, no fuss.
You may decide to weave the ends in after a few rows of knitting or at the end of your project. Once you've knitted about 3 stitches, it should be secure enough so you won't need to worry about any raveling.
Pros:
- Super Easy
Cons:
- Creates a hole between the last stitch and the beginning stitch of the new yarn. Each end needs to be woven in going in the opposite direction to close the hole.
Tie a Magic Knot
There's really no magic in this method but the knot, but it is tight and won't unravel like a standard knot. Remember to trim off the knots very close to where you make the knot. The knot should be held on the back of the fabric.
Pros
- It's not likely to unravel
- Makes a tight knot
- Good for garter stitch and other textured stitches
- Can be used in the middle of the row for multicolor patterns
Cons:
- Not good for use in stockinette stitch
- Possibility to come undone.
How to Make a Magic Knot?
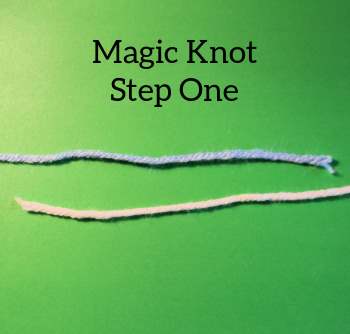
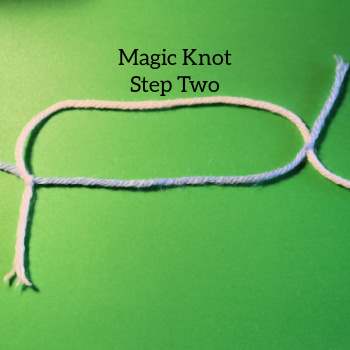
Lay both pieces of yarn parallel, with ends facing and overlapping about four inches.
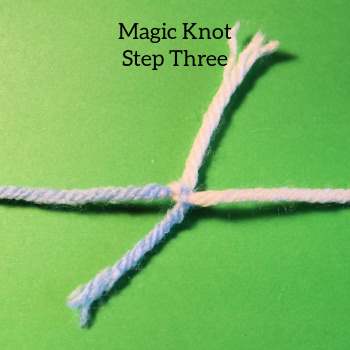
With ends of the new yarn, tie a knot tightly around the old yarn. With the ends of the old yarn, tie a knot tightly around the new yarn.
Pull the yarns apart so that the knots slide together. Pull tightly to secure. Trim the yarn ends but save enough to weave in. More about making the magic knot.
Slip Knot
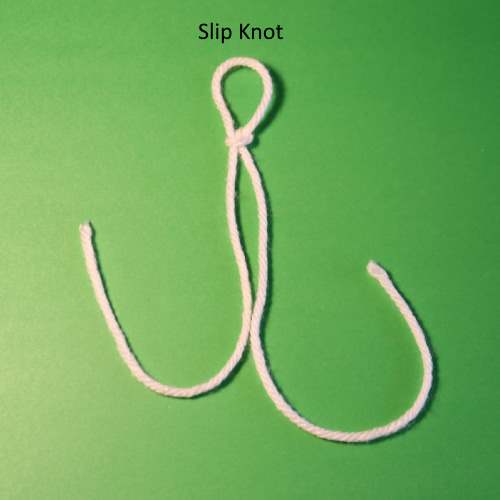
Make a slip knot with the new ball of yarn. Place the slipknot onto your working needle. With your other needle, slip the last stitch over the slip knot and knit/purl as usual. If you decide to use a slip knot, don't cut the yarn ends too loose. Leave about a 3 inch tail and weave in the ends
Pros:
- Very easy beginner technique
Cons:
- Knot will show
Square Knot
 |
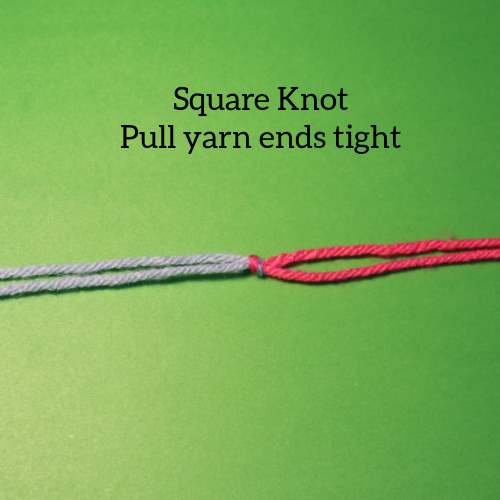 |
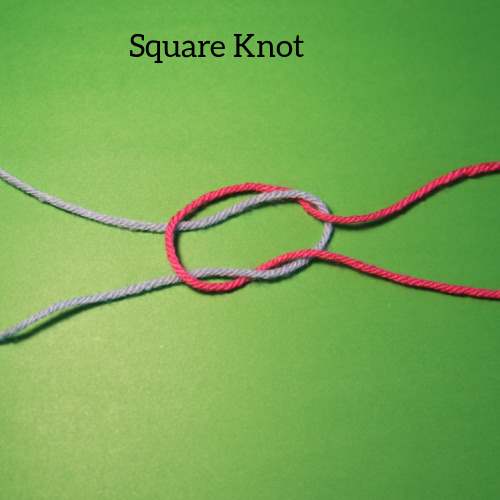
I have also seen the square knot referred to as a granny knot. If you use a square knot, pull it tight and gently push the knot to the back of the fabric. Do not cut off the ends. Either weave them into the fabric immediately, or save them and weave in at the end of your project.
Weaver's Knot
 |
 |
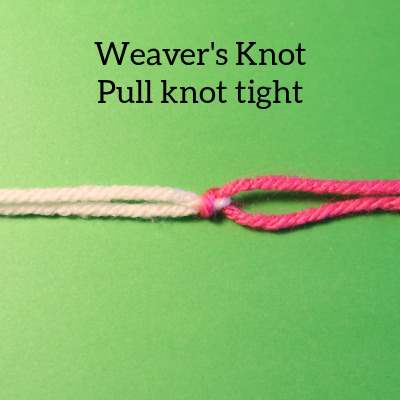 |
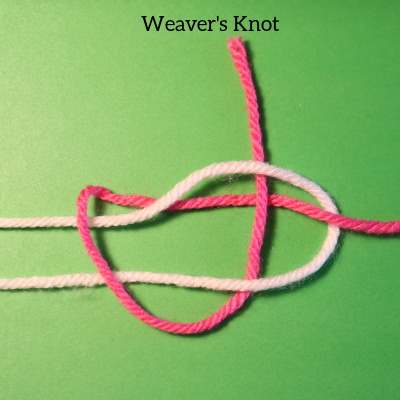
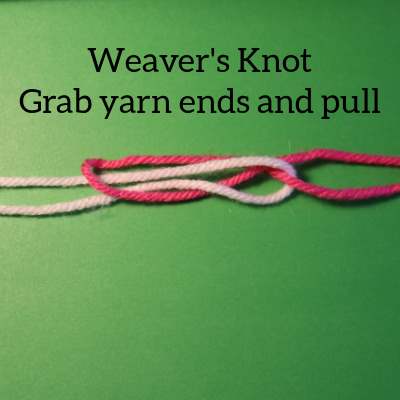
The weaver's knot is good if you have to join two yarns that have different thicknesses. It's easy and creates a similar knot as the square knot.
Knit With Both Ends at the Same Time
Hold both the end of the old ball next to the end of the new ball and use both to knit at the same time for about four stitches. Drop the old ball and just use the new ball.
When knitting the return row, you will see that those four stitches may look like double stitches. Don't knit each one separately, just knit the two as one stitch.
Pros:
- Easy and fast method
Cons:
- Be sure to knit two stitches together or you will end up increasing your stitches.
- The four stitches you knit with both ends may show especially on a stockinette stitch pattern.
Pin for Future Reference
