- Home
- Types of Knit Stitches
- Knitting Rib Stitches
- Eyelet Mock Cable Ribbing Stitch
The Eyelet Mock Cable Ribbing Stitch
Eyelet Mock Cable Ribbing Stitch by Janice Jones |Last Updated November 2025
If the Eyelet Mock Cable Ribbing Stitch sounds intimidating, it’s only because the name tries to do the heavy lifting. The truth is more straightforward: it looks like cables and hints at lace, but it delivers that texture without any real cable work. Those built-in eyelets give beginners the illusion of complexity while keeping the knitting surprisingly straightforward. Here’s how to work this stitch confidently from the very first row.
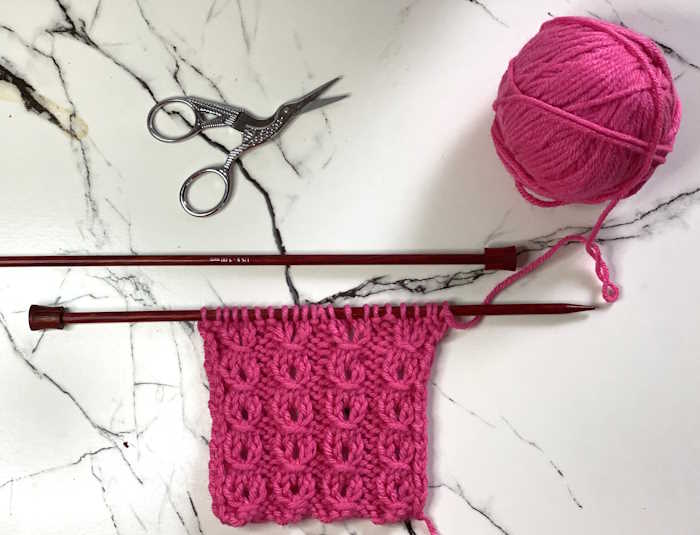
 Eyelet Mock Cable Ribbing Stitch
This mock cable is created with yarn overs, slip stitches and decreases. This is an easy-level stitch because it uses easy knits and purls but also requires you to understand how to make slip stitches, yarn around needle, and psso decreases.
Don’t worry, though, I will walk you through these three techniques. Even though it is easy, its appearance screams fancy and difficult.
Since this stitch is ribbed, it can be used wherever you need a rib stitch, such as the cuffs of a sweater, sweaters, or even hats.
It’s not reversible, but both the front and back of the stitch look great, so if you need a stitch where both sides will show, this could be a good choice.
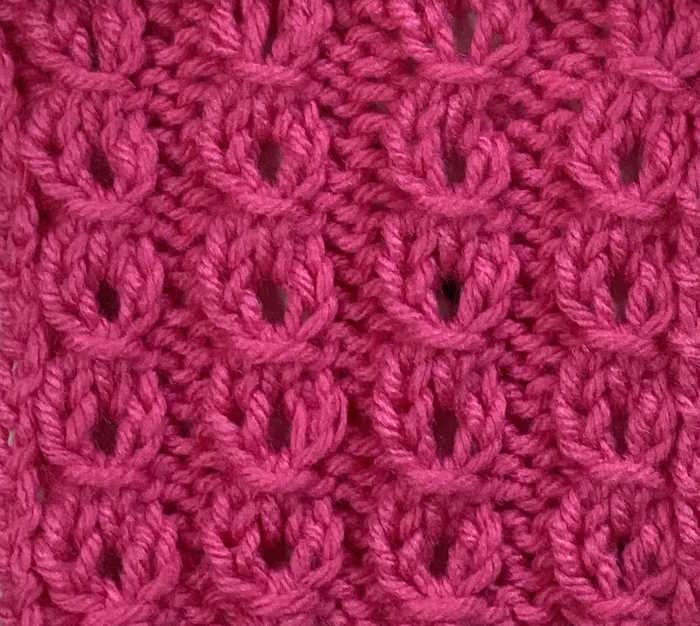
 Eyelet Mock Cable Ribbing Right Side
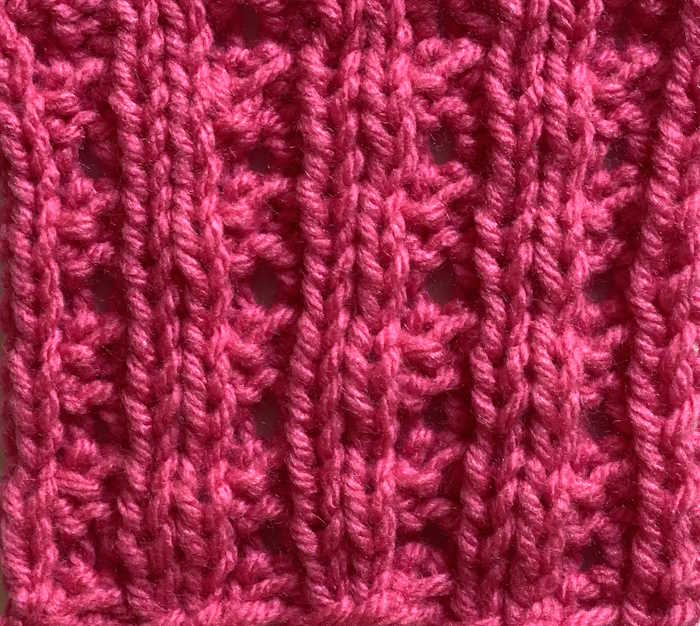
 Eyelet Mock Cable Ribbing Wrong Side
Abbreviations Used to Make the Eyelet Mock Cable Ribbing Stitch
P = purl
K = knit
CO = Cast on
BO = Bind off
Sl 1 p = Slip one stitch as if to purl (see below)
Psso = pass slip stitch over (see below)
Yrn = yarn around needle (see below)
How to Make the psso Knit Decrease
The psso knit decrease always follows a slipped stitch (sl 1). In the directions for the Eyelet Mock Cable Ribbing Stitch, you will first make a slip stitch, then two knit stitches, then you will make a psso.
From the stitch pattern below:
Step 1: Slip one stitch, purlwise from the left needle to the right needle.
Step 2: Knit two stitches.
Step 3: Make the psso: Insert your left needle into the slipped stitch on your right needle, knit-wise.
Step 4: Pull the slipped stitch up and over both knit stitches after it, and off the tip of your right needle.
How to make the Yarn Around the Needle (yrn)
The yarn around the needle (yrn) is like the yarn over (YO) but is always made on the purl side. When you are on the purl side of the fabric, the yarn is already in the front of the work. Take the yarn over and around the right-hand needle.
How to Make the Slip Stitch as if to Purl
Slip stitches are very easy. Rather than purling the stitch, you will use your right needle as if you are going to make a purl stitch and slip the next stitch from the left needle onto the right needle. That’s it!
Directions for Making the Eyelet Mock Cable Ribbing Stitch
The pattern is worked on multiples of 5 + 2
For this tutorial, I Cast on 27 stitches. (5 x 5) + 2 = 27
Steps
Row 1 (RS): P2, *sl 1 purlwise, k2, psso, p2;
rep from * to end.
Row 2: K2, *p1, yrn, p1, k2; rep from * to end.
Row 3: P2, *k3, p2; rep from * to end.
Row 4: K2, *p3, k2; rep from * to end.
Work these four rows for the pattern until you reach your desired length. Bind off, and weave in ends.
Conclusion
Making the Eyelet Mock Cable Ribbing Stitch is not difficult, but it does require one to know how to work the pass the slip stitch over (psso), yarn around needle (yrn) and slip stitch (sl 1 ).
The fabric you create appears like fancy cables with the addition of little eyelets or holes. In addition, the cables are worked so that the fabric also looks like decorative ribbing.


