- Home
- Crochet Stitches
- Crochet Basketweave Stitch
The Crochet Basketweave Stitch
Crochet Basketweave Stitch by Janice Jones |Updated 08-23-2023
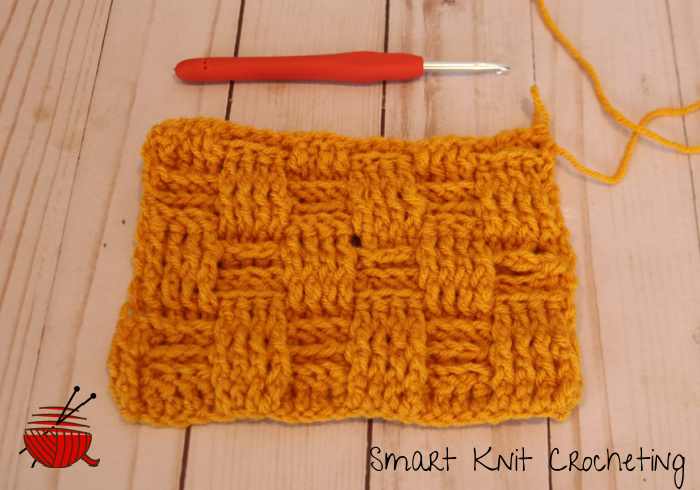
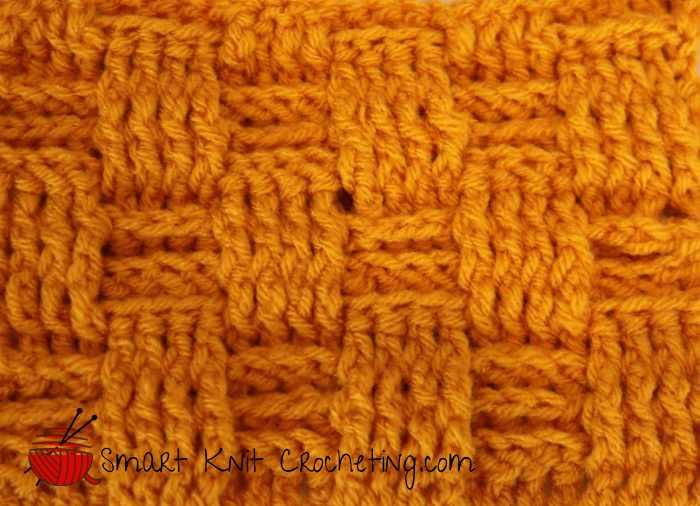
This crochet stitch looks similar to the basketweave stitch in knitting and is accomplished by crocheting into the front post and the back posts of double crochet stitches. It creates a fabric with texture yet flexibility and works great in a variety of different simple designs.
- washcloths
- pot holders
- scarves
- blankets
- cowls
- fingerless mitts
- household accessories

To do this stitch, you will need to know how to make a chain knot and chain stitch, double crochet, and how to work into the front post of a double crochet stitch and then the back post of a double crochet stitch.
Since it is basically a double crochet stitch, it is considered to be beginner friendly. These abbreviations and stitches are written in American/Canadian form.
Abbreviations written in US Terms
ch = chain
dc = double crochet
fpdc = front post double crochet
bpdc = back post double crochet
st = stitch
sk = skip
beg = beginning
*to = repeat * to the instructions.
Don't worry if you don't know what fpdc or bpdc means as I will explain it in just a minute.
If you have already mastered the double crochet stitch, you are most likely making it by inserting your hook into the top two loops of the previous row.
That is the most basic way to make a double crochet. But that is not the only way to do it. You can insert your hook into just one of those top loops or you can insert your hook into what is known as the post.

Beginning or Foundation Row
I have seen the crochet basket weave stitch done on several different variations of stitches, but for the purpose of this tutorial, we will be working on a multiple of 8 stitches plus 4. So,
Ch a multiple of 8 sts + 4: For my sample I have chained 28 (3 x 8) plus 4.
Row One: Skip the first 3 chains and make a double crochet into the fourth chain form the hook, Continue making a double crochet into each chain until the end of the row. Chain 2 and turn. The Chain 2 counts as the first double crochet.
Row Two: Do a front post double crochet around the second double crochet from the hook. Make a front post double crochet in the next 3 double crochet stitches until you have a total of 4 front post double crochets. Next,
Make a back post double crochet in the next 4 double crochet stitches.
Continue in this pattern until you reach the end of the row. There will be a series of chains. Make a half double crochet in the top chain of the last stitch. Turn your work and Chain 2.
Row Three: Back post double crochet into the first four stitches. Then front post double crochet into the next four front post double crochet. Continue back post double crochets into the previous back post double crochet and front post double crochets into the front post double crochets until the end of the row. In the last chain, half double crochet into the top chain to finish off row three.
Row Four: Chain 2 and turn your work. Repeat row 2 until you reach the end of the row. Make a half double crochet in the last top chain. Chain two and turn your work.
Row Five: For row five, you will be making a front post double crochet into all the back post stitches and a back post stitch into all of the front post stitches. (This is just the opposite of what you had been done for rows one through four). Add the last half double crochet in top chain. Chain two and turn your work.
Row Six: Repeat row five working front post double crochet into front post crochets and back post crochets into back post crochets. until the end. Always end with half double crochet in to chain. Chain two and turn your work.
Row Seven and Eight: Repeat row six.
Row Nine: Repeat row five and continue for pattern for as long as is needed.
Crochet Basket Weave Stitch Free Pattern
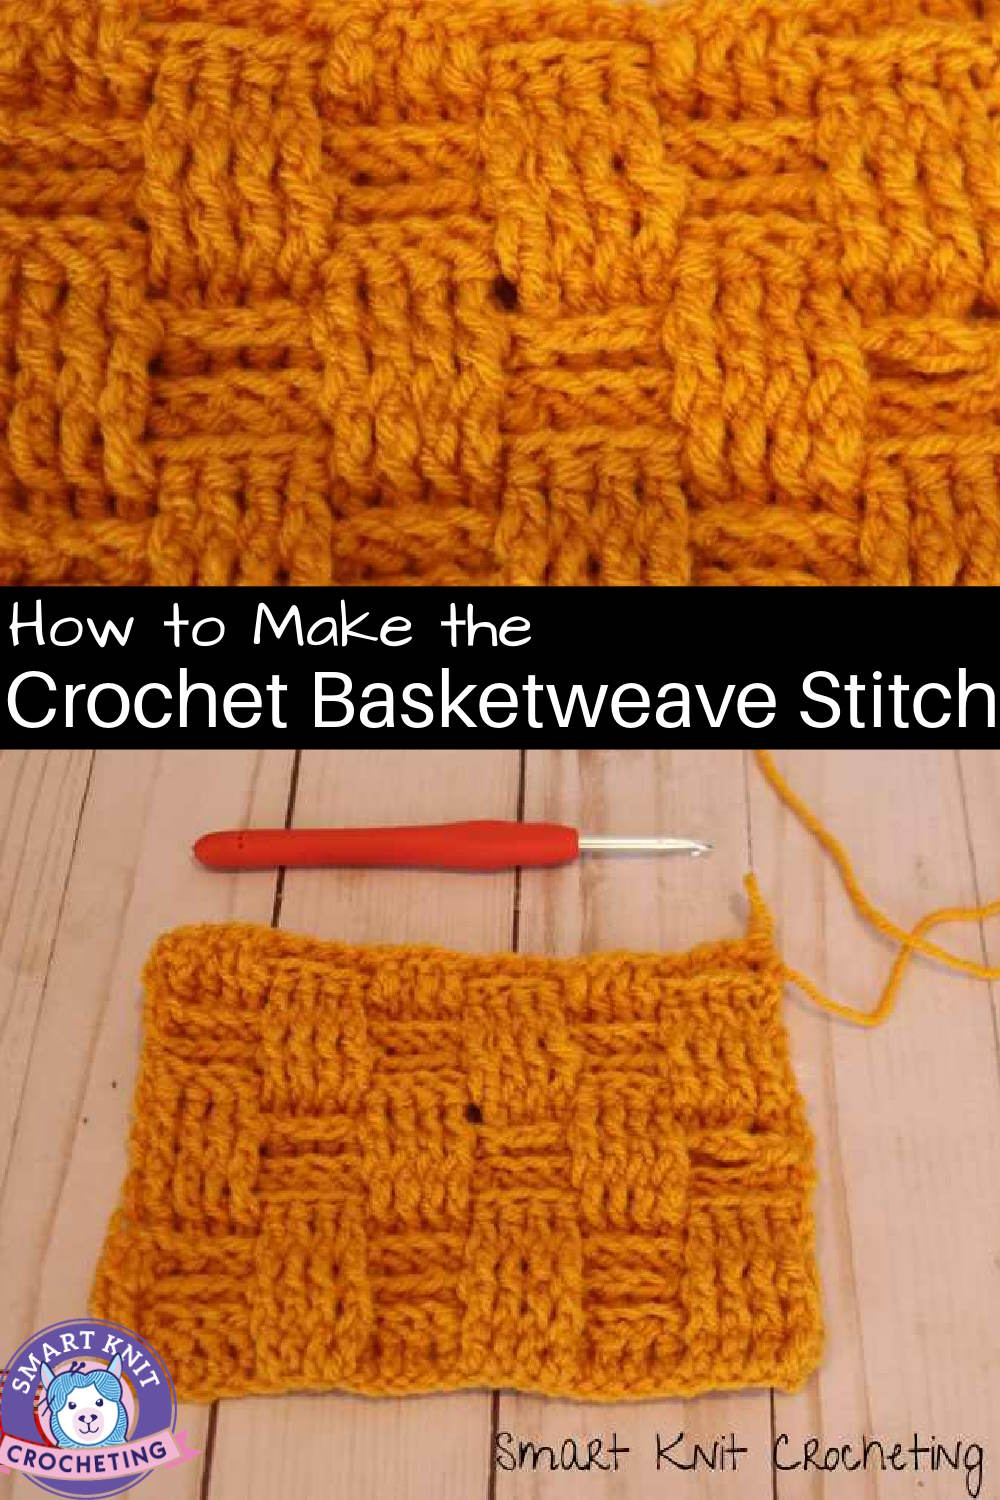
Crochet Basketweave Stitch Pin for Future Reference
About Janice
Hi, I’m Janice, the voice behind Smart-Knit-Crocheting. I love to knit and crochet and even more, I love teaching others what I know.
Though I learned to knit and crochet as a child, I didn’t get serious about these amazing hobbies until I retired. I’m a certified knit and crochet instructor through the Craft Yarn Council and am working on becoming a Master Hand Knitter through The Knitting Guild Association.
I’m currently living with my husband of over 50 years and our 6 Shih Tzu dogs.
I love hearing from you, so please drop me a line and let me know what you’re working on, whether you love knitting or crocheting more, and if you have any questions. Please visit my about me page for more information.
Happy Crocheting


