- Home
- How to Knit: Basics
- Blocking Knitting Projects
Blocking Knitting Projects
Blocking Knitting Projects by Janice Jones
Blocking is a term used by knitters and other fiber arts to describe how the knitted fabric is transformed through moisture and sometimes heat to relax the fibers within and reshape the object to a desirable form. Blocking can even out stitches, stretch, and shape a knitted piece to create a desirable finished dimension through water or steam.
Why Block Your Knitting Project?
Blocking adds the finishing touches to knitting while allowing the knitter to shape and accentuate special features such as lace or cables within the fabric. Blocking makes knit pieces appear professional.
There are several reasons to block. Firstly, blocking can even out tension to some degree. It can smooth out some stitches making the knitting appear more polished. It can also improve the drape of the finished project giving your project a finished appearance.
A misshapen project can become more symmetrical after blocking. Additionally, it can alter the size of the knitted piece to some degree. Adjusting the size requires the use of a ruler. Not only can blocked items look better, but they can also fit better as well.
Finally, it is essential when knitting certain types of fabric, such as lace. Without blocking, lacy fabrics would not open, and the pattern of holes and stitches would not be noticeable.
Equipment and Tools Needed for Blocking Your Knitting
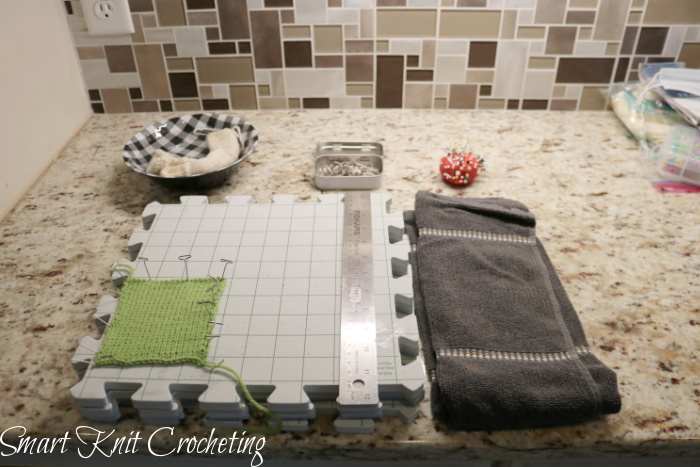
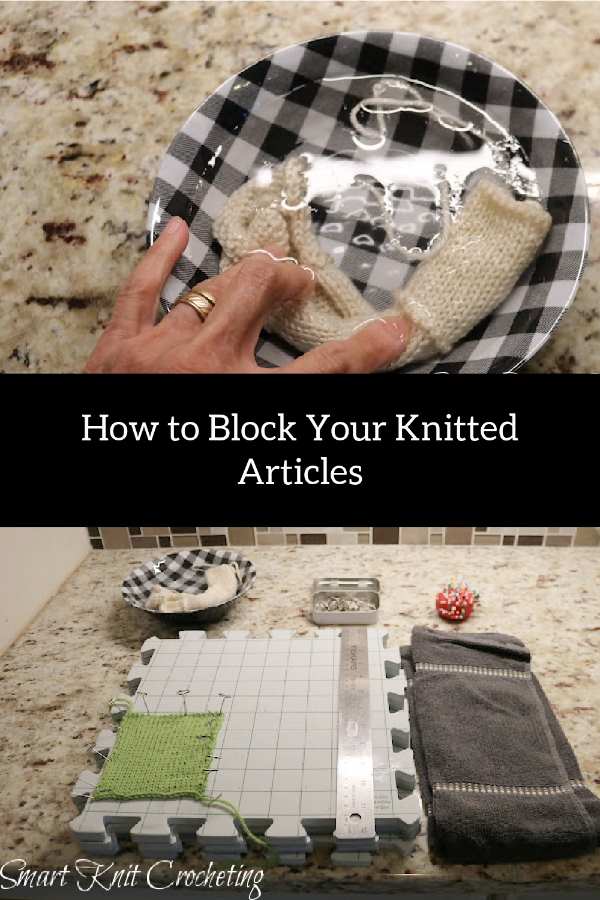
Depending on the method used to block, some essential tools are required.
- A bowl or container to hold clean water or a clean sink
- A spritz or clean spray bottle if using this method
- Garment steamer or steam iron with a steam setting or steam function if using that method
- Blocking or foam mats: Those with grid lines are especially easy to use
- Rust-proof pins (Either pins specifically for needlework, called blocking wires, or regular sewing straight pins)
- Ruler
- A square measure if the object has 90-degree angles
- Dry Clean Towels
- A flat surface where the blocking project can remain undisturbed while the project dries
Three Main Ways to Block
What is the best method for blocking your knit projects?
The blocking method you use depends on the content of the yarn. Different methods are recommended for natural fibers versus synthetic fibers or acrylic fabric.
Many ball bands or the yarn label provide information on which blocking process you will use, though there seems to be an agreed-upon method depending on the fiber of the yarn used. First, look at the care instructions on the yarn label.
The three main ways to block knitted fabric are wet blocking, steam blocking, and a spray bottle to mist the fabric (cold blocking).
Wool, linen, cotton, wool-like fibers such as alpaca, camel hair, and cashmere can be steamed or wet blocked. Synthetics, mohair, angora, and wool blends should be wet blocked. Textured novelty yarns such as metallics and lurex should not be blocked.
If the yarn is a blend of fibers, choose the appropriate method for the most delicate of the fibers.
Wet Blocking Knitting or Immersions
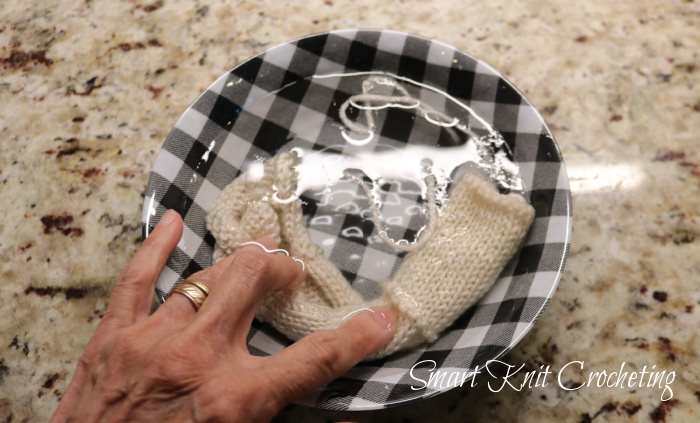
Wet blocking is a technique where the object is wholly immersed in water and allowed to remain there until the water completely saturates all the fiber.
Immerse the fabric in lukewarm water (60-80°F or 15-27°C) for at least 20 minutes. This soaking time is needed to ensure that all fibers become saturated.
Do not agitate. This is a suitable method for blocking synthetics and wool.
After about 20minutes or so, remove gently and squeeze out excess water. Place the swatch on a clean dry towel and roll the towel up to remove more of the water.
You can also use a washing machine with the spin cycle to remove the excessive water.
Once damp but not dripping wet, place the fabric on a flat blocking mat and shape with your fingers to the desired shape and size using a ruler and corner square, if applicable.
A Tape measure is not recommended because it can stretch over time. Pin at the corners and then at regular intervals along the sides and top and bottom.
Allow the fabric to dry completely before removing the pins. This may take upwards of 24 hours or more depending on the size of the fabric.
Pros
- Works well for swatches made from wool, wool-like fibers, cotton, synthetics
Cons
- May need a large clean sink or tub for large projects
- Requires a long drying time.
Steam Blocking Knitting
This method uses a steam iron or garment steamer and is similar to wet blocking, but steam replaces the cool water to relax the fibers.
Steam is an appropriate method for fibers that should not get wet and cotton that loses its shape when immersed. It is not a suitable method for human-made fibers because steam may destroy the fiber.
The fabric is pinned first, followed by steam from your iron.
To use this method, hold the steam about ½ inch from the surface of the knitted object. You may use wet cheesecloth and press the iron lightly onto the knitting surface with a dry iron.
Then, let sit on the blocking mat until cool and dry.
Pros
- Can soften up scratchy yarns
Cons
- Requires the purchase of a steam iron or garment steam
- It could melt acrylic fibers if you touch it with the steamer or "kill the swatch." So this is not a recommended method for blocking acrylic fabric.
- Should not be used for ribbing
- It should not be used for very fluffy yarn as it can mat, harden, and even felt
- It cannot be used on silk.
Spray Blocking Knitting (Also Called Cold Blocking)
This process is similar to steam blocking, but you would use room temperature water in a spray bottle instead of steam.
First, you would pin, then lightly spray, followed by a gentle smooth out with your fingers pressing with fingers. Leave to dry.
This method is best used with acrylics because they can be damaged with too much heat.
Pros
- This method can be accomplished in any room of your home because no electrical appliances are required.
- Suitable method if you are dealing with angora or mohair or synthetics
Cons
- Requires a long dry time because the piece is wet with a spray bottle, and no water is squeezed out.
How and When to Pin for Blocking Knitting Projects
Pinning requires stainless steel or rust-proof pins and a blocking mat that is large enough to accommodate the entire swatch or piece of a garment. Please do not rely on tape measures, commonly used in sewing because they tend to distort over time. Instead, use a flat ruler.
Spread out the fabric and smooth with your fingers to flatten any wrinkles. Roll out any edges that may curl, such as a stockinette swatch.
Start by pinning the corners or other strategic points such as shoulders if doing a sweater.
Position the fabric to the desired length and width, except for lace which should be stretched and "opened" to reveal the many holes made with yarn-overs. Ribbing should not be stretched. It is meant to retain it shape.
Pinning is done between the stitches and at a slight angle, assuring that the top and bottom edges are straight and perpendicular to both side stitches.
Pins should be placed about every inch or more to prevent the edges of the swatch from becoming scalloped. Swatches should be pinned so that the right side is facing up, and it is usually easier to place the bind off edge at the top.
For example, in stockinette stitch, the edges that tend to curl are straightened out with fingers and pinned into the selvage row.
Pinning should not stretch out the fabric except for lace.
Blocking Various Types of Knitting Projects
Blocking Knitting Lace fabric such as a lace shawl
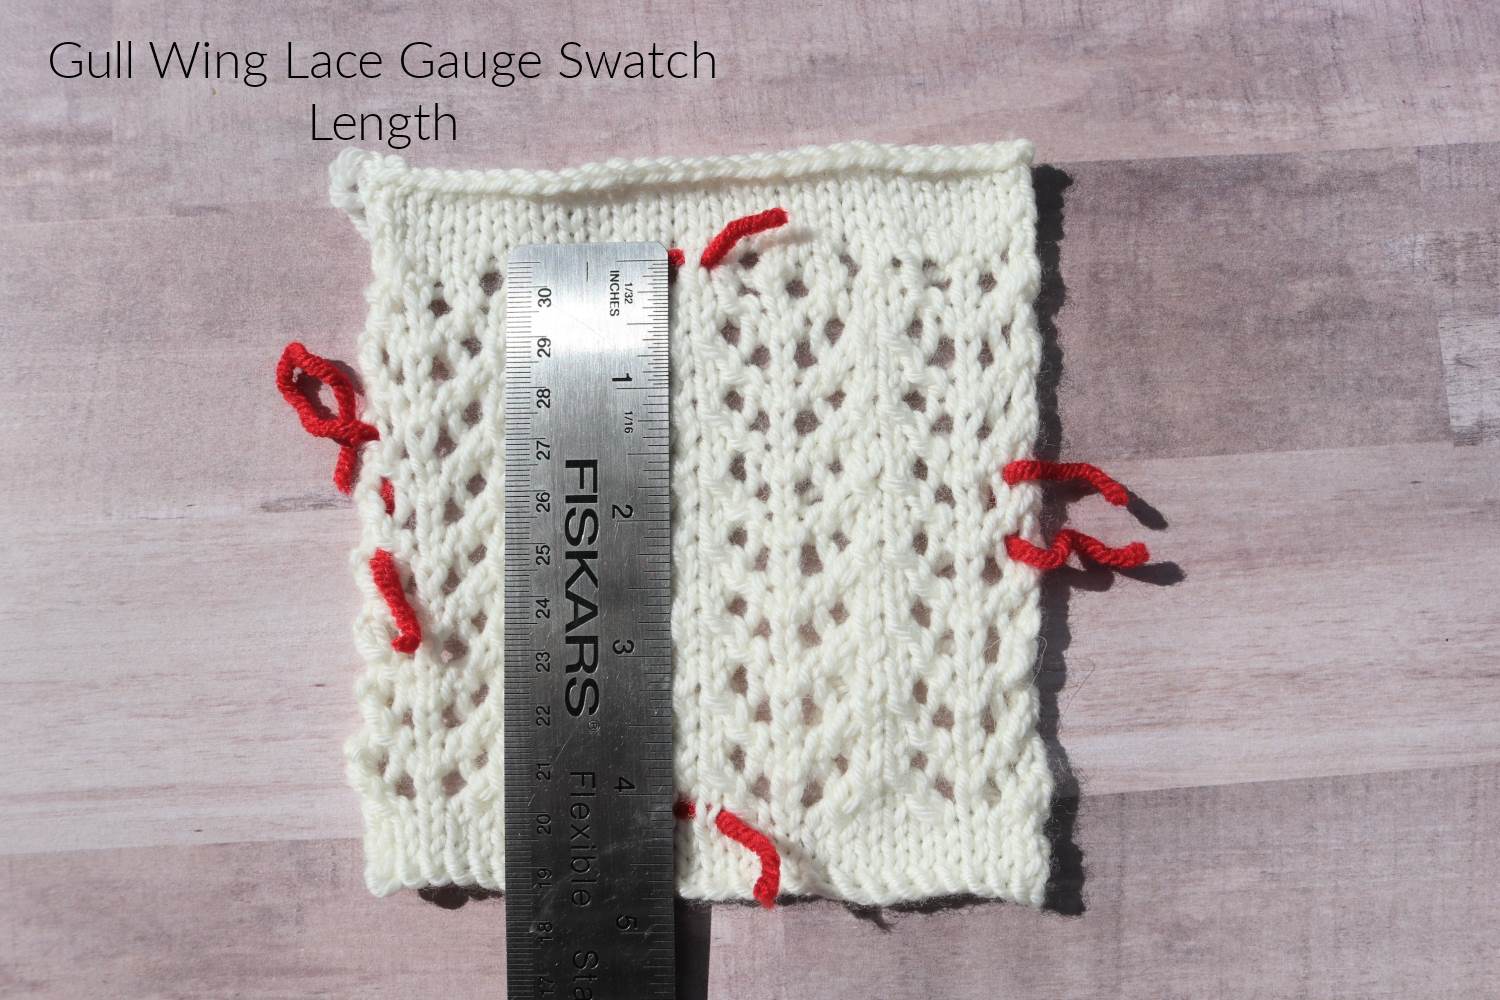
Lace is one of those fabrics that need to be stretched out while blocking. Without this stretching, the pattern can not be seen. Furthermore, without stretching, your project would not match the final dimensions called for in the pattern instruction.
Blocking Knitting Cable
Blocking swatches of cables can be difficult because you do not want to stretch them out excessively or flatten the texture. For this reason, most cables are not blocked extensively.
Blocking fabrics made from different cable patterns can be an individual choice. For some cable fabrics, you want it to lay flat yet have the cables more noticeable. Some you would like to create a flatter texture, thereby blocking more.
Blocking Knitting Textured Fabric
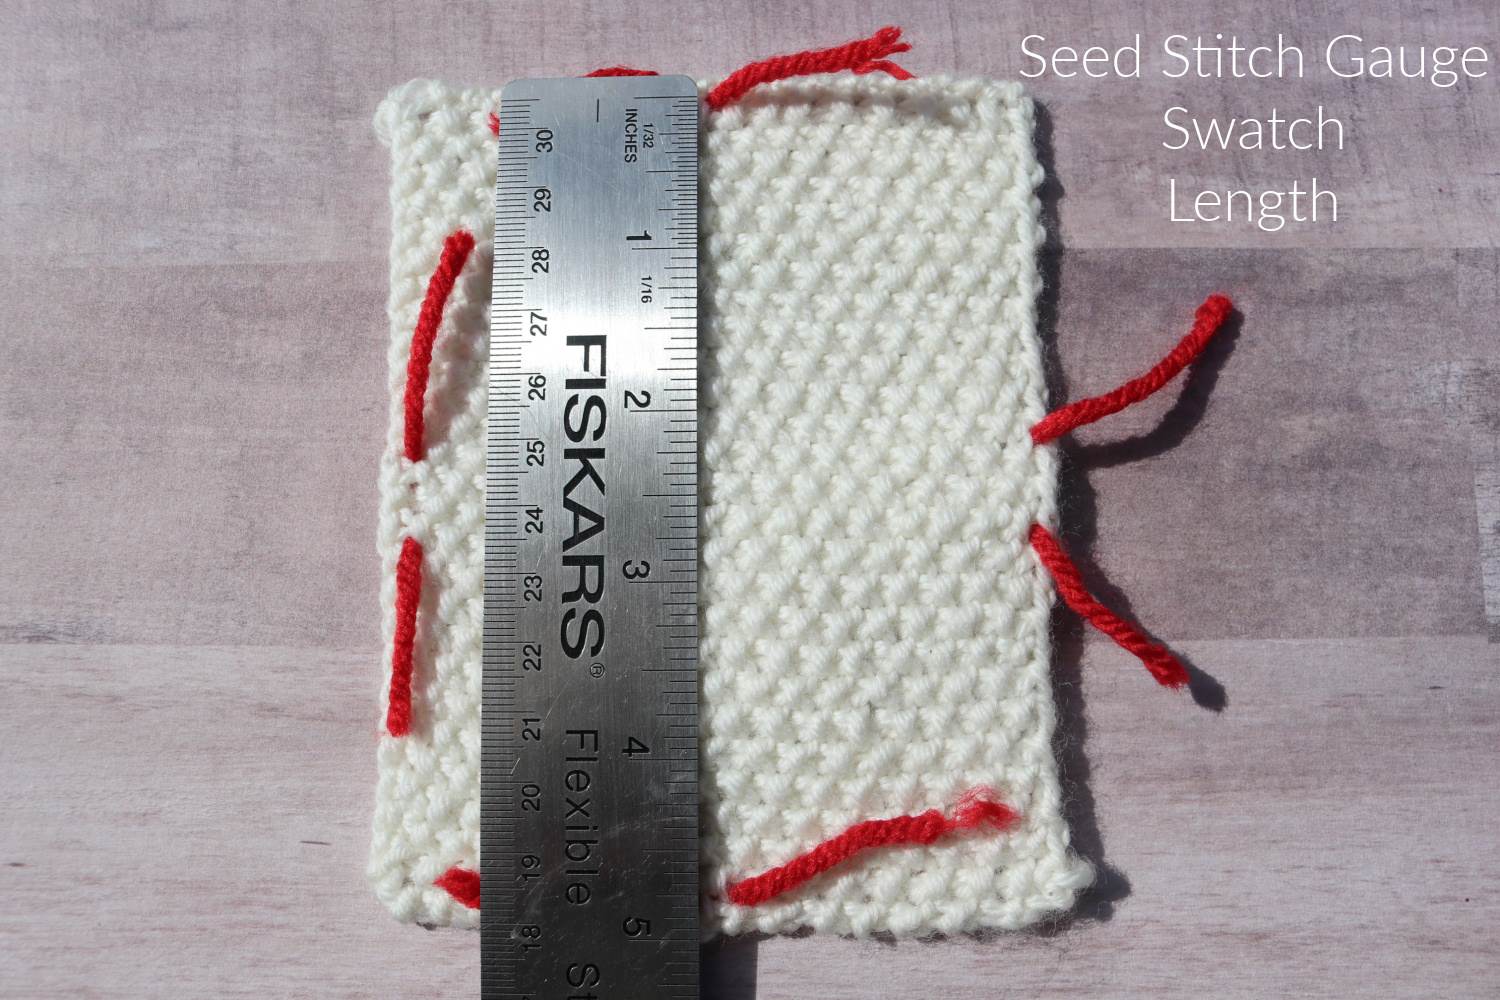
A textured fabric such as a seed stitch swatch is relatively easy to do. For this one, you want to square off the corners with pins.
Once the corners have been pinned, look at the swatch to ensure that the lines created within the pattern are straight. If you find a few curvy lines, press with your fingers to line them up.
Blocking Knitting Ribbing
Ribbing should not be pulled outward or stretched. If ribbing is stretched when blocking, it is unlikely to return to the appropriate shape and measurements.
Ribbing is often used in knit projects such as cuffs and the bottom of a garment where stretchiness is needed for fit. The primary purpose of blocking ribbing is to square it up so that the ends are straight and the sides are at a 90-degree angle.
Blocking Knitting Garter Swatch
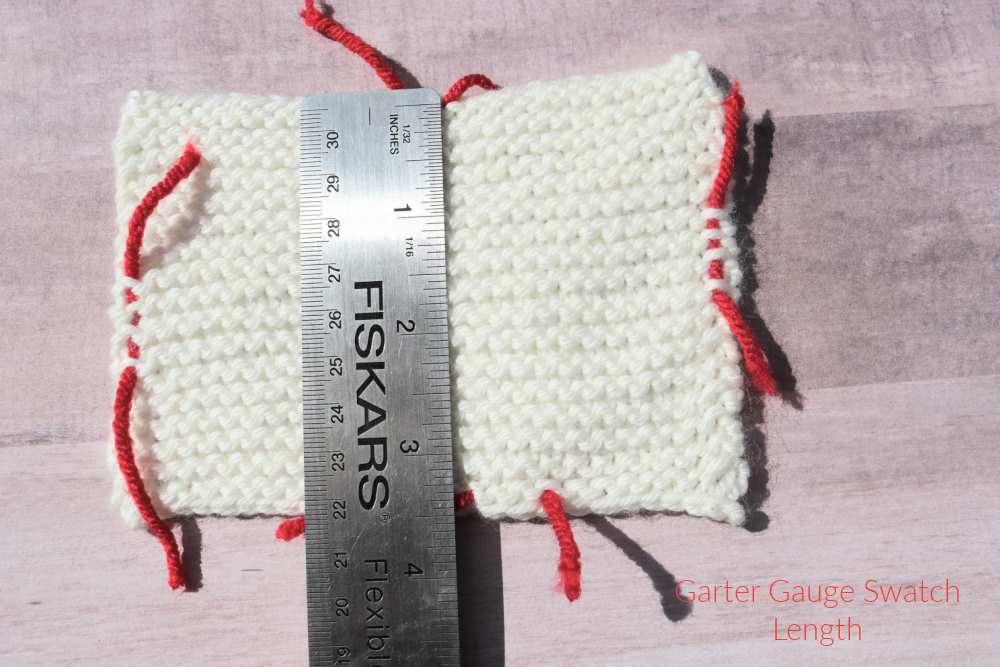
Some knit stitches, such as the garter stitch, tends to relax to the extent that it will stretch out in all directions.
You don't want this to happen, so pressing the swatch with your fingertips helps mold the swatch back into shape. It is an easy swatch to block once pressed back in shape. The main task is to square off the corners, place pins in each corner, and dry.
Blocking Knitting Stockinette Swatch

For the stockinette stitch, unrolling the edges is necessary because the side edges tend to roll. This can be accomplished by unrolling the sides first, press flat with your fingertips, and then pinning the selvage stitch so it is facing you.
Place a pin about every inch, between stitches trying not to stretch the fabric. Once you have placed the pins on all sides, leave to dry naturally.
The How and Why of Blocking a Gauge Swatch
Agauge swatch should be blocked before measuring to get an accurate gauge measurement which would be very similar to the finished article.
Blocking also allows you to learn a great deal about the yarn you are using. Some fabrics stretch after blocking while others shrink.
This is valuable information, especially if you are making a garment where you want a good fit. Some yarns, such as cotton, will shrink, whereas, others such as alpaca, will stretch.
Beyond that, blocking a gauge swatch also allows you to gain practice in blocking knitting the proper way. It requires you to be mindful of the evenness of the stitches (tension) and observe your selvage and edge stitches.
This information is essential when you begin to create seams. It is much easier to learn to block on a five-inch square of fabric than an XL sweater.
Each type of swatch should be pinned at the corners first, then, if needed, along the sides and top and bottom. Pins should be placed at an angle rather than straight down.
Once completely dry, the gauge swatch can be measured to determine the gauge. From there, you can compare your gauge to that published on the pattern you want to make.
If it matches, you are ready to begin your project. If not, then you will need to go back and create another gauge swatch using a different-sized needle or another method.
Troubleshooting
My edges are curling!
Stockinette stitch naturally curls.
This is normal! Blocking relaxes the stitches and will help the piece lie flat. A garter stitch border can also prevent curling.
Uneven tension while knitting may also cause edges to curl.
Blocking can help even out minor tension issues. Practice consistent tension while knitting for best results.
My lace pattern isn't opening up!
The yarn hasn't fully relaxed, or you skipped blocking.
Blocking is essential for lace! It allows the yarn to bloom and the pattern to reach its full potential.
My blocking is taking forever to dry!
Use a thick towel when using the wet method and press out as much moisture before beginning to block. If you live in a humid environment, place a fan near your blocked project to circulate air. Consider investing in a dehumidifier if humidity is a recurring issue.
My project shrunk or stretched after blocking!
One possible cause for this to happen is using the wrong blocking method for the type of yarn fiber. Research the recommended blocking method for your yarn. Wool generally can handle more aggressive blocking than delicate fibers like silk or bamboo.
There are Pin Marks left on my fabric!
Pin marks seen on a blocked fabric is usually the result of rusty pins. If you are uncertain about your pins, consider purchasing a new set to avoid this problem in the future.
Alternatives to Soaking
An older blocking method that is still useful today is helpful if you don't want to use any of the three standard methods.
All you need for this method is a towel, soaked in water and wrung out.
Place the fabric you want to block on a mat but do not pin. Place the damp towel on top and press lightly to allow the moisture to penetrate your fabric.
Pin as usual and let dry.
This might be an alternative to acrylic fibers that are difficult to block.
Last Words About Blocking Knitting
Blocking a knitted item can seem like hard work. As a beginning knitter, I often wondered if I could skip this step, but the final result that produced the desired size and dimensions made me believe in the process.
The finished look always appeared more professional after blocking, so I decided that blocking was an important step when knitting to produce that finishing touch.
Always choose blocking mats that serve your purpose, either homemade or commercially available. Choose the correct method based on the type of yarn used to knit your project, whether it be.
Happy Blocking
Pin for Future Reference
References and Further Reading and Watching About Blocking Knitting
Here are some of the references I used while researching this topic. There are many excellent YouTube videos on this subject
Bryan, Suzanne. How to Wet Block Swatches / Blocking a Variety of Wool Fabrics
Eckman, Edie. How to Block Knitting and Crochet.
Gonzalez, Leslie. Blocking Swatches for the MHK Program.
Holladay, Arenda. Blocking ribbing and cables--Tip of the Week--09 07 12
https://www.youtube.com/watch?v=v8L6kL3G7R4
Parkes, Clara. The Knitter's Book of Yarn: The Ultimate Guide to Choosing, Using, and Enjoying Yarn. New York: Potter Craft. 2007
Renaud, Jennifer. How to Block Acrylic Yarn, Wet, Spray, and Steam Blocking. https://www.acrochetedsimplicity.com/how-to-block-acrylic-yarn-wet-spray-steam-blocking/
Righetti, Maggie. Knitting in Plain English. New York: Thomas Dunne Books. 2007
Schwan, Binka. Blocking for the Master Hand Knitting Program: On Your Way to the Masters, Spring 2018
Schwan, Binka. On Your Way to the Masters: Blocking of Hand Knits. Cast On: August-October 2008
Square, Vickie. The Knitter's Companion. Loveland, CO: Interweave 2012
Stanley, Montse. Reader's Digest Knitter's Handbook. New York: Reader's Digest Association, 2001
Vogue Knitting: The Ultimate Knitting Book. New York: Sixth&Spring Books, 2917
