- Home
- Types of Knit Stitches
- Knit and Purl Stitches
- Basketweave Knit Stitch
Basketweave Knit Stitch: Practice Your Knits and Purls
by Janice Jones
The basketweave knit stitch requires you to know how to make the knit and purl stitches. It does require a little counting and the ability to keep track of rows and stitches. That's all.
I think it is fairly obvious why it is called the basketweave stitch and the nice thing about this stitch is that you can create it in many variations. I'm presenting one, with two variations that you can try, but once you've mastered it, you will be able to move on and even create your design.
Notes on the Basketweave Knit Stitch
- Easy beginner stitch
- Relies on your knowledge of knit and purl stitches
- Many variations from which to chose
- Perfect for scarves, blankets, hand mits, dishcloths and more
- Is not reversible but the back or reverse side is also very attractive.
- Worked on a 12-row repeat
- Worked over a stitch multiple of 8 plus 5
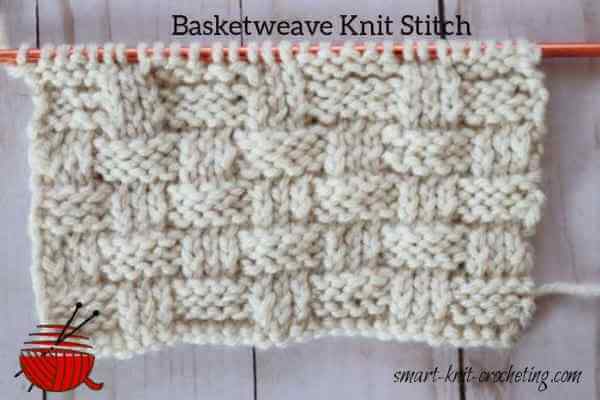
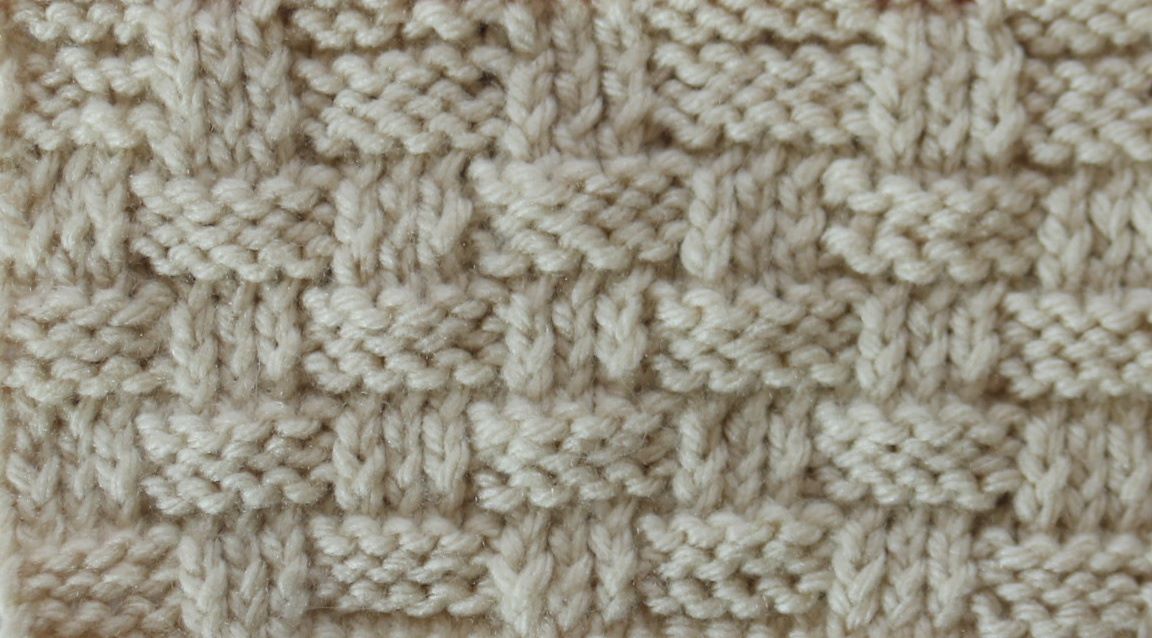
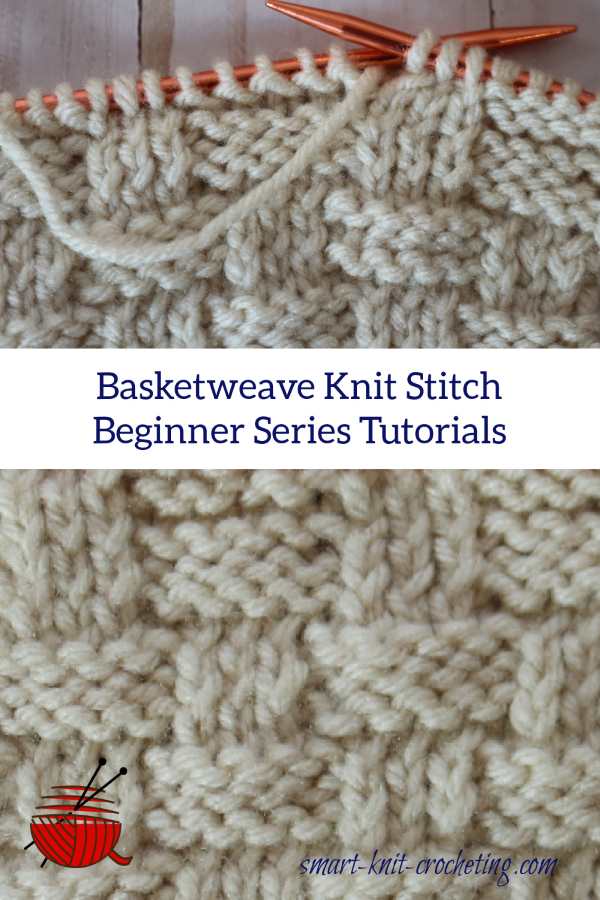
As you can see in the photo, the finished product looks like the stockinette stitch and the reverse stockinette, which creates a similar pattern to a woven basket.
I recommend that you start with the repeat pattern below. You will need to recognize the front and back of both the knit and purl stitch, but don't worry, I'm going to show you how easy this stitch can be.
Why Learn the Basketweave Stitch?
It is very versatile and can be worked with different variations of the knit and purl stitches. You'll see it in patterns for hats, scarves, blankets, hand warmers, and even dishcloths. And, with many of these items, you can create your designs based on the exact size you'd like to have.
How to Make the Basketweave Knit Stitch
 Basketweave Knit Stitch
This is my favorite version of the basketweave stitch, but by no means the only way to make it. I've included two more variants that you can explore below the first tutorial.
The pattern is worked over a multiple of 8 stitches plus five. So for the one I just made, I cast on 24 (8x3) + 5 for a total of 29 stitches.
Rows 1 and 5 (RS): Knit.
Rows 2 and 4: K5, * p3, k5; rep from * to end of row.
Row 3: P5, * k3, p5; rep from * to end of row.
Row 6 and 8: K1, p3, * k5, p3; rep from * to last st, k1.
Row 7: P1, k3, * p5, k3; rep from * to last st, k1.
How do you know which row you are on?
Good question. There are a couple of ways to do this, and my recommendation is to try them and see what works best for you. In any event, you will still need to be able to recognize stitches and rows by looking at your work, but we'll get to that in just a minute.
Method One: Stitch and Row Counters
Use a row counter. These are inexpensive items that help you keep track of the number of rows you've worked. There are many different variations, but the one I like, if you can find it that fits the size of knitting needles you are using, slips onto the needle. No way to lose it!
Method Two: Old Fashion Paper and Pencil
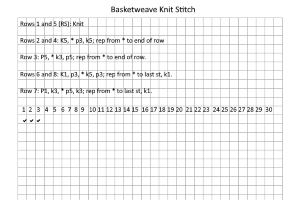
Use a piece of paper or notebook to make tally marks after each row. I use graph paper such as the one below. After each row, I add a checkmark and keep going. The accuracy of either method depends on your ability to remember to make a checkmark or advance the row counter.
Variations of the Basketweave Knit Stitch
Variation One: Work on multiples of 6 plus 2 stitches (Example 14, 20, 26)
Row 1: Knit all Stitches
Row 2: Purl all stitches
Row 3: Knit all Stitches
Row 4: Purl 2, *knit 4, Purl 2*; Repeat from * to end of the row
Row 5: Knit all stitches
Row 6: Purl 2, *Knit 4, Purl 2*; Repeat from * to end of the row
Row 7: Knit all Stitches
Row 8: Purl all stitches
Row 9: Knit all stitches
Row 10: Knit 2, * knit 1, Purl 2, knit 3* repeat from * to end of the row
Row 11: Knit all stitches
Row 12: Knit 2, *Knit 1, Purl 2, knit 3*; Repeat from * to end of the row
Continue to repeat these rows until you have the length you want.
Variation Two: Work on multiples of 6 plus 2 stitches with one edge stitch on each side
This one is similar to the one above with just a couple of changes.
Row 1 (Right Side): Knit all stitches
Row 2: Purl all Stitches
Row 3: Knit all stitches
Row 4: K1(edge), P2, *K4, P2* Repeat from * to the last stitch; K1 (edge)
Row 5: Knit all Stitches
Row 6: K1(edge), P2, *K4, P2* Repeat from * to the last stitch; K1 (edge)
Row 7: Knit all Stitches
Row 8: Purl all Stitches
Row 9: Knit all Stitches
Row 10: K1 (edge), K2, *K1, P2, K3* repeat from * to last st. K1 (edge)
Row 11: Knit all Stitches
Row 12: K1 (edge), K2, *K1, P2, K3* repeat from * to last st. K1 (edge)
Identify Knit from Purl Stitches
By now, you've probably figured out what a knit stitch and a purl stitch look like on the right side of the fabric. If not, here's a little review.
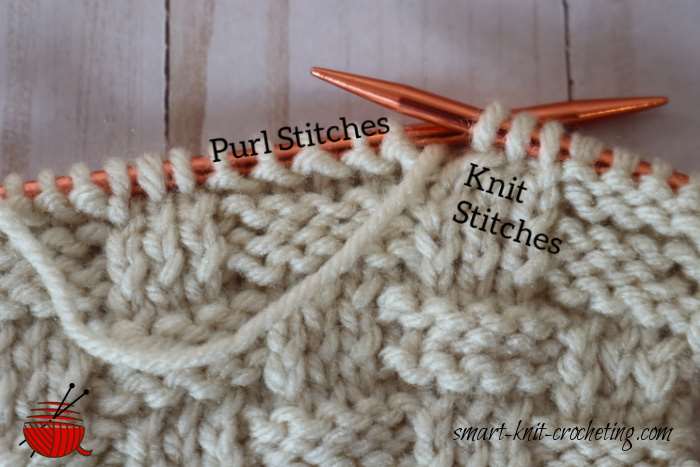
Remember, the knit stitches will look like the stockinette stitch, and the purl stitches will resemble the reverse side of the stockinette stitch.
Working the Basketweave Knit Stitch from a Knitting Chart
Pin for Future Reference
 Basketweave Knit Stitch