- Home
- Free Knit Patterns for Babies
- Andalusian Knit Stitch Dishcloth
Andalusian Knit Stitch Dishcloth
Beginner-Friendly Andalusian Knit Stitch Dishcloth Pattern
by Janice Jones
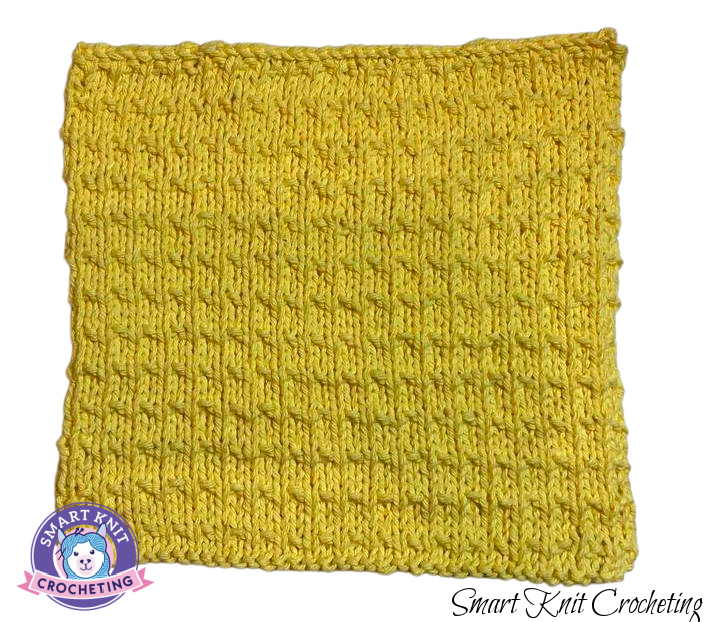
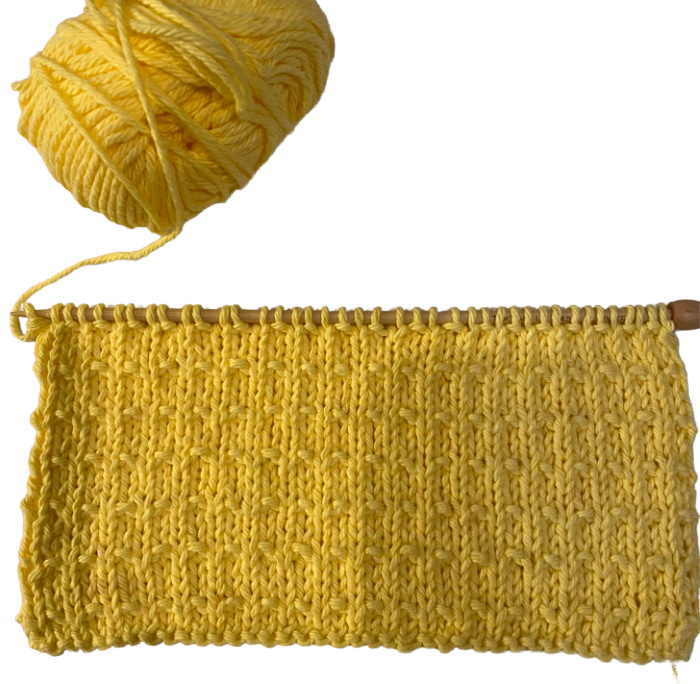
Here's a very easy, beginner-friendly dishcloth pattern that works up quickly and easily and is fun to make. It uses the single Andalusian Knit Stitch which is a quick 4 row repeat with a stitch row pattern of 2 + 1.

Andalusian Knit Stitch Dishcloth Pattern
For more information about the Andalusian Knit Stitch and the Andalusian Double Knit Stitch, Visit this Tutorial.
General Information about the Andalusian Knit Stitch
This stitch pattern calls for multiples of 2 + 1, meaning that you should start with an even number of stitches and then add one more stitch. An example would be 10 x 2 plus 1 or 21 stitches.
Row 1: (RS) K across the row.
Row 2: P across the row.
Row 3: *K1, P1* repeat from * to last stitch, then K1
Row 4: Purl across row.
Materials You Will Need
You will need:
- 100% Cotton Yarn ( I used Lily's Sugar and Cream 100% Cotton Yarn) but feel free to use your choice of cotton yarns.
- Size US 7 (4.5 mm) knitting needles
- Scissors
- Tapestry Needle
Finished Measurements
8 1/2 inches by 8 1/2 inches (approximately 21.5 cm)
Notes About This Pattern
All instructions are written in US Terminology.
Abbreviations
K = knit
P = purl
CO = Cast on
BO = Bind Off
RS = Right Side
sts. = Stitches
* Repeat from
Directions for Making the Andalusian Knit Stitch Dishcloth

CO 41 sts.
Row 1: (RS) K across the row.
Row 2: P across the row.
Row 3: *K1, P1* repeat from * to last stitch, then K1.
Row 4: Purl across row.
Continue in pattern until desired length is reached or 8.5 inches long. BO after a knit row. Weave in Ends.
Notes about the Andalusian Knit Stitch
There is a very slight curling at both sides (not the Cast on or bind off rows). It is due to the fact that three out of the four rows are worked in a typical stockinette stitch.
If you prefer to assure that the dishcloth lays completely flat without the need to block, add four additional stitches to the pattern. Use these alternate instructions.
CO 45 sts.
Row 1: (RS) K1, P1, K across the row to last 2 sts. P1, K1.
Row 2: P1, k1, P across the row to last 2 sts. K1, P1.
Row 3: *K1, P1* repeat from * to last stitch, then K1.
Row 4: P1, k1, P across the row to last 2 sts. K1, P1.
This extra selvage stitch on either side will allow the dishcloth to lay flat.
Optional Instructions: Double Andalusian Knit Stitch Dishcloth
If you read my page on the Andalusian stitch, you may have found that you prefer the Double Andalusian Knit stitch in which case by all means use these directions for your project.
CO 41 sts.
Row 1 and 3 (RS). Knit across row.
Row 2: Purl across row.
Row 4: P1,*K2, P1* repeat from *to end of row.
Repeat these four rows to desired length.
Finish off in the same manner as above.
Andalusian Knit Stitch Dishcloth
Pin for Future Reference
About Janice
Hi, I’m Janice, the voice behind Smart-Knit-Crocheting. I love to knit and crochet and even more, I love teaching others what I know.
Though I learned to knit and crochet as a child, I didn’t get serious about these amazing hobbies until I retired. I’m a certified knit and crochet instructor through the Craft Yarn Council and am working on becoming a Master Hand Knitter through The Knitting Guild Association.
I’m currently living with my husband of over 50 years and our 6 Shih Tzu dogs.
I love hearing from you, so please drop me a line and let me know what you’re working on, whether you love knitting or crocheting more, and if you have any questions. Please visit my about me page for more information.
Happy Crocheting


