- Home
- How to Crochet
- Single Crochet Stitch Tutorial
The Single Crochet Stitch Tutorial
by Janice Jones
Welcome to the world of Crochet. The single crochet stitch is one of the basic and first stitches that all new crocheters learn as they begin their journey into this amazing needle craft.
This page is all about a step by step method to making the single crochet stitch. If you are dying to use the stitch in a real project and not just practice, I’ve provided some ideas for you later on this page.
The best news about this stitch is that you can make hundreds of projects using just this stitch.
Before You Start: Tips for the Beginner
1. Use Light Colored Yarns
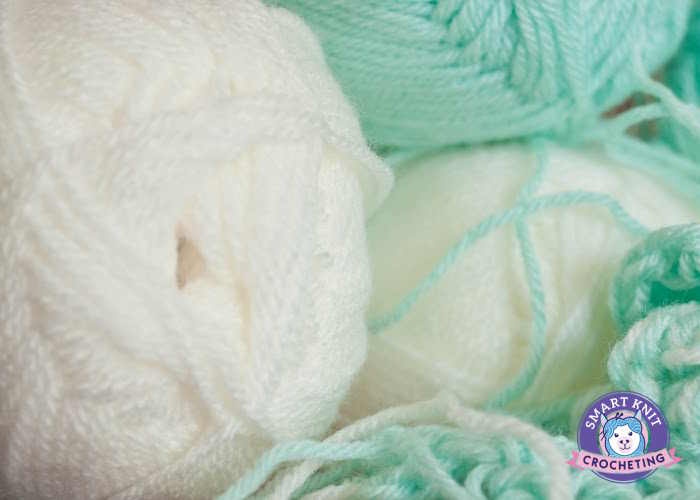
You'll need some yarn to practice the single crochet stitch. Light colored yarns work very well for beginners because you can see the individual stitches without needing extra lighting. You don’t need to limit yourself to white, but venture out in shades of light pink, blue, orange, green or purple. Tans and cream colors are also very easy to see.
2. Easiest Yarns for Beginners
If you want to get right into learning the single crochet stitch, find some yarn that has these symbols on the yarn band. Number 4 or worsted weight yarn in a light color, but Number 5 or bulky is just as good for beginners.
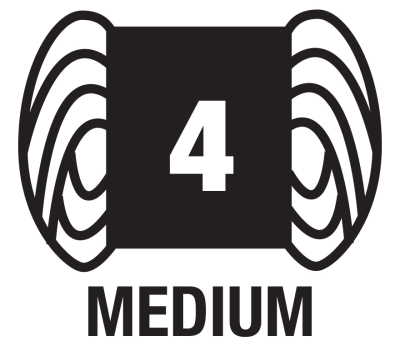
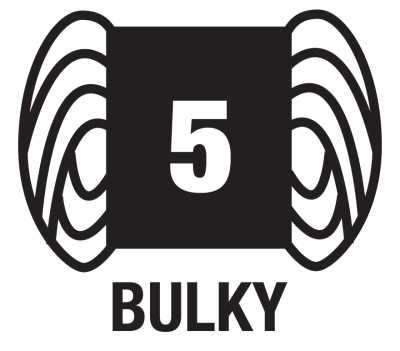
The number 4 on the yarn label is also called worsted weight yarn and is a medium weigh yarn perfect for learning to crochet. If you like something a little thicker, look for the #5 on the label.
Understanding yarn is beyond the scope of this tutorial, but if you would like more information, check out my article on the best yarn for beginners. If you are curious and want to learn even more, I have a comprehensive guide to yarn that will answer all your questions.
3. Crochet Hooks: Types and Sizes
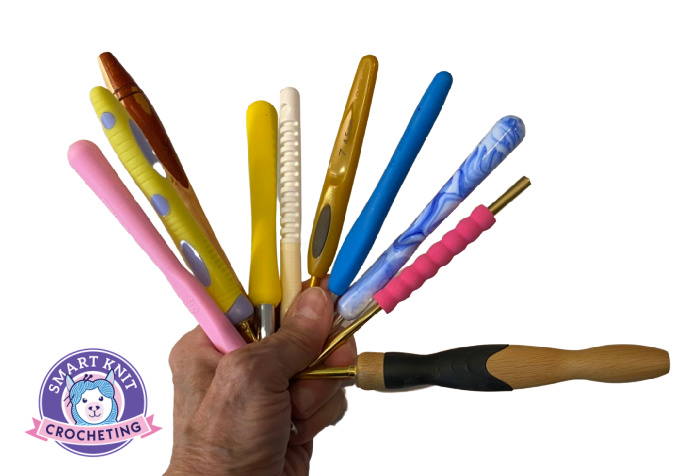
You will need a hook. It's overwhelming to choose a hook when faced with a wall of different hooks. For now, pick a hook that is appropriate for the yarn you chose.
#4 Yarn: Pick a size H or I or 5.0 to 5.5 mm hook
#5 Yarn: Pick a size J or K or 6.0 to 6.5 mm hoo
To learn more about hooks, check out my article about crochet hooks. If you have arthritis or are looking for a comfortable hook, read about ergonomic crochet hooks.
Prerequisites
You have your yarn and hook, so you are almost ready to learn how to make the single crochet stitch. But first, you will need to master two more skills:
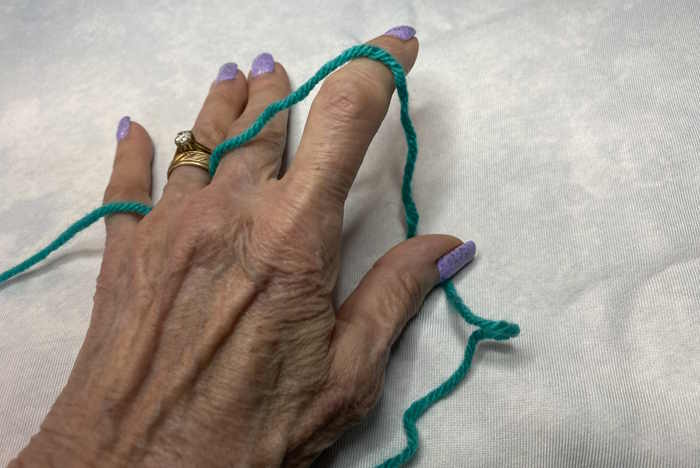
1. How to Hold the Yarn While Crocheting
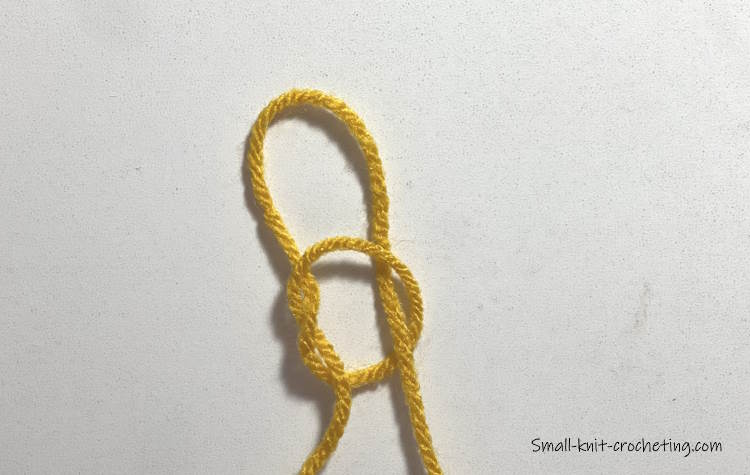
2. How to make the basic slip knot and chain stitch.
Are You Ready to Begin the Single Crochet Stitch Tutorial?
First, let's look at the abbreviation and symbol for the single crochet stitch. The abbreviation for the single crochet stitch is sc or SC. You will see that in written patterns.
In charts, you will identify the single crochet with a symbol that looks like this:
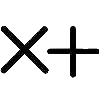 The symbol for the single crochet stitch either looks like an x or a plus sign.
The Craft Yarn Council provides a comprehensive guide for understanding stitch symbols. However, I have some chart symbol instructions as well on this site if you are interested.
Single Crochet Stitch Tutorial: Step-by-Step
The single crochet cross stitch is a fairly dense stitch. This means that the fabric you crochet may be solid and feel stiff. If you prefer that the fabric you create is softer and has a drape, you may prefer to start with a hook that is one size larger than the pattern calls for.

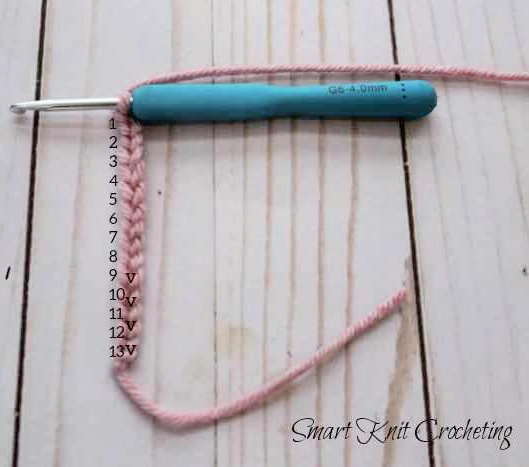
Single Crochet Stitch Tutorial, Step One: Make a slip knot and chain 21.
Single Crochet Stitch tutorial Step Two: Make a single crochet stitch in each chain across the row.
- Insert your hook into the second chain from your hook. Remember that the loop on your hook does not count as a stitch.
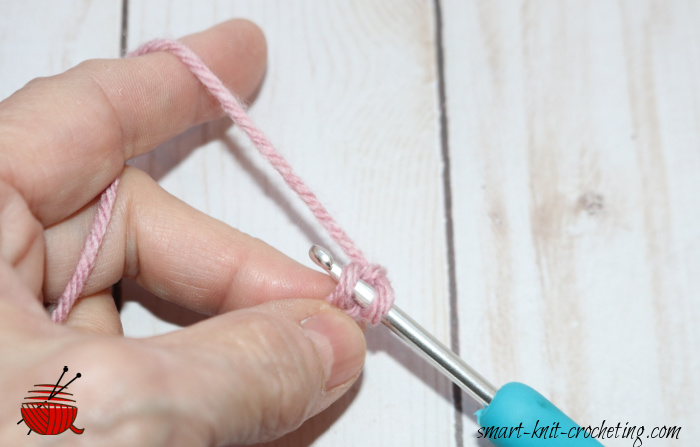 Insert your hook into the second chain from your hook
- Wrap the yarn from the back of your hook and over the front of the hook (yarn over or yo).
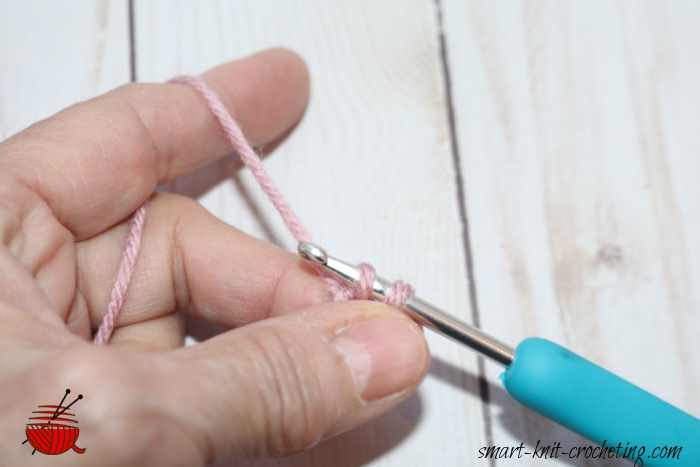 Wrap the yarn from the back of your hook and over the front of the hook
- Pull the yarn through the loop on your hook. Now you have two loops on your hook.
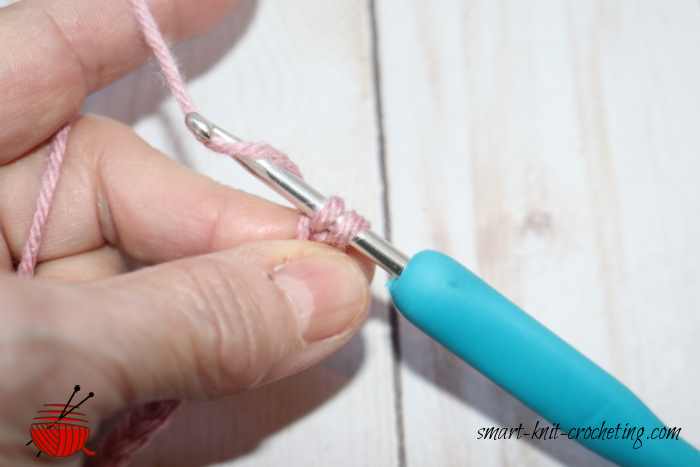 Two loops on the hook. Yarn over again
- Wrap the yarn from the back of your hook again (yo) and pull through both loops on your hook. You just made one single crochet.
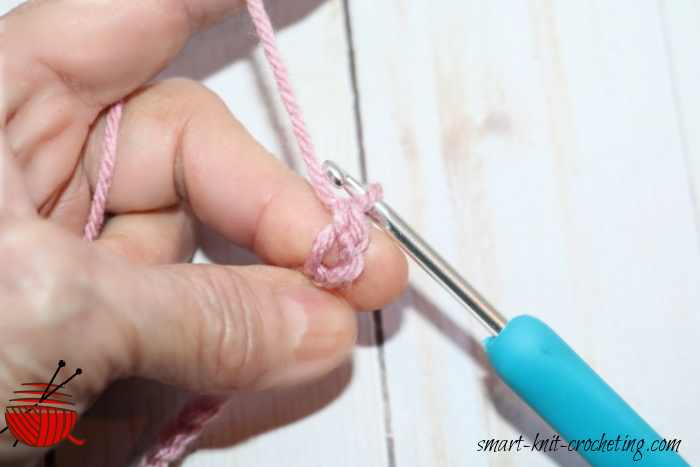 Pull through two loops to finish the first single crochet
- To make the second single crochet, insert your hook into the next chain stitch. Yarn over and pull the loop back through the chain stitch so that you have 2 looks on your hook. Yarn over again and pull through two loops. Continue in this way until you get to the end of the row.
Congratulations, you’ve worked the hardest row on you practice swatch. The next rows will be easier.
Now, let’s count the stitches you just made. You should have completed 20 stitches.
Are you having problems getting your hook through the chain stitch? Often if we make our chain too tight, the first row of stitches are difficult to make.
You can either wiggle your hook a little to get into the chain stitch or consider ripping out the chain and then making it slightly looser.
Remember if you are not bringing your stitches to the full diameter of the hook, the stitches will be too tight and will be difficult to work later on.
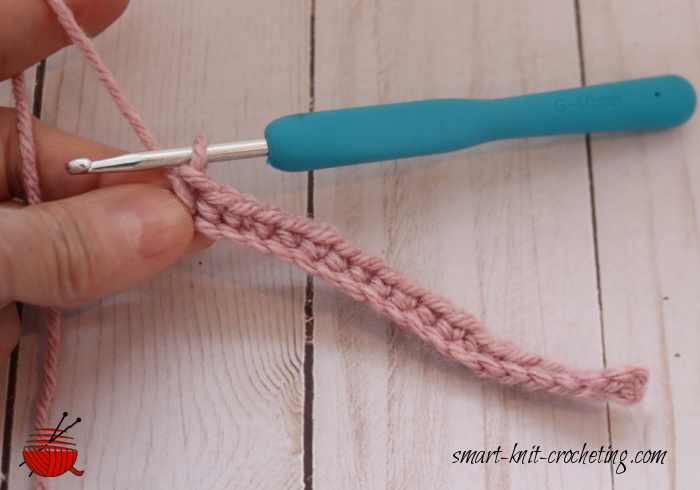 First row of single crochet completed
Single Crochet Stitch Tutorial Step 3: Work Row 2
- Make one chain stitch, and turn your work over so the reverse side is facing you. This time you will be work into the top of the single crochet stitch you just made.
- At the top of the row, you will see the v shapes that you are familiar with when learning the chain stitch. Insert your hok under the first v-shape.
- Yarn over as we did above, pull the loop back through the stitch. Yarn over again and pull through both loops on your hook. You should notice that your hook is going under the v shape. At this point, do not pick up either the front or the back loop of the v-shape. You will learn that some patterns call for picking up only one or the other loops but for now, you will be inserting your hook under both loops.
- Continue making a single crochet stitches in each stitch across the row to you reach the end. You should still have 20 stitches. Chain one and turn your work.
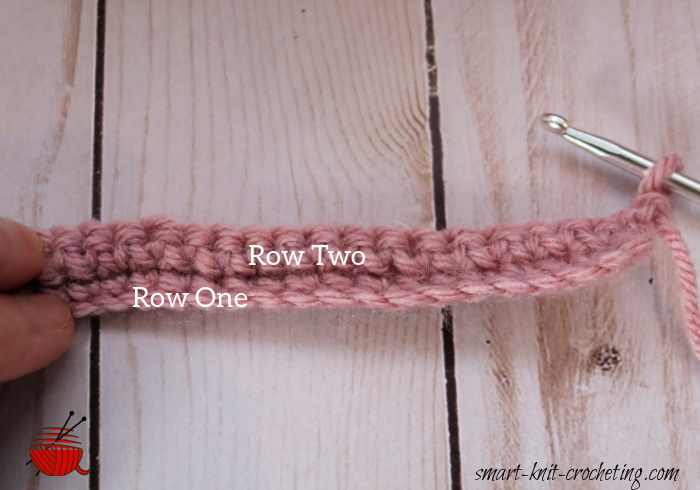 Two completed rows of single crochet. See the label
Repeat this process to create a fabric with single crochet stitches. Remember that practice makes perfect and don’t expect yourself to be an expert with your first try.
My work was awful when I first started, stitches were uneven and I had loops of yarn coming from nowhere. It’s all about getting the feel of the yarn and hook in your hand and learning how to control the tension as the yarn moves slowly across your fingers.
Counting Single Crochet Stitches
Once you've made a few stitches, it's important to recognize what you've made and how to count them:
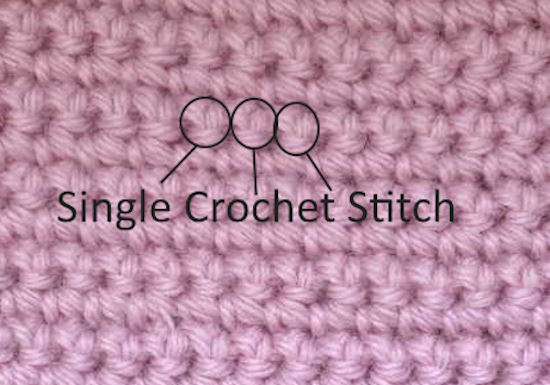 Each single crochet stitch on the right side of the fabric looks like the circled ones.
Check your own fabric and see if you can identify a single crochet stitch, then try to count them across the row.
Once you have done that see if you can identify a row of stitches and count those too.
The photo below shows 6 lines. Each line shows one row, but there is a row between each of the black lines so in this photo, you can see 12 rows of single crochet stitches.
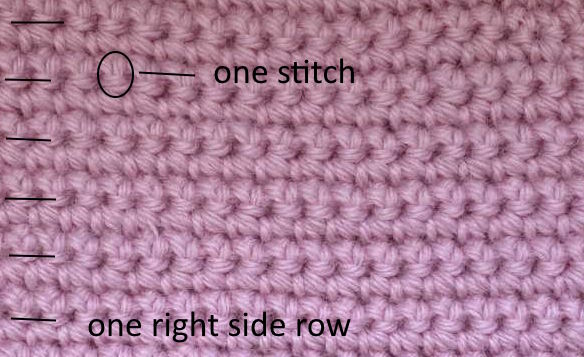 It is easier to identify and count rows on the right side of the fabric. Each line identifies one row of single crochet stitches on the right side. In between the rows of single crochet stitches identified are the rows that show what the single crochet stitch looks like on the other side of the fabric.
Practice the Single Crochet Stitch or Make something instead?
You may be the type of person that hates to practice, I know I’d rather be creating something beautiful that I can keep. Here are a couple of ideas to get you started on a project.
Single Crochet Dish Cloth Tutorial: FREE Pattern
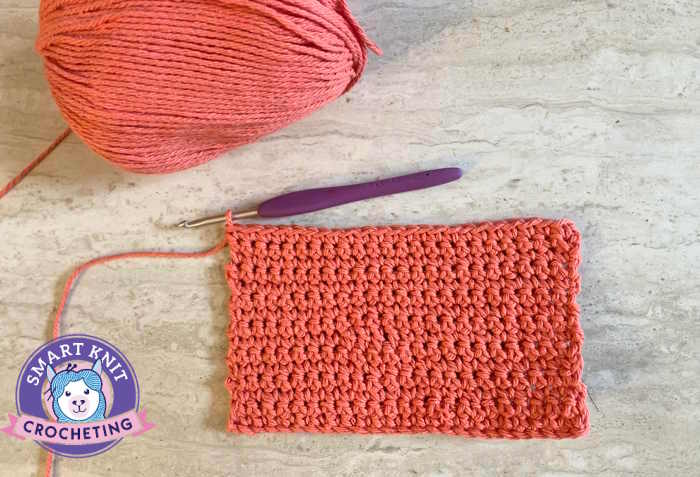
You can make a simple dish cloth that is both beautiful and functional just by practicing your single crochet stitch. Dish cloths are best made using a 100% cotton yarn. It’s practical and you can launder it easily in your washer and dryer. I made this one using:
Skill Level

Gauge
The actual gauge is not important in this project.
Project Notes
All instructions are written in U.S. terms.
Skills Needed for this Plush Yarn Easy Crochet Blanket
- 100% cotton thread number 4 worsted weight
- Size H or 5.0 mm hook
- Scissors
- Tapestry Needle for Weaving in Ends
Instructions
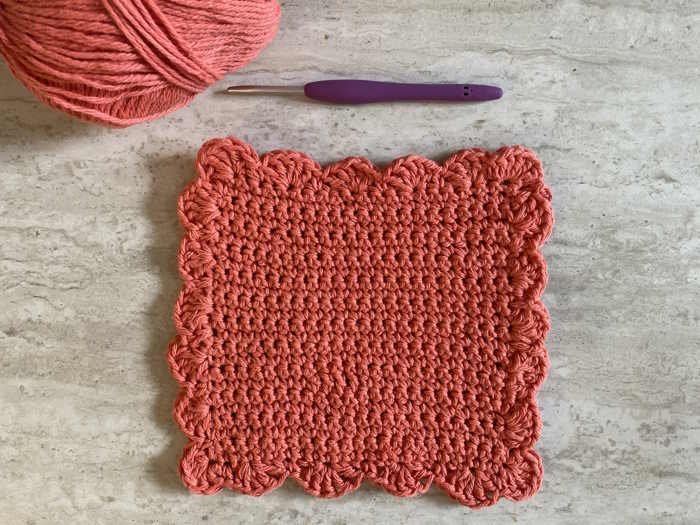
Make a slip knot and Chain 25 stitches. Insert hook in second chain from hook and make single crochet stitches in each of the the chains across the row. Chain one and turn.
Continue to make single crochet stitch in each sc across the row. Chain one and turn.
Continue in this pattern until you have reached your desired size or until you reach 6.5 inches (17 cm).
Don’t forget to count your stitches on each row. You should have 24. If you have more, than you’ve picked up a stitch somewhere, probably by trying to single crochet in the first stitch instead of the second stitch in the row, or possibly adding one at the end of the row. Less than 24 stitches means that you missed a place to add a sc.
Fasten off. Weave in ends.
Optional:
Shell Stitch Border
If you prefer, you can finish off the dishcloth with a shell stitch border.
To create the border, before fastening off, *create 5 dc in same space, skip one, create one sc in next space, skip one space, create 5 dc in same space.* Repeat * around border.
Single Crochet Stitch Tutorial: Pin for Future Reference
About Janice
Hi, I’m Janice, the voice behind Smart-Knit-Crocheting. I love to knit and crochet and even more, I love teaching others what I know.
Though I learned to knit and crochet as a child, I didn’t get serious about these amazing hobbies until I retired. I’m a certified knit and crochet instructor through the Craft Yarn Council and am working on becoming a Master Hand Knitter through The Knitting Guild Association.
I’m currently living with my husband of over 50 years and our 6 Shih Tzu dogs.
I love hearing from you, so please drop me a line and let me know what you’re working on, whether you love knitting or crocheting more, and if you have any questions. Please visit my about me page for more information.
Happy Crocheting
