- Home
- Knit and Purl Stitches
- Roman Knit Rib Stitch Tutorial
The Roman Knit Rib Stitch Tutorial
The Roman Knit Rib Stitch Tutorial, by Janice Jones
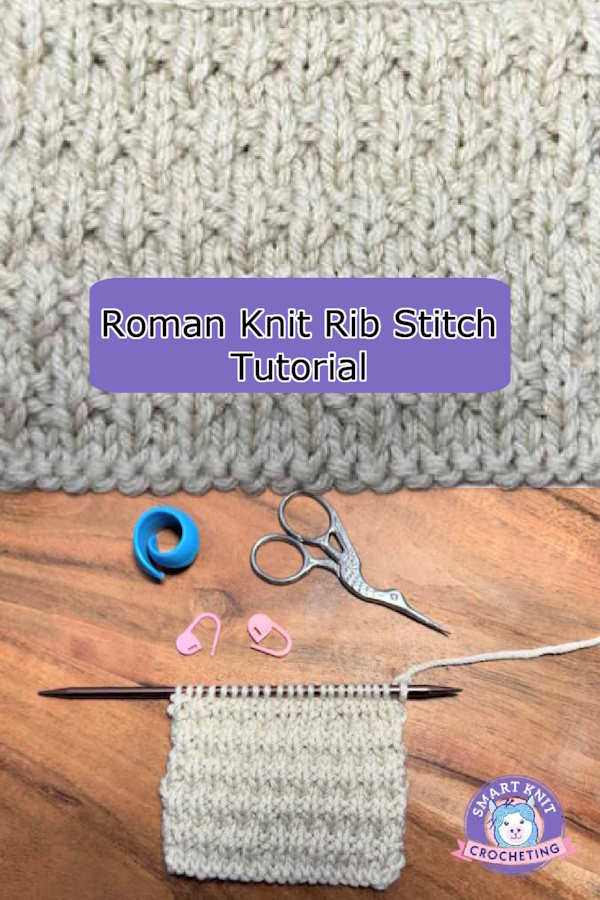
If you need an easy beginner-friendly knit stitch that creates a textured fabric that resembles little Roman soldiers line up and at attention, this is the stitch for you.
I found this in a stitch directory book and had to try it. I love how easy it is and how great it looks on both sides. It's not reversible, but the wrong side looks very interesting. It is not your typical rib stitch, but could be used as ribbing because it is stretchy and squishy to the touch.
If you want a stitch pattern that is easy to memorize, this is the one for you. Even though it requires a 8-row repeat, four of those rows are made entirely of knit or purl stitches.
Caps or hats, scarves, and blankets would be great project to use this stitch pattern. If you want to practice this pattern, consider making a dishcloth or cup cozy.
Skill Level

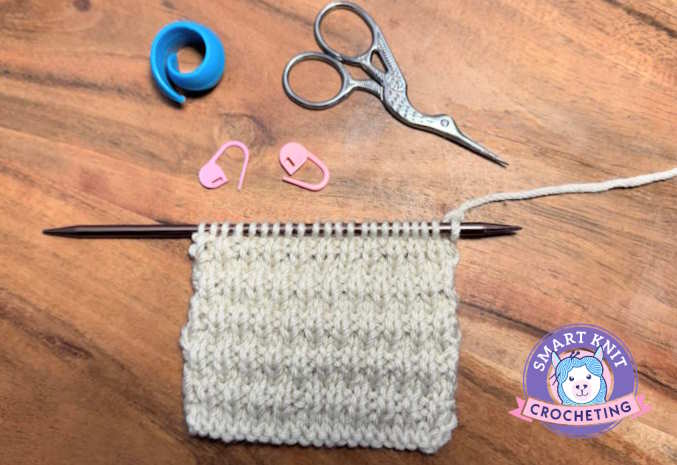
Basic: Beginner Friendly
Abbreviations Used in the Roman Knit Rib Stitch Tutorial
K - Knit
P - Purl
CO - Cast on
BO - Bind off
RS - Right Side
WS - Wrong Side
* * Repeat the instructions contained within the asterisks.
Skills Needed
How to Weave in Ends
Notes About the Roman Knit Rib Stitch
- Cast on an Even number of stitches
- 8-row repeat, 2-stitch repeat
- Not reversible, but looks good on both sides.
- All instructions are written in US Terms.
Is This Pattern Reversible?
No, this pattern is not reversible but does provide a nice textured fabric.
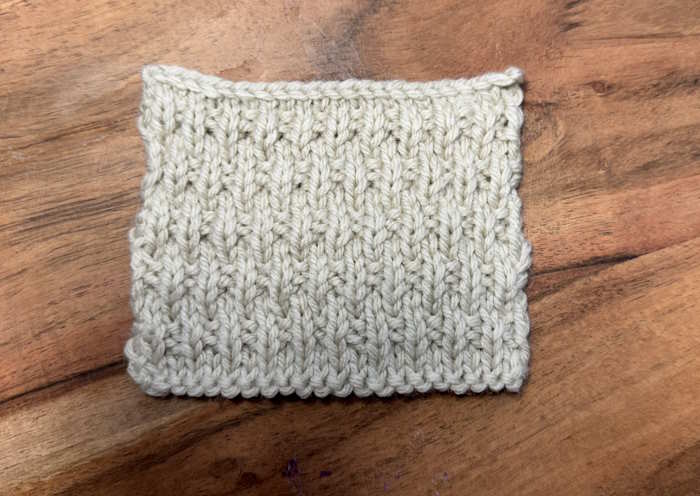 Roman Knit Rib Stitch Right Side
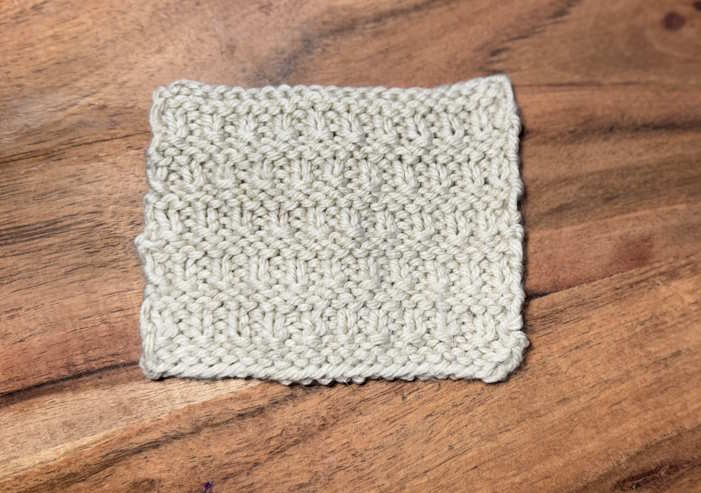 Roman Knit Rib Stitch Wrong Side
Supplies Needed For This Tutorial
- Yarn (I used Lion Brand, SCHITT'S CREEK, 100% Acrylic Yarn. (7 oz, 200 g/372 yd/340 M) Color 410G, Rose Apothecary colorway
- Size US 8 (5.0 mm) knitting needles (I used Knitter's Pride Zing)
- Scissors
- Yarn or Tapestry Needle
Roman Knit Rib Stitch Tutorial: Written Directions
Cast on an even number of stitches.
Row 1: (RS) K.
Row 2: (WS) P.
Row 3 and 4: *k1, p1; rep from *.
Row 5: K.
Row 6: P.
Row 7 and 8: *P1, k1; rep from *.
Repeat rows 1 through 8 until you reach your desired length. Bind off after row 6. Weave in Ends.
Learn How to Read Knitting Stitch Charts
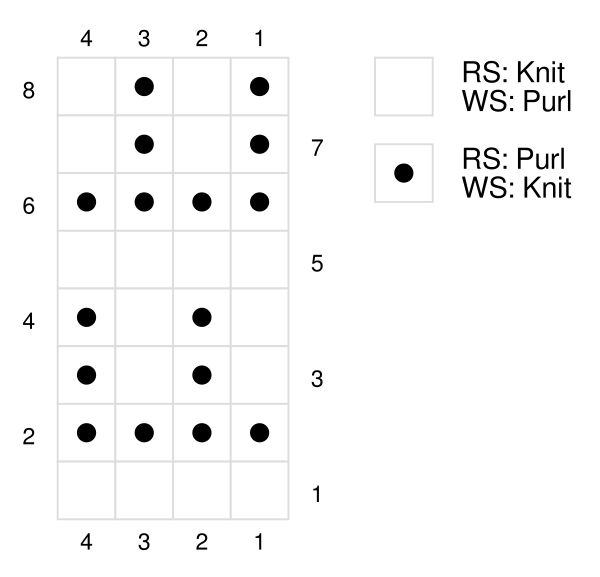
Roman Knit Rib Stitch Tutorial Chart
This stitch is very beginner-friendly, but it's never to early to learn how to read knitting charts. This is how the chart would look if worked flat. For more information on how to read a knitting chart, please check out my detailed instructions.
What Can You Make With This Stitch
The Roman Knit Rib Stitch Pattern is perfect for a wide variety of projects. Start with an easy washcloth or cup cozy, but consider using this stitch for a scarf, blanket, or cowl. Since it is stretchy a knit beanie or cap would benefit from this pattern.
Free Can Cozy Roman Knit Rib Pattern
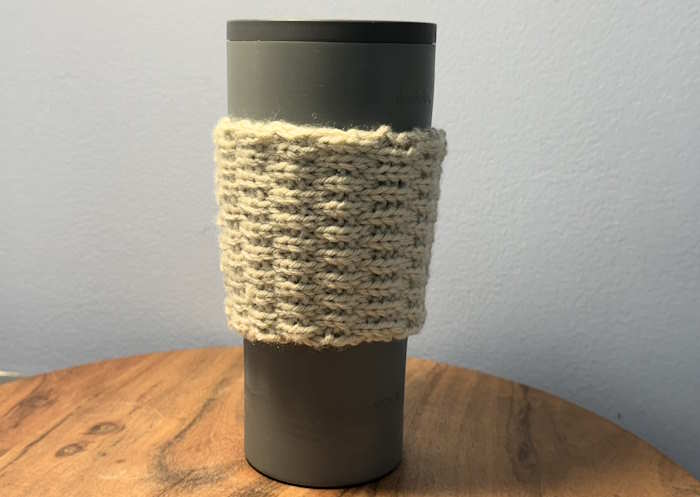
Need a practical project to help you master this knit pattern? I have just the thing for you.
- Yarn (I used Lion Brand, SCHITT'S CREEK, 100% Acrylic Yarn. (7 oz, 200 g/372 yd/340 M) Color 410G, Rose Apothecary colorway
- Size US 8 (5.0 mm) knitting needles (I used Knitter's Pride Zing)
- Scissors
- Yarn or Tapestry Needle
CO 20 stitches.
Row 1: (RS) K.
Row 2: (WS) P.
Row 3 and 4: *k1, p1; rep from *.
Row 5: K.
Row 6: P.
Row 7 and 8: *P1, k1; rep from *.
Work Rows 1 - 8. Repeat rows 1 - 8 seven more times or until the length will go around the cup you want to cover. In this case, I worked 9 inches. Bind off leaving a long tail for seaming.
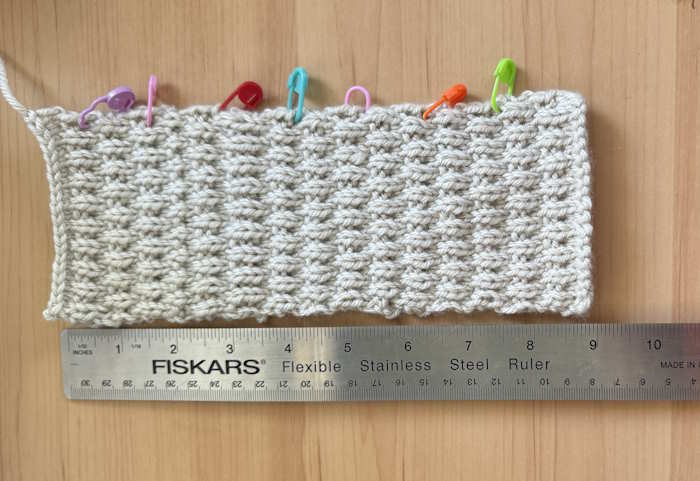
You will be seaming a bind off edge to a cast on edge which is not hard to do but if you have never done it before, I found a video that might help.
Seaming Cast on to Cast on and Cast on to Bind off

Finally, weave in all tails.
References
Walker, Barbara. A Treasury of Knitting Patterns, Schoolhouse Press, 2020
Roman Knit Rib Stitch Tutorial: Conclusion
In conclusion, mastering the Roman knit rib stitch pattern can significantly enhance your knitting repertoire with its versatile and elegant texture.
By following this step-by-step guide, you now have the knowledge and technique needed to incorporate this beautiful pattern into various knitting projects.
Whether you choose to create cozy scarves, stylish hats, or snug sweaters, the Roman rib adds depth and sophistication to your creations. Remember, practice is key to perfecting any new stitch, so don't hesitate to revisit any steps or practice with scrap yarn until you feel comfortable.
Enjoy the creativity and warmth your new skills bring to your knitting projects!
Happy Knitting, Smart Knitters
Janice
