- Home
- How to Knit: Basics
- Mosaic Knitting Patterns
Mosaic Knitting Patterns
Mosaic knitting or two-color slip-stitch knitting is one of a few techniques which give so many variations of patterns, to choose from. If you like Fair Isle knitting patterns, but still not sure about carrying two colors at once, mosaic knitting is right for you.
If you have never tried Mosaic knitting, please check out my tutorial which will walk you through all the things you need to know. Once comfortable, come back here and let's start creating.
The Principles of the Mosaic Patterns
As a quick review, here are the principles of Mosaic knitting:
- Mosaic knitting is a two-color technique. To make a pattern,
you will need two colors of yarn. Let's name them Color A
and Color B,
- Knitting pattern has two different sides: Right side and Wrong
side.
- Begin EVERY Right-side row from a NEW color. Work a Right-side
row and a Wrong-side row with the same color.
- Right-side rows. Every slip stitch is slipped with yarn
in BACK (behind the slip stitch).
Wrong-side rows. Every slip stitch is slipped with yarn in FRONT (keep the yarn in front of the slip stitch.) - Follow a chart for the Right-side rows.
Each Wrong-side row is EXACTLY like a preceding Right-side row: work every stitch being worked in the Right-side row, slip every stitch being slipped in the Right-side row.
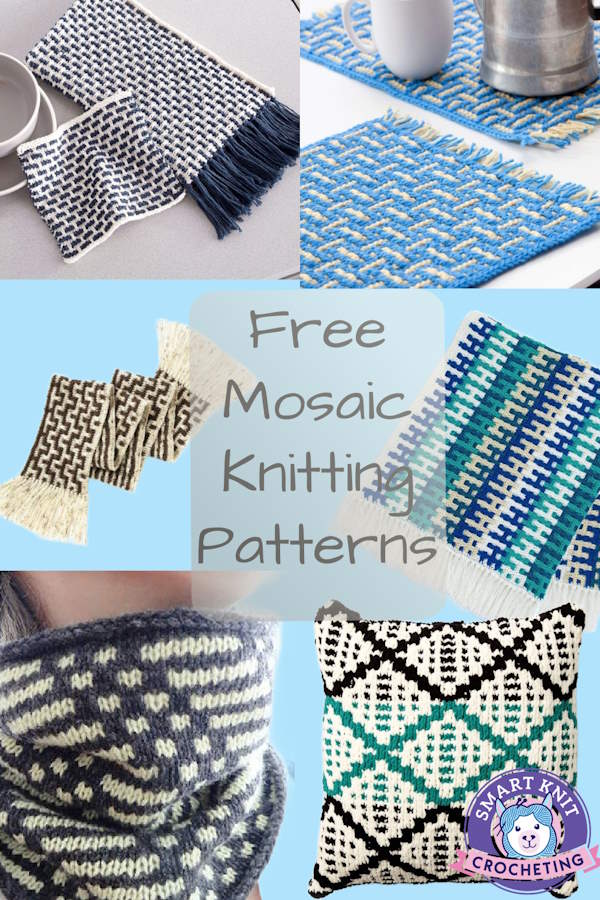
Free Mosaic Knitting Patterns
We can thank the very talented knit instructor and prolific writer, Barbara G. Walker for popularizing this type of knitting. In her 1976 book, Mosaic Knitting, Barbara offers hundreds of charts that could keep you busy for a very long time. If you like this type of knitting, I highly recommend this book.
Free Caron Frenetic Stripes Mosaic Crochet Blanket Pattern
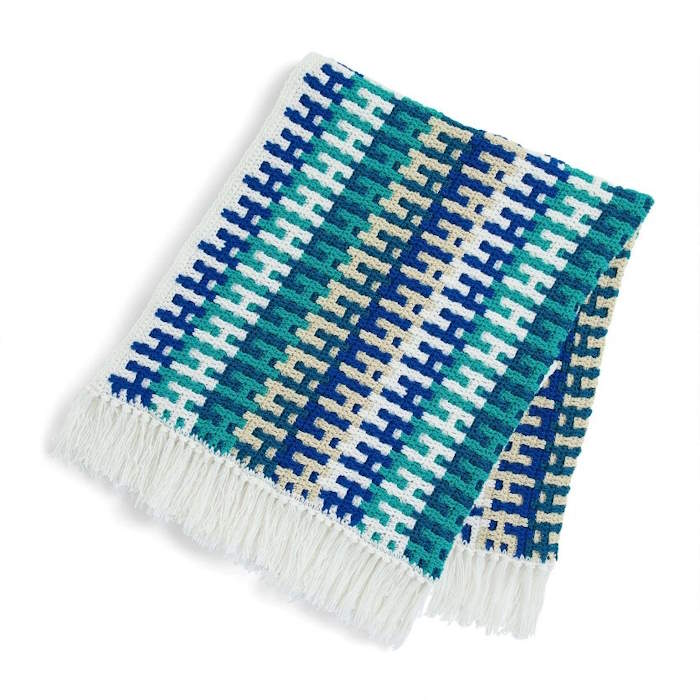 Photo Credit: Yarnspirations
Mosaic Cowl
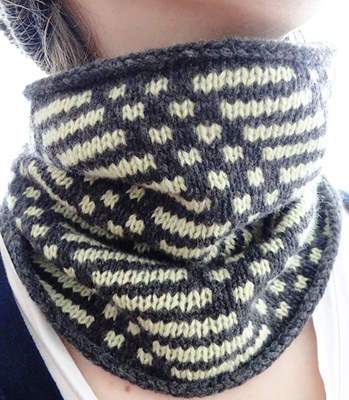 Photo Credit: by liZKnits
Free Lily Sugar'n Cream Modern Weave Knit Kitchen Set Pattern
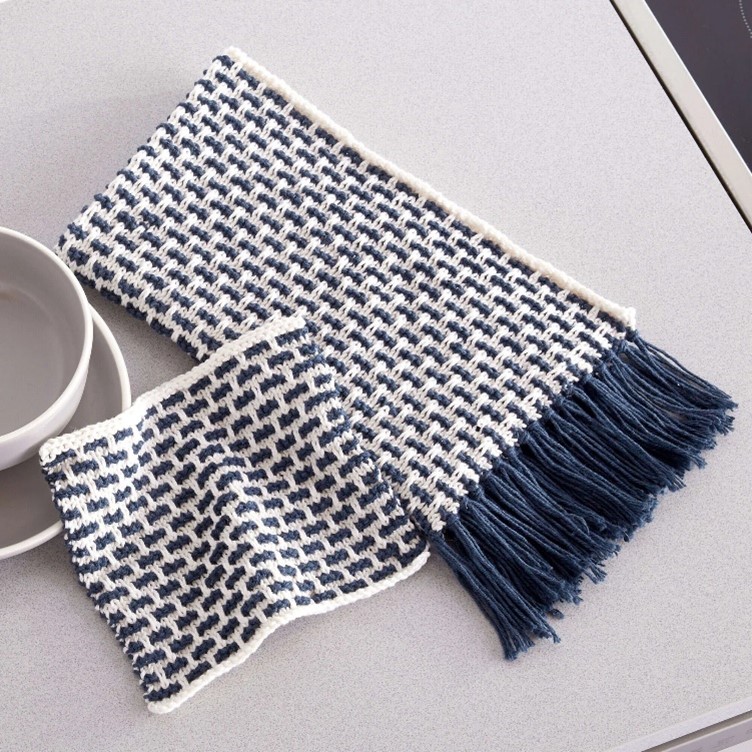 Photo Credit: Yarnspirations
Free Bernat Knit Diamond Mosaic Cushion Cover Pattern
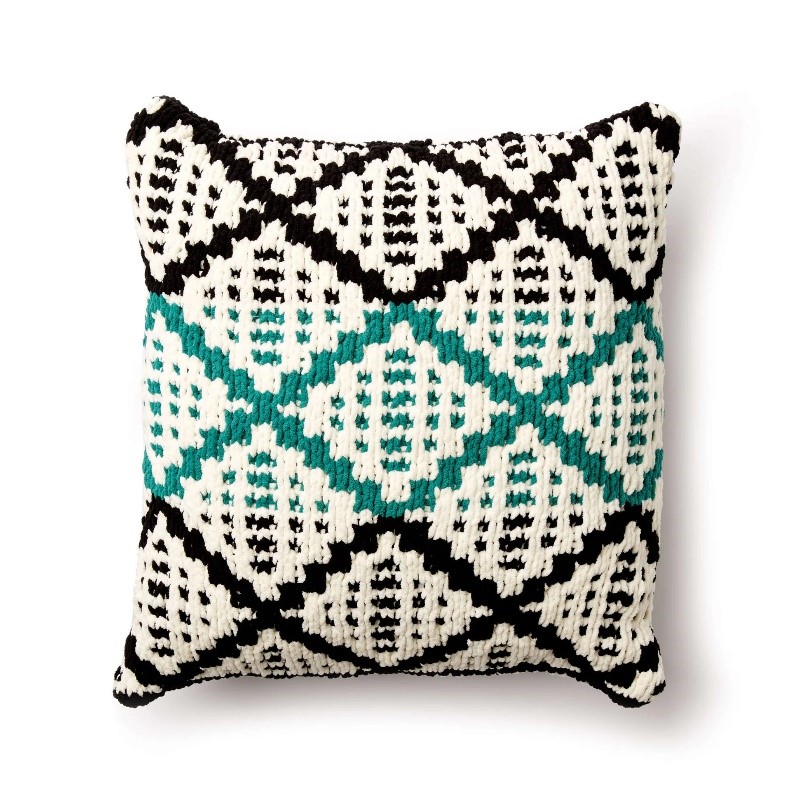 Photo Credit: Yarnspirations
Free Red Heart Crochet Mosaic Basketweave Placemat Pattern
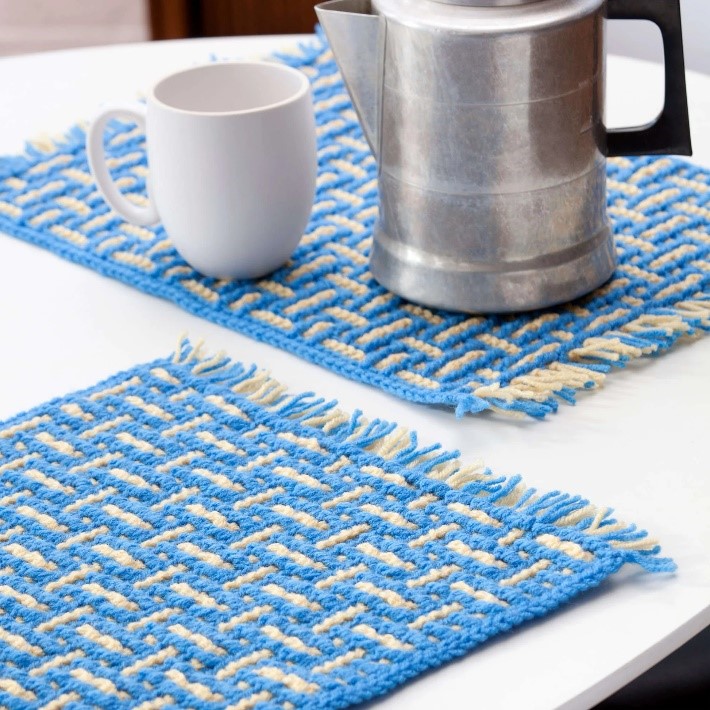 Photo Credit: Yarnspirations
Free Caron Mosaic Stitch
Crochet Scarf Pattern
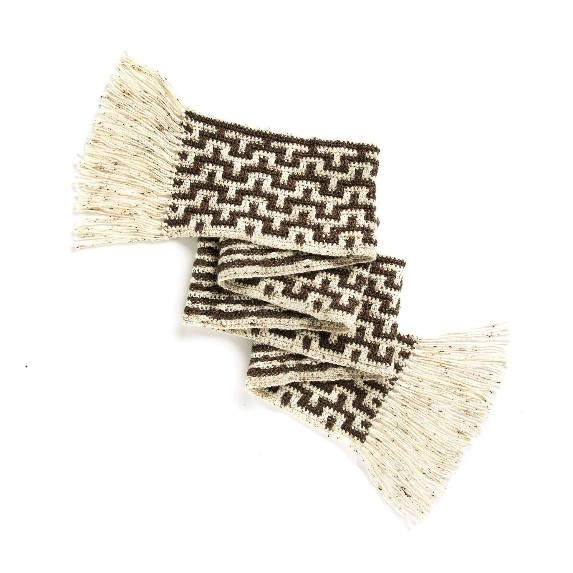 Photo Credit: Yarnspirations
Designing Your Own
If you are adventurous, you might like to try your hand with your own patterns (charts). Below are some of those that we played with, but if you're dying to know how to do these charts, jump down to the section below the patterns.
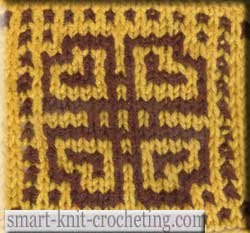
Knit Your First Mosaic Knitting Patterns. Pattern # 1.
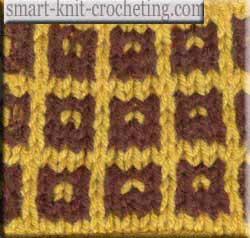 Pattern # 1, Swatch
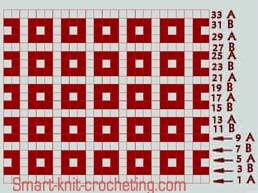 Pattern # 1, Chart
Usually mosaic patterns are presented in charts like this
one in the chart. A color bar on the right indicates which color (A
or B) should be worked for each row.
Numbers by the letters indicate the ODD (right-side) rows. Read and
knit them from RIGHT to LEFT. Wrong-side rows usually are not presented on the chart. To knit
them, read the pattern of the preceding right-side row from LEFT to
RIGHT since they are exactly the same.
Here is one more rule, to keep the edges of your knitting fabric
neat.
Always KNIT the very first and the very last stitch of the
right-side row.
Always SLIP the very first and the very last stitch
of the wrong-side row.
Now let's make a swatch. Follow the chart above. Cast on 25
stitches.
Row 1A. Color A. It is a preparatory row. Knit all 25
stitches.
Row 2A. Color A. Slip first stitch, purl 23 stitches, slip
last stitch.
Row 3B. Color B. Change color at the beginning of the row.
Read pattern from right to left: knit 2, *slip 1 (yarn behind!),
knit 3*, from * to * repeat 5 times, slip 1, knit 2.
Row 4B. Color B. Read pattern from left to right. Slip the
first stitch, purl all the stitches which you worked in row 3B,
slip all the same stitches (keep yarn in front!) which were slipped
in the row 3B, slip the last stitch.
Row 5A. Color A. Change color at the beginning of the row.
Read pattern from right to left: knit 1, *slip 1 (yarn behind!),
knit 1*, from * to * repeat 11 times, knit 1.
Row 6A. Color A. Read pattern from left to right. Slip the
first stitch, purl all the stitches which you worked in row 5A,
slip all the same stitches (keep yarn in front!) which were slipped
in the row 5A, slip the last stitch.
Row 7B. Color B. Change color at the beginning of the row.
Read pattern from right to left: repeat Row 3B.
Row 8B. Color B. Read pattern from left to right. Repeat Row
4B.
To continue pattern, repeat rows from 1 to 8.
Pattern #2
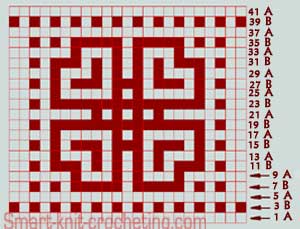 Pattern # 2, Chart
Cast on 23 stitches. This pattern is not as easy as the first one. Nevertheless all rules for knitting it are the same (see above).
How to Create Your Own Mosaic Chart
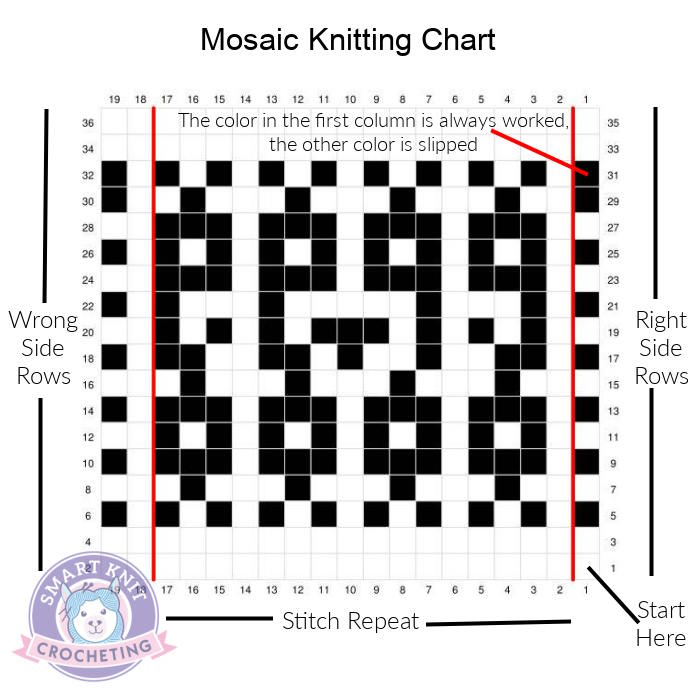 Mosaic charts are printed in black and white, with "black" representing the darker color you chose and the "white" representing the lighter color.
Before you can create your own charts, you need to memorize these "rules."
- Each row of squares on a mosaic chart represents 2 rows of knitting, first the right side and then the wrong side.
- The right side row, labeled with an odd number is worked from the right to the left. The wrong side row is the same but numbered with even numbers. This row is read from left to right.
- The first square on the right side row will either be black or white. On right side rows that start with a black square, you knit the black squares and slip the white squares, purlwise with yarn in back.
- On right side rows that begin with a white square, you would knit the white squares, and slip the black stitches, purlwise with yarn in back.
- Like other knitting charts, you begin at the bottom of the chart and move upward to the top.
- The red lines on the chart represent the repeats such as the * * you would see in written instructions. There is always three extra stitches on the chart, one on the right and two on the left.
- You really don't need to look at the chart when doing the wrong-side row. You would knit (or purl) the stitches that you that you knit before and slip the others. (Example: If you knit the black stitches, then knit the black stitches and slip the white stitches purlwise with the yarn in front.
- You can also work mosaic knitting with written instructions such as the ones above.
- Mosaic knitting is done on either garter or stockinette fabric.
Mosaic Knitting Patterns: Pin Now, Knit Later
About Janice
Hi, I’m Janice, the voice behind Smart-Knit-Crocheting. I love to knit and crochet and even more, I love teaching others what I know.
Though I learned to knit and crochet as a child, I didn’t get serious about these amazing hobbies until I retired. I’m a certified knit and crochet instructor through the Craft Yarn Council and am working on becoming a Master Hand Knitter through The Knitting Guild Association.
I’m currently living with my husband of over 50 years and our 6 Shih Tzu dogs.
I love hearing from you, so please drop me a line and let me know what you’re working on, whether you love knitting or crocheting more, and if you have any questions. Please visit my about me page for more information.
Happy Crocheting
