- Home
- Reversible Knit Stitch Patterns
- Mock Cable Knit Pattern
The Mock Cable Knit Pattern
The Mock Cable Knit Pattern by Janice Jones
This is a great pattern that resembles a real cable stitch without the need for cable needles. There is one twist to make on row two that creates the look of a cable. The best news is that it is easy, far easier than creating real cables, and that's often good news for beginners who have not mastered cables.
It's not exactly reversible but it looks great on both sides. One side looks like small cables and the opposite side looks like ribs.
Want a Free Printable Pattern for the Mock Cable Knit Stitch?
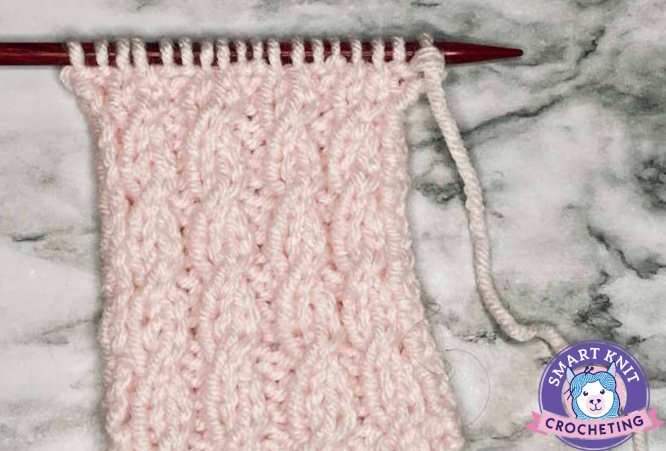 This is worked on multiples of 4 + 2 sts with a 4-row repeat.
Helpful Abbreviations for the Mock Cable Knit Pattern
K = knit
P = Purl
K2tog = Knit two stitches together as if they were one.
WS = Wrong Side
RS = Right Side
* * = Repeat the instructions between the asterisks
Skill Level Needed for the Mock Cable Knit Pattern

This is a basic or beginner-friendly stitch pattern that requires these skills:
- How to Cast On
- How to Bind Off
- How to make a Knit Stitch
- How to make a Purl Stitch
- How to Make the K2tog: See below
- How to Weave in Ends
How to Make the K2tog Stitch (Knit Two Together)
Most of the time we knit each stitch from the left to the right needle as they are presented.
- When doing the K2tog, you will insert your right needle into two stitches as if to knit and then knit both together as if they were only one stitch.
- For this pattern, after you k2tog, you leave it on the left needle. Next, separate those two stitches you just knit with your finger so you can see both stitches. Knit the first stitch on the left needle again, and then slide both stitches off the needle.
More Information about knitting decreases.
Directions for Making this Mock or Faux Cable Knit Pattern
Multiples of 4 + 2 * 4 - row repeat
Cast on 22 stitches.
Row 1: (RS) P2, *K2, P2. Repeat from * to end.
Row 2: (WS) K2, *P2, K2. Repeat from * to end.
Row 3: P2, *K2tog, but leave both stitches on the left needle. Next, Insert your needle into the first stitch on the needle tip. Knit that stitch, and then slide both stitches off needle, p2 rep from * to end of row.
Row 4: Same as Row 2.
Repeat these 4 rows until desired length. Bind off on row 4.
Hints for Making the Mock Cable Knit Pattern
If you are creating a scarf or something where you want the edges to be straight and not curl, you might consider this hack.
Add 2 border stitches to your cast on count. On the Right Side, slip the first and last stitch. On the Wrong Side, purl the first and last stitch. This might help.
Not Completely Reversible, but Almost
Notice the difference between the front and the back fabric. One looks more like a cable and the other looks more like a rib stitch.
 Mock Cable Right Side
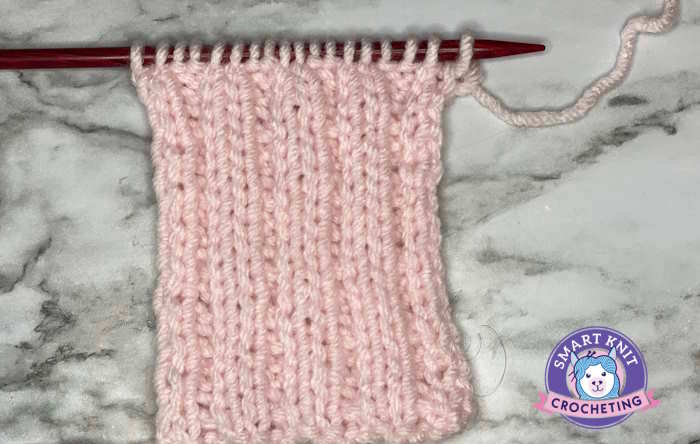 Mock Cable Wrong Side
Variation 1: Eyelet Mock Cable Rib
I have found a variety of ways to make mock or faux cable stitches. Here is one more you might want to try. This one is called the Eyelet Mock Cable Stitch and it requires a couple of new skills to master.
This mock cable is created with yarn overs, slip stitches and decreases. This is an easy-level stitch because it uses easy knits and purls but also requires you to understand how to make slip stitches, yarn around needle, and psso decreases.
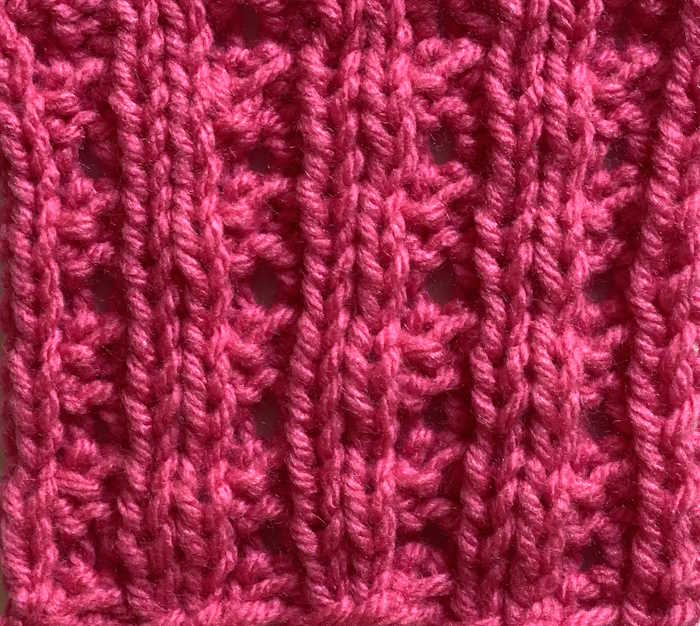
It too is not entirely reversible, but both the right and the wrong side shows an interesting textured pattern. The right side shows the cable pattern with a little hole or eyelet in the center of each cable.
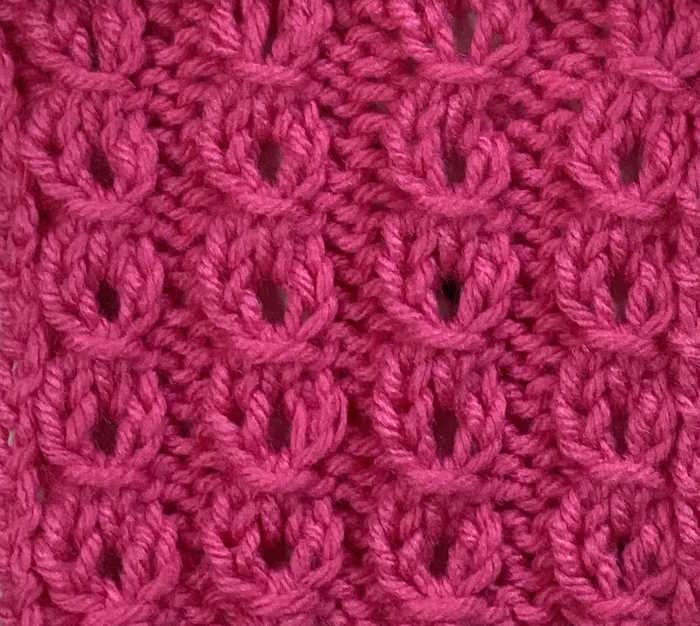 Eyelet Mock Cable Knit Stitch Pattern: Right Side
Learn how to make the Eyelet Mock Cable Knit Stitch Pattern
Variation 2:
This one is similar but it is worked on a multiple of 3 + 2. It is also worked on a 4-row repeat.
Cast on a multiple of 3 + 2 st (for example 20, 26 or 32)
For the purposes of this tutorial, I Cast on 20 sts. (3x6) + 2
Row 1: *K2tog, but leave both stitches on the left needle. Next, Insert your needle into the first stitch on the needle tip. Knit that stitch, and then slide both stitches off needle, p1, rep from * to last 2 st, the [K2tog, but leave both stitches on the left needle. Next, Insert your needle into the first stitch on the needle tip. Knit that stitch, and then slide both stitches off needle]
Row 2: *P2, K1. Repeat from * to last 2 st, then P2.
Row 3: *K2, P1. Repeat from * to last 2 st, then K2.
Row 4: Same as Row 2.
Repeat Rows 1-4 until you reach your desired length. Bind off.
Free Printable Pattern
Mock Cable Knit Pattern: Free PDF
Last Words
While all of these patterns require new skills for the absolute beginner, they only use knit and purl stitches which make them doable for beginners. Many will also agree that they are easier than creating cables in the traditional way and the fabric created can be used for a variety of different projects: hats, scarves, cowls, and even mittens.
This pattern
is for personal use only. Please do not repost, sell, or distribute
without permission. Instead, share the original link:
https://www.smart-knit-crocheting.com/mock-cable-knit-pattern.html
