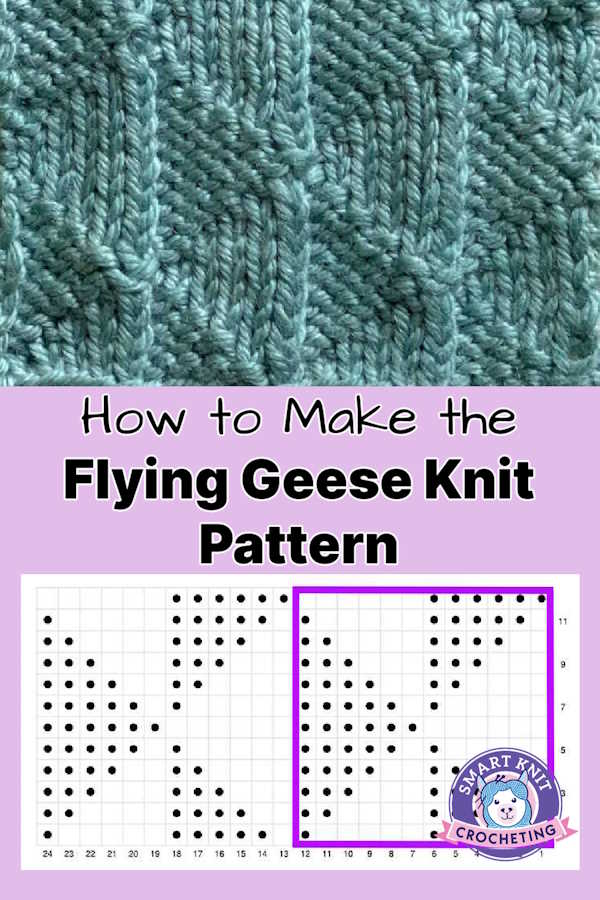
Flying Geese Knit Stitch Pattern: How-to-tutorial and tips
Flying Geese Knit Stitch Pattern by Janice Jones
If you like geometric patterns, you are going to love the Flying Geese Knit Stitch Pattern. Made entirely of repeating triangles that are pointing in both directions.
This pattern often reminds me of the wild geese in my area who are grouping up to fly south. With ever louder honking, the geese often seem like they first fly north, then fly south.
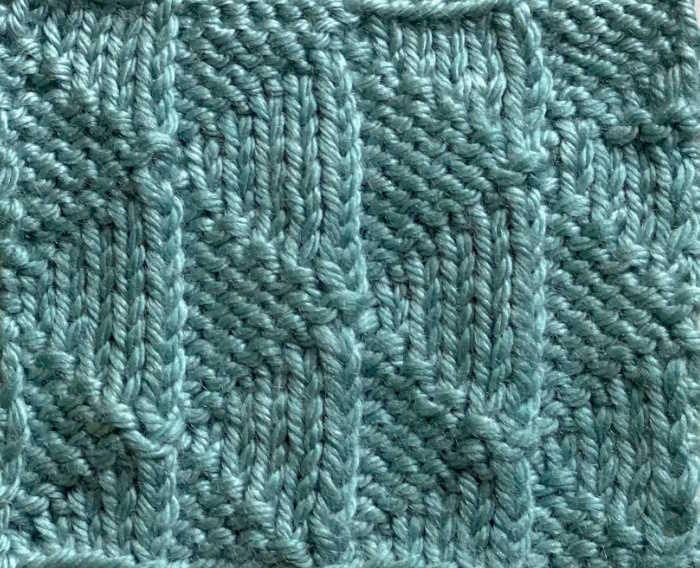 Flying Geese Knit Stitch Pattern
What is the Flying Geese Knit Stitch Pattern?
This stitch pattern is made up of stitch multiples of 12 with a row repeat of 12.
Row Count: 12 Stitch Repeat 12
Skill Level

This is a basic level stitch pattern that is great for beginners.
Skills Required
The only skills you will need to make this pattern is knit and purl stitches. You will also need to know how to cast on, bind off, and weave in ends.
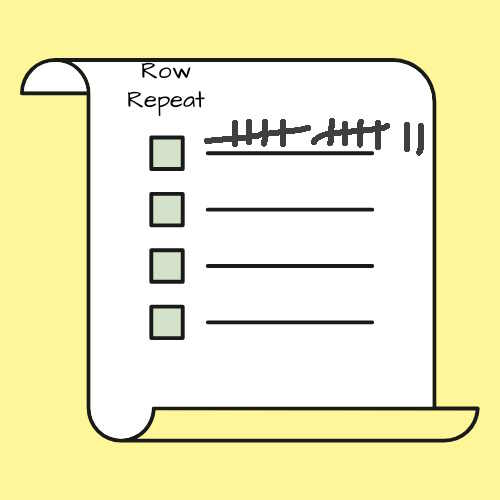
Other than that, you will want to concentrate on keeping track of your work because it is worked over 12 rows. Use stitch markers, row counter or simply use a tally mark system to keep track what row you just worked.
Supplies Needed
To practice this knit swatch, use whatever yarn you have available and the corresponding knitting needles. For the best results, chose a smooth, light colored yarn so that you can see each stitch. For this tutorial, I used Red Heart Super Saver, a CKC #4 Worsted Weight Yarn in Spring Green.
By the way, Red Heart 100% acrylic yarn is a great choice for learning how to knit. It is inexpensive, comes in a wide-range of colors, does not split easily and is smooth enough to see your stitches.
- Yarn (see above)
- Knitting Needles US 8 (5.00 mm)
- Scissors
- Tapestry Needle for weaving in ends
- Stitch Markers (optinal)
Notes
All instructions for creating the Flying Knit Stitch Pattern are written in U.S. Terms
Abbreviations Used in this Tutorial
K - knit
P - purl
* * Repeat the instructions inside the asterisks for the number of times indicated or to the end of the row.
Rep - Repeat
Directions
Cast on a number of multiples of 12 stitches.
Row 1: *K1, P5, K5, P1; rep from * to end.
Row 2: *K2, P4, K4, P2; rep from * to end.
Row 3: *K3, P3, K3, P3; rep from * to end.
Row 4: *K4, P2, K2, P4; rep from * to end.
Row 5: *K5, P1, K1, P5; rep from * to end.
Row 6: *K6, P6; rep from * to end.
Row 7: *K5, P1, K1, P5; rep from * to end.
Row 8: *K4, P2, K2, P4; rep from * to end.
Row 9: *K3, P3, K3, P3; rep from * to end.
Row 10: *K2, P4, K4, P2; rep from * to end.
Row 11: *K1, P5, K5, P1; rep from * to end.
Row 12: *P6, K6; rep from * to end.
Rep Rows 1 - 12.
Understanding Knit Stitch Pattern Charts
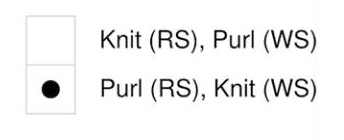
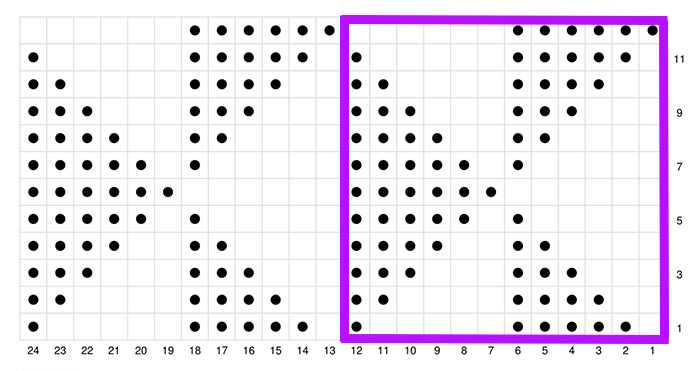 The information contained within the purple square is the stitch and row repeat.
Beginner Tips for Success
Do you shy away from any knit stitch pattern that calls for anymore than a four row repeat? I was one of those people. For some reason the number four was the limit to my comfort zone. That is until I figured out a quick solution.
No, I didn't want to use stitch markers,
No, I didn't like row counters.
Being rather old-fashion, I found a pencil and a post-it note pad was perfect. Yes, it did require a bit more time because I did stop after each row to provide a tally mark to my ever growing project. But I justified it because it would have taken even longer to rip out or frog countless rows of work.
Making the Transitions Between Knit and Purl Stitches Neatly
This is something that I only learned a few years ago. When I examined my work, especially when making rib stitches where I was alternating between knits and purls, the fabric just didn't look perfect. I wondered what I was doing wrong.
Turns out it has to do with tension.
The problem occurs when you switch from knits to purls. Very Pink Knits suggest that you purl a stitch, but then pull the yarn to the back and give a little tug before making the next knit stitch. This will reduce the amount of slack between the knit and purl stitches.
It seems that such a small technique can make such a big difference.
Here is a little video that helps you understand the technique.

Last Words
Even though it looks complicated, the Flying Geese Knit Stitch Pattern is really only a series of knit and purl stitches without the need to learn additional skills.
It does require that you use follow a 12 row repeat that you can accomplish with a simple tally system. To make a perfect sample, use the system above to create the perfect tension between the knit and purl stitches.
This pattern would work great for a scarf or cowl, a pillow cover or even a small blanket. Whereever you choose to use this stitch pattern, I am sure each time you see it you will be reminded of Fall and Flying Geese.
