- Home
- Knit and Purl Stitches
- Bamboo Rib Knit Stitch
Bamboo Rib Knit Stitch Pattern: Beginner-friendly Tutorial
Bamboo Rib Knit Stitch by Janice
The bamboo rib knit stitch is a beginner-friendly that is created with alternating knit and purl stitches. The result is a rib pattern that looks like raised bamboo stalks separated by garter stitches. While you might think that this stitch looks very much like the 4x2 rib pattern, there are subtle differences.
It is created by working on a multiple of 12 stitches and requires a row repeat of 12 rows. Due to the number of row repeats, this is a suitable pattern for an advanced beginner. Otherwise, there are no additional skills required to create this pattern
It is not reversible as the front or public side is not the same as the reverse side.
 Bamboo Rib Knit Stitch
It is created by working on a multiple of 12 stitches and requires a row repeat of 12 rows. Due to the number of row repeats, this is a suitable pattern for an advanced beginner. Otherwise, there are no additional skills required to create this pattern
It is not reversible as the front or public side is not the same as the reverse side.
Table of Contents
Notes about the Bamboo Rib Knit Stitch
Supplies Needed for this Tutorial
Learn How to Read Knitting Charts (Knit Chart)
Skill Level

This is a pattern appropriate for an advanced beginner due to the number of row repeats. (Craft Yarn Council, Level Easy)
Abbreviations
K- knit
P - Purl
CO - cast on
BO - bind off
RS - Right Side
WS - Wrong Side
st/sts - stitch/stitches
* * - Repeat the directions within the asterisks for the specified number of times
Skills Needed
Read Knitting Charts (optional)
Notes About the Bamboo Rib Knit Stitch
- This pattern is worked on a stitch multiple of 12 sts.
- This requires a 12-row repeat
- Not reversible
- Knit and Purl Stitch Pattern
- Can be used as a Rib Stitch
- Use a row counter to help keep your place (optional)
- Use a stitch marker every 12 stitches to help keep your place along the row.
- Curls only slightly. Block for a more professional look.
Is This Pattern Reversible?
This pattern is not reversible. Notice the right and wrong sides of this fabric below.
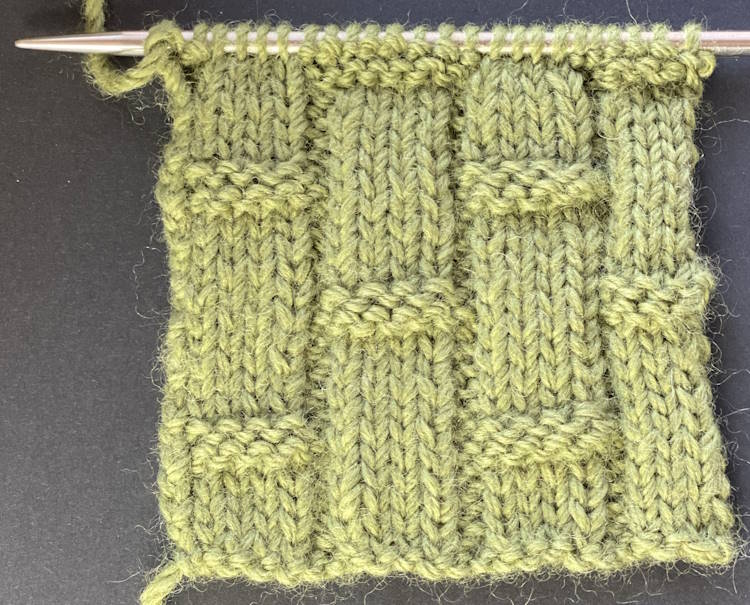 Right side showing of the Bamboo Rib
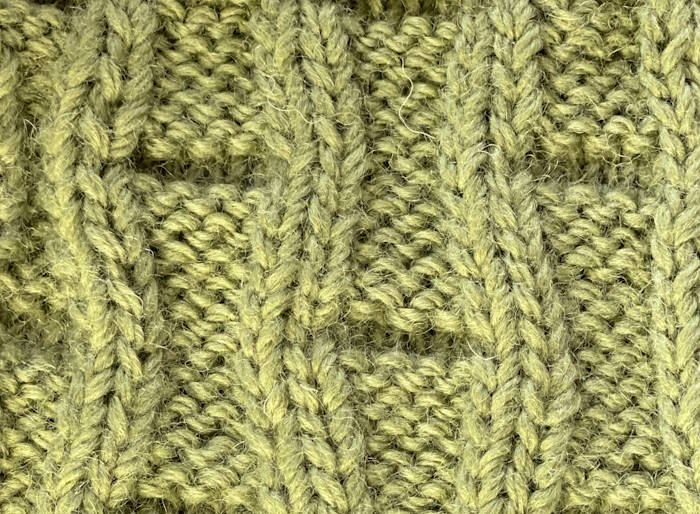 Wrong side showing of the Bamboo Rib
Supplies Needed for This Tutorial
- Yarn (any for this tutorial)
- Knitting Needles (appropriate for the type of yarn you are using
- Scissors
- Tapestry Needle for Weaving in Ends
For the purposes of this tutorial, I am using Patons Classic Wool Worsted Yarn in colorway, Meadow
Knitting Needles US 7 (4.5 mm)
Written Directions
CO: Multiples of 12 sts.
Row 1 (RS): * P2, K4 * across
Row 2 (WS): * P4, K2 * across
Row 3: * P2, K4 * across
Row 4: * P4, K2 * across
Row 5: * P8, K4 * across
Row 6: * P4, K8 * across
Row 7: * P2, K4 * across
Row 8: * P4, K2 * across
Row 9: * P2, K4 * across
Row 10: * P4, K2 * across
Row 11: * P2, K4, P6 * across
Row 12: * K6, P4, K2 * across
Repeat rows 1 - 12 until you reach your desired length. BO and weave in ends.
How to Keep Your Place When Working Projects with Multiple Row Repeats
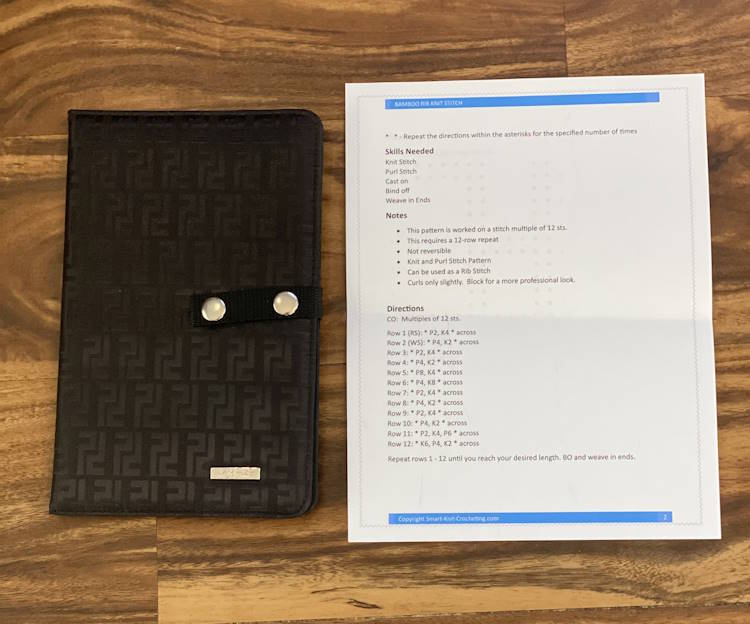
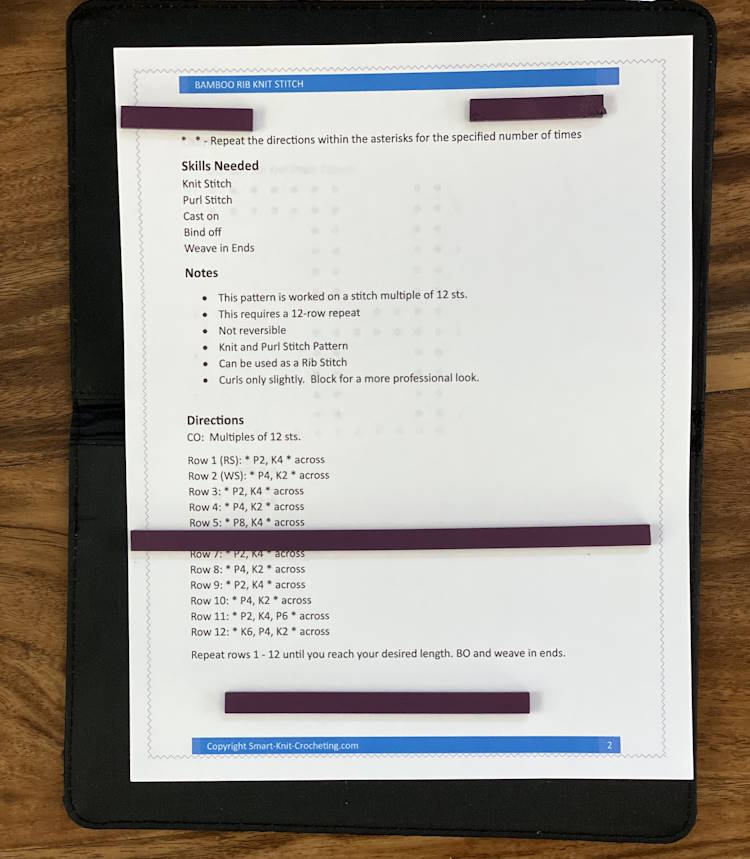
This has been a problem for me as I get lost even if I am using some type of a row counter. I solved the problem with a simple pattern holder by Knit Picks, sold on Amazon. It's slightly larger than a typical 8.5 x 11 pattern copy and comes with magnets you can move as you work through the pattern.
Learn How to Read Knitting Charts
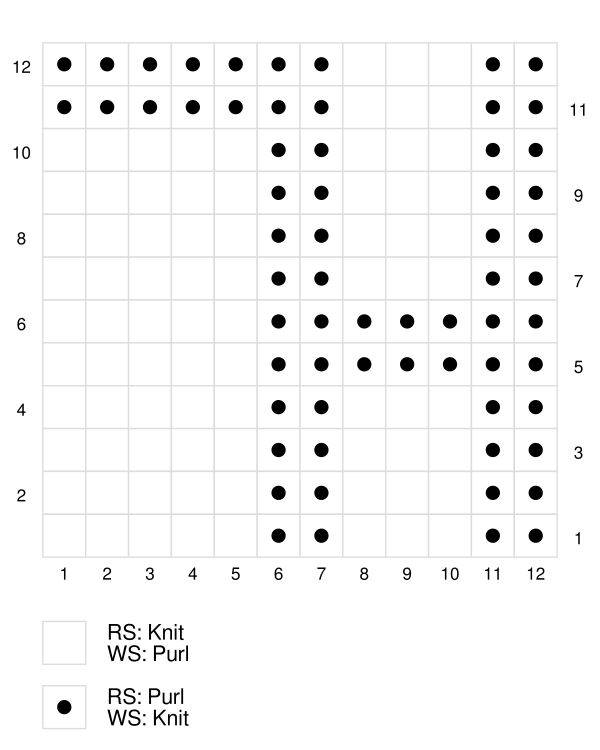
This pattern is easy to read in written form, but as you advance in your knitting skills, you may need to understand how to read knitting charts. Learn to read easy knitting charts such as the one below to prepare you for more advanced lace and colorwork charts.
Bamboo Rib Knit Stitch Pattern Chart
Ideas for Putting This Stitch to Use
This is a great pattern for a wide variety of projects:
- Washcloths/Facecloths
- Cup cozies
- Blankets
- Pillow Covers
- Scarves
- Headbands
- Cowls


