- Home
- Crochet Stitches
- Single Crochet Rib
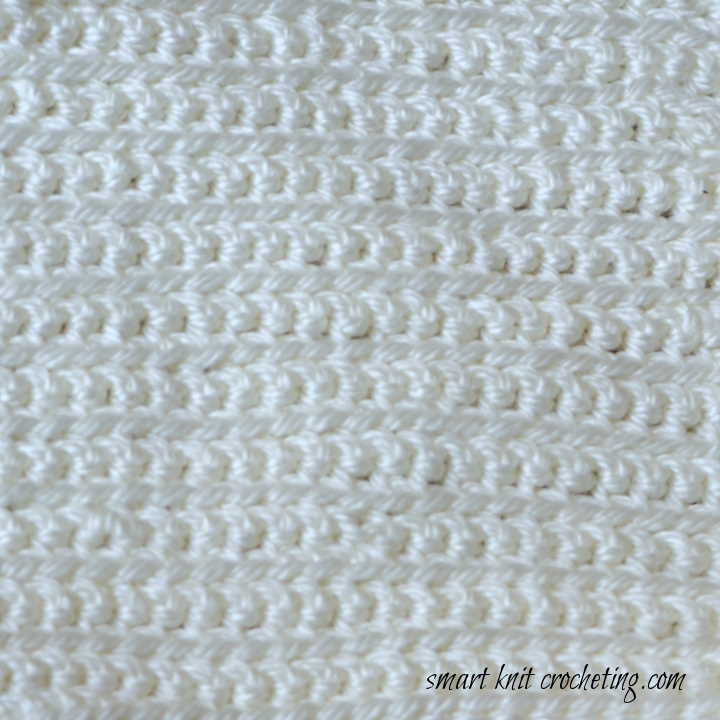
How to Make the Single Crochet Rib Stitch
Single Crochet Rib by Janice Jones
If you know how to do the single crochet stitch and chain stitch, this stitch is going to be second nature to you. What I love about it is how easy it is to make and yet how elegant it looks. If you love the look of knitting rib stitches, you'll love this one too. It's also stretchy which makes it perfect for use anywhere you need ribbing to be placed.
I will be walking you through the tutorial and then please check out my free headband pattern to help you hone in your skills. If you prefer, jump right to the pattern.

How to Make the Single Crochet Rib Stitch
Foundation Chain: Chain any number of stitches
Row 1: 1 sc into 2nd chain from hook. 1 sc into each chain st across, turn.
Row 2: Work in back loop only. 1 sc in each sc. Chain 1. Turn
Repeat Row 2 for the pattern.
Make a Practice Single Crochet Rib Swatch
Materials Needed;
- Size 4 Worsted Weight Yarn 50 yards
- Size G Crochet Hook
- Yarn Needle
- Scissors
Stitches and Abbreviations
- Ch – Chain
- Sc – Single Crochet
- St(s) – Stitch(es)
- blo - Back Loop Only
To Make a 5-inch practice swatch,
Chain 25.
Row One: 1 sc into 2nd chain from hook. 1 sc into each chain st across, turn.
Row Two: Work in back loop only (blo). 1 sc in each sc. Chain 1. Turn
Continue for 12 rows or until swatch measures 5 inches.
Finish off. Weave in ends.
Note About Single Crochet
The single crochet sc is not used in the UK, so if you see single crochet, you know it is a US term. The single crochet (sc) in the UK is called the double crochet (dc) which is not the same as the US double crochet. With that said, there are a couple ways to make a single crochet. Normal, post stitch, through the front loop or through the back loop.
Normal Single Crochet
As I demonstrated, the typical single crochet goes through both the front and the back loops of the previous row to create the new stitch.
Single Crochet Through the Front Loop of the Previous Stitch
The single crochet made through the front loop of the stitch only goes through the front loop, creating a textured pattern.
Single Crochet Through the Back Loop of the Previous Stitch
This is the method used to make the Single Crochet Rib Stitch. Only the back loop of the previous single crochet is used to create the new stitch.
Single Crochet Post Stitches: Front and Back
Post stitches are almost always done in double crochet, but in reality, you can do them in any type of stitch. There are two types, front and back. Front post single crochet (fpsc) and back post single crochet (bpsc).
A normal single crochet is worked into the top of the stitch, either through the front, the back loop or both loops as described above.
For a post stitch, we work around the post of the stitch instead. To do this, you would insert your hook from front to back on the first side of the stitch, then bring it back out from back to front on the other side of the stitch. So for example,
For a Back Post Single Crochet, Start by inserting your hook from back to front on the first side of the stitch, then back down from the front to the back on the other side.
For a Front Post Single Crochet, insert the hook from the front to the back on the first side of the stitch, then bring it back out from the back to the front on the other side of the stitch.
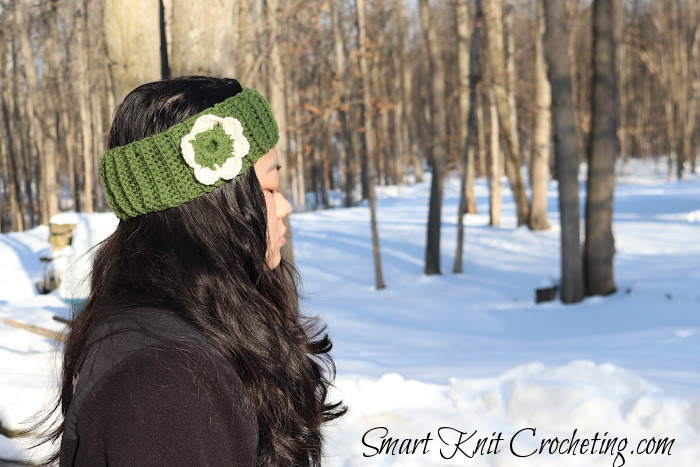
Single Crochet Rib Headband: Free Pattern

Here's a quick project that you can make in one sitting that helps cement in your mind, the single crochet rib stitch. For this project, you will only be working in the back loop of the stitch, meaning that the loop you will create the single crochet is farthest from you.
For this project, I used Number 4 worsted weight yarn in a washable synthetic blend.
Materials
- Yarn Bee Soft & Sleek Low-Pill Fiber 100% Acrylic Yarn
- Scrap yarn in an off white color for flower
- H/8-5.0mm crochet hook
- G/4.5 crochet hook
- Yarn Needle
- Scissors
Gauge: Not important for this project
Directions: Chain 14
Row One: 1 sc into 2nd chain from hook. 1 sc into each chain st across, turn.
Row Two: Work in back loop only (blo). 1 sc in each sc. Chain 1. Turn
Continue this pattern until piece measures desired length to fit around head. Finish off. Sew ends together to form headband. Weave in any loose ends.
Headband Flower (Optional)
Use the same yarn as the headband or choose contrasting colors.
Directions
The flower is worked in two colors (Color A) and (Color B).
With color A, chain 5 and join with a s to first chain to form a ring.
Round 1 (RS). Ch 3 (counts as first dc). 4 dc in ring. [Ch 1, 5 dc in ring]. Repeat four times. Ch 1, join with a ss to the top ch of the 3-chain at the beginning of the round. Fasten off Color A
Round 2 (RS). With color B join with a ss to the center dc of any of the 5-dc in round one. Ch 1. SC in same place as the ss. [7 dc in next ch sp, 1 sc in center dc of next 5-dc group] four times. 7 dc in next ch sp, join with a ss to first sc of round. Fasten off. Weave in Ends. Sew flower to headband.
Happy Crocheting
About Janice
Hi, I’m Janice, the voice behind Smart-Knit-Crocheting. I love to knit and crochet and even more, I love teaching others what I know.
Though I learned to knit and crochet as a child, I didn’t get serious about these amazing hobbies until I retired. I’m a certified knit and crochet instructor through the Craft Yarn Council and am working on becoming a Master Hand Knitter through The Knitting Guild Association.
I’m currently living with my husband of over 50 years and our 6 Shih Tzu dogs.
I love hearing from you, so please drop me a line and let me know what you’re working on, whether you love knitting or crocheting more, and if you have any questions. Please visit my about me page for more information.
Happy Crocheting


