- Home
- Types of Knit Stitches
- Knitting Rib Stitches
- Slip Stitch Rib
- Ridged Rib Stitch Pattern
Ridged Rib Stitch Pattern: How To Tutorial for Beginners
Ridged Rib Stitch Pattern by Janice |Published 11/27/2023
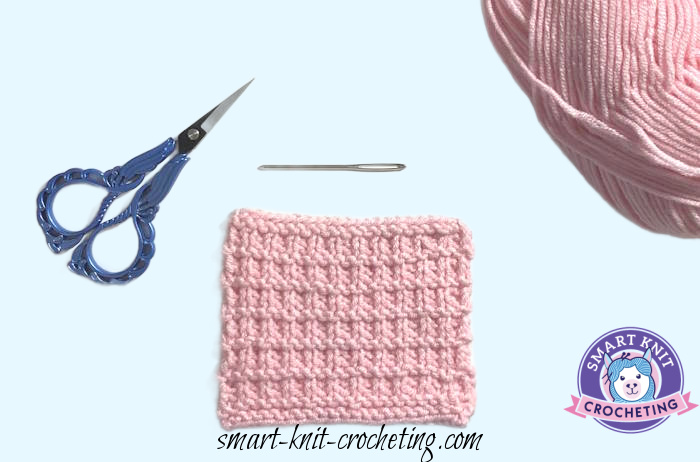
The ridged rib stitch pattern is a lovely, stretchy knit, beginner-friendly rib. It is also reversible, so the right side looks the same as the wrong side.
This pattern is worked on a 4-row repeat and a stitch count of two plus one stitch. This means that you will cast on any number of even number of stitches plus one extra stitch or, in other words, cast on an odd number of stitches.
Purl and knit stitches are the only knitting stitches used in this pattern. It can be worked on either straight or circular needles.
 Ridged Rib Stitch Pattern
Skill Level
This is a basic, beginner-level stitch pattern
Abbreviations Used
k - knit stitch
p - purl stitch
CO - cast on
BO - bind off
* * - repeat the instructions between the asterisks
Skills Needed
How to weave in ends
Notes About the Ridged Rib Stitch Pattern
- Made entirely of knit and purl stitches
- Reversible (Both sides look identical)
- Multiples of 2 + 1, 4-row repeat
- Stretchy
- Beginner-friendly
Is This Pattern Reversible?
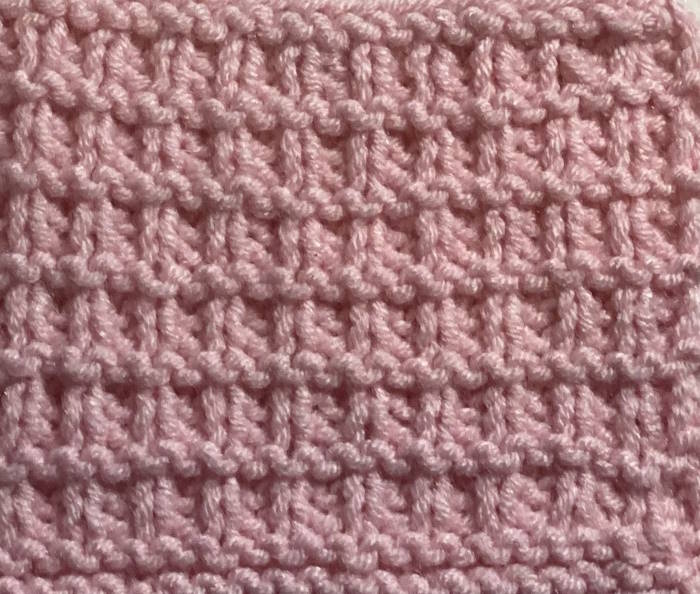
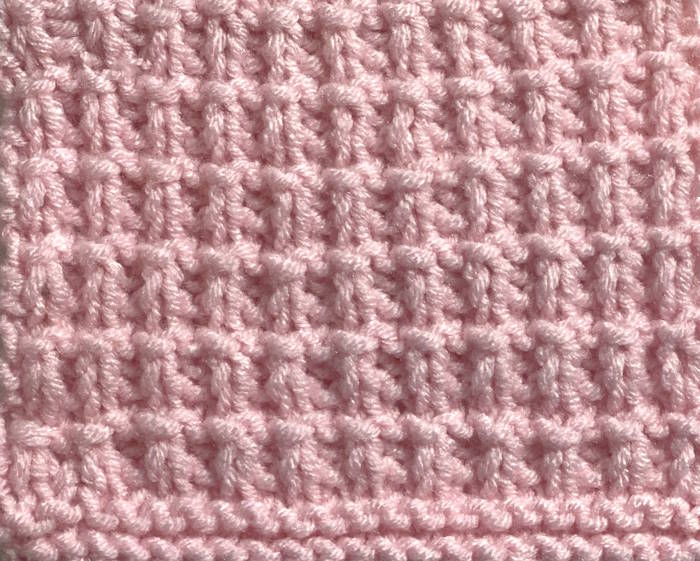
Yes, this knit ribbing is reversible. Look at the photos below to see how it looks on both sides.
 Ridged Rib Knit Stitch Pattern, Right Side
 Ridged Rib Knit Stitch Pattern, Wrong Side
Supplies Needed For This Tutorial
- Yarn of your choice
- Knitting Needles: Choose a size appropriate for the type of yarn you are using.
- Scissors
- Tapestry needle for weaving in ends
- Stitch Markers, optional
For this tutorial, I used 100% acrylic yarn and a number 4.5 mm (US 7 needles)
Written Directions
Cast on a multiple of 2 + 1. You can also look at this as working on an odd number of stitches (For this tutorial, I cast on 23 stitches)
Row One: K across to end of row.
Row Two: K across to end of row.
Row Three: P1, *K1, P1*
Row Four: K1, *P1, K1*
Repeat these four rows until you reach your desired length. Bind off and Weave in Ends.
Learn How to Read Knitting Stitch Charts
This is an easy, beginner-friendly stitch, so reading the written pattern instructions makes sense. Still, it is always good to learn how to follow knitting charts.
What Can You Make With This Stitch
The Ridged Rib Stitch Pattern is a great choice when making hat brims, cowls, ear warmers, or mittens.
There are many different ribbing stitches, including mock cable ribbings, single rib stitch, broken rib stitch knitting pattern, slip stitch ribbing, double rib stitch, twisted rib stitch, and fisherman's rib.
With so many ribbing stitch patterns available, how do you choose the best for your next project? There are a couple of things to keep in mind.
- What is your knitting ability? This pattern is very easy and does not require any new techniques, such as making slip stitches or managing a cable needle.
- Do you need a rib pattern that allows you to see your stitches? (also known as stitch definition?) This one fills this bill.
- How stretchy does your rib need to be? Some rib patterns provide less elasticity than others. This one is very stretchy.
Last Words About the Ridged Rib Stitch Pattern
This is a favorite of mine because of its great stitch definition and stretchy texture. It is perfect for beginners because it is only a four-row repeat, but two of those four rows are made with the garter stitch pattern.
Since it is easy, it is also easy to memorize, so you don't have to knit with a pattern, making it ideal for knitting while binging on your favorite show.
Best of all, it is reversible, so it is also perfect for making a quick, cozy scarf, shawl, or cowl. Two quick projects that come to mind are fingerless gloves or ear warmers. So pull out your needles and some yarn and get started.
Happy Knitting,
Janice


