- Home
- Easy Beginner Knit Projects
- Knit Hand Mitts
Knit Hand Mitts: A Perfect Beginner Project
Knit Hand Mitts by Janice Jones
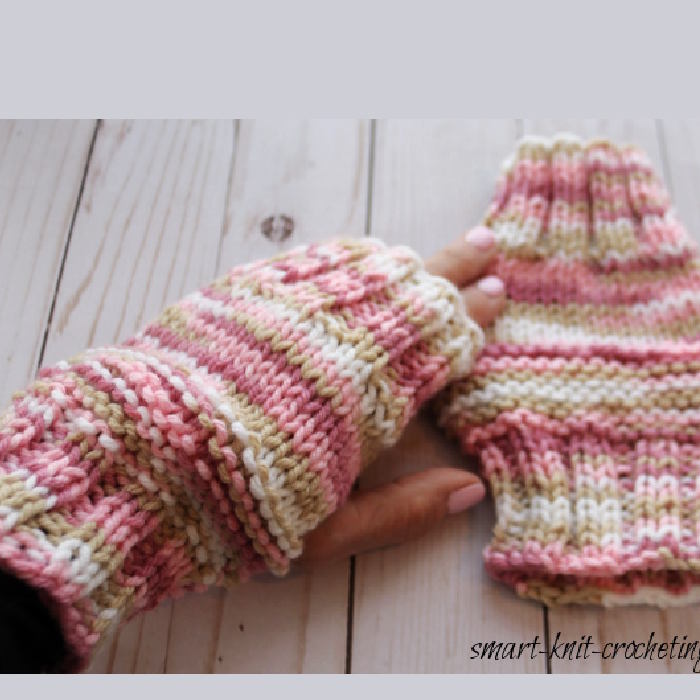
This super easy knit hand mitt pattern is perfect for the beginner and works up fast with minimal effort. Created for a woman’s hand, just a few minor alterations will make them fit a man’s hand as well.
 Pink Variegated Knit Hand Mitts
Only three different stitches are used, including 2 x 2 ribbing, stockinette, and garter stitch. Both right and left-handed mitts are worked identically.
Each one is knitted in a flat rectangular shape and then sewn together, leaving an opening for the thumb.
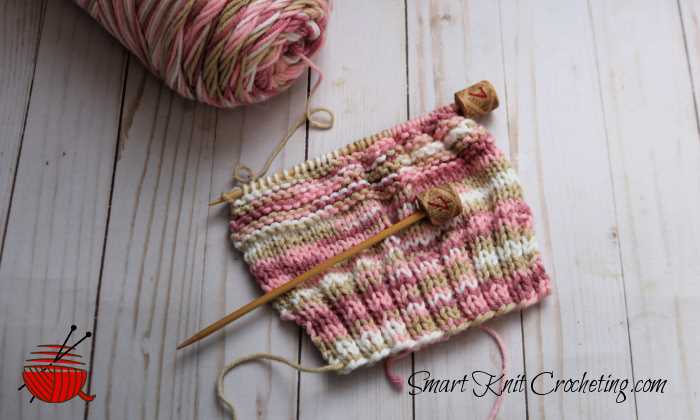
Tip: If you are beginning to knit, using bamboo needles may help you keep stitches on the needle. Since this is a small project, you will want to choose needles that aren’t too long. I’m using double-pointed needles, seven inches long.
You will want to add needle point protectors at one end so that you don’t accidentally lose your stitches, if you must set your knitting down overnight or longer. Alternatively as you can see in the photo below, I've cut a wine cork in half and used 1/2 cork on each needle. The big red "7" is the size of the needle.
 Knit Hand Mitts: Work in Progress
Knit Hand Mitts
Project Skill Level

Basic
Finished Size
Finished Size: 7 inches (add an extra row or two if you prefer them to be longer)
For a larger size mitt, cast on more stitches in multiples of two; increase rows of stockinette stitch to add length to the mitt.
Tools and Materials
- Yarn: I recommend acrylic or a mixture of wool and acrylic; Number 4 medium worsted weight yarn.
- Needles: US 7 (4.5 mm)
- Yarn needle for seaming and weaving in ends
- Scissors
- Rule or tape measure
Gauge
5 stitches = 1 inch in stockinette stitch
Abbreviations
K - knit
P - Purl
CO - Cast on
BO - Bind off
* * - Repeat the instructions between the two asterisks for the number of times indicated in the pattern.
Skills Needed for this Fingerless Mit Pattern
- How to Knit
- How to Purl
- How to cast on stitches
- How to bind off stitches
- How to seam knitting (mattress stitch)
- How to block knit fabric
- How to Weave in Ends
Instructions: Knit Hand Mitts
Instructions: Make 2
CO 36 stitches using the long-tail cast-on method.
TIP: Cast on loosely, so the stitches are a bit stretchy
Rows 1 – 10
Ribbing: *K2, P2, repeat from * to the end of the row.
Make ten rows of this ribbing stitch.
Rows 11 – 24
Garter Stitch: Knit across each row for 14 rows.
Rows 25 - 35
Knit one row, purl one row for 10 rows.
Rows 36-48
2 by 2 Ribbing for 12 rows.
Row 36: *K2, P2, repeat from * to the end of the row.
Repeat for 11 more rows.
Add more rows if desired or reduce the number for smaller hands.
Last Row: Bind off following the K2, P2 pattern. Leave about a 10-inch tail to use for stitching the seam.
Finishing:
Make 2
Using a yarn needle, sew sides from top-down and then from the bottom up, leaving about a 2 ½ inch opening for the thumbs. Weave ends and then cut leftover yarn close to the mitt. I recommend the mattress stitch for sewing seams.
Tip For Seams
Ensure you have correctly lined up your stitches and pin them if necessary using a safety pin or straight pin before beginning to sew.
Happy knitting,
Janice
Pin for Future Reference
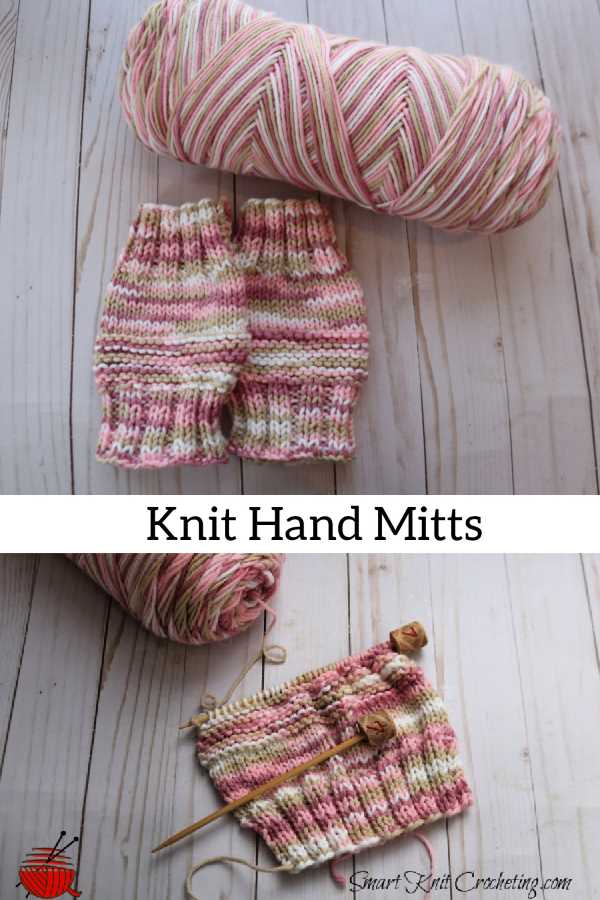
 Knit Hand Mitts: Free Pattern


