- Home
- Crochet Toilet Paper Cover
Crochet Toilet Paper Cover: Free Beginner-Friendly Pattern
By Janice Jones
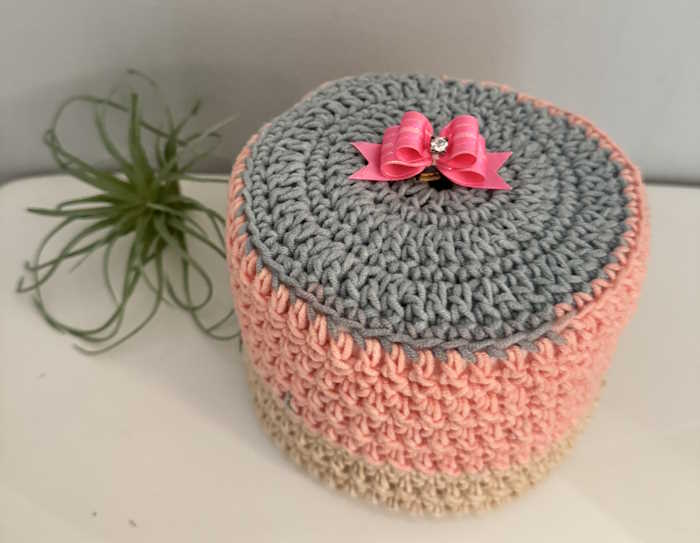
Need a quick project to add color and utility to your bathroom? This beginner-friendly project can be made with leftover yarn and only uses two stitches: Single and Double Crochet Stitches. So check out your yarn stash and choose some cotton yarn to start.

Skills Needed
Project Skill Level

Easy
Materials Used
- 100% Cotton Yarn Worsted Weight, CYC #4 Yarn
- Crochet Hook: 4.5 mm/ US 7
- Scissors
- Tapestry Needle
- Stitch Marker
- Button (Optional) or other top accessory, such as a pompom
Notes
- All instructions are written in US Terms
- Use a stitch marker to mark the beginning of the round.
- Please count stitches at the end of each row to ensure proper stitch count.
Finished Size
Top: 5 inches in diameter (12 cm)
Sides: 4 inches tall (10 cm)
Abbreviations
Sc – single crochet
Dc – double crochet
Ch – Chain
St/sts – Stitch/stitches
Sl St – Slip Stitch
Rnd – Round
Tbl – through back loop only
* * Repeat instruction between two asterisks for the number of times indicated.
 When crocheting through the back loop only, (tbl) insert your hook under the loop farthest from you.
Instructions
Top of the Crochet Toilet Paper Cover
Ch 4 and join with a sl st.
Round One: Ch 3 (counts as one dc st). 11 dc into the center ring. Join with a sl st at the top of the Ch 3. Place a stitch marker to mark the beginning of the round and move after each round to mark the beginning/ending of the round.
Rnd 2: Ch 1. 2 sc into each dc around to the end. Sl st to connect round. (24 single crochet stitches).
Rnd 3: Ch 3. *2 dc in first sc, dc in next sc. Rep from * to end of round and join with a sl st. (36 double crochet stitches)
Rnd 4: Ch 1. Sc in each dc around. Join with a sl st (36 sc stitches).


Rnd 5: Ch 3. *Dc in next 2 sc, 2 dc in next sc, Rep from * to end of round. Join with a sl st. (48 double crochet stitches).
Rnd 6: Ch 1. Sc in each st around and join with a sl st. (48 sc stitches)
Stop and Measure

Stop and measure your cover on a typical toilet paper roll. Add an additional round of single crochet stitches if your top does not line up, otherwise, proceed to round seven.
Sides of the Crochet Toilet Paper Cover

Rnd 7: Ch 3. Dc through back loop (tbl) around and join with a sl st.
Rnd 8: Ch 1. Sc in each st around. Join with a sl st.
Rnd 9: Ch 3. Dc in each st around. Join with a sl st.
Repeat rows 8 and 9 until your reach your desired length. My sides were four inches tall (10 cm). This worked out to be six rows of single crochet and six rows of double crochet stitches.
Weave all ends in at least three different directions to ensure that the project ends don't come loose during use.
Happy Crocheting,
Janice
Crochet Toilet Paper Cover: Pin for Later

About Janice
Hi, I’m Janice, the voice behind Smart-Knit-Crocheting. I love to knit and crochet and even more, I love teaching others what I know.
Though I learned to knit and crochet as a child, I didn’t get serious about these amazing hobbies until I retired. I’m a certified knit and crochet instructor through the Craft Yarn Council and am working on becoming a Master Hand Knitter through The Knitting Guild Association.
I’m currently living with my husband of over 50 years and our 6 Shih Tzu dogs.
I love hearing from you, so please drop me a line and let me know what you’re working on, whether you love knitting or crocheting more, and if you have any questions. Please visit my about me page for more information.
Happy Crocheting


