- Home
- Crochet Hatch Stitch Tutorial
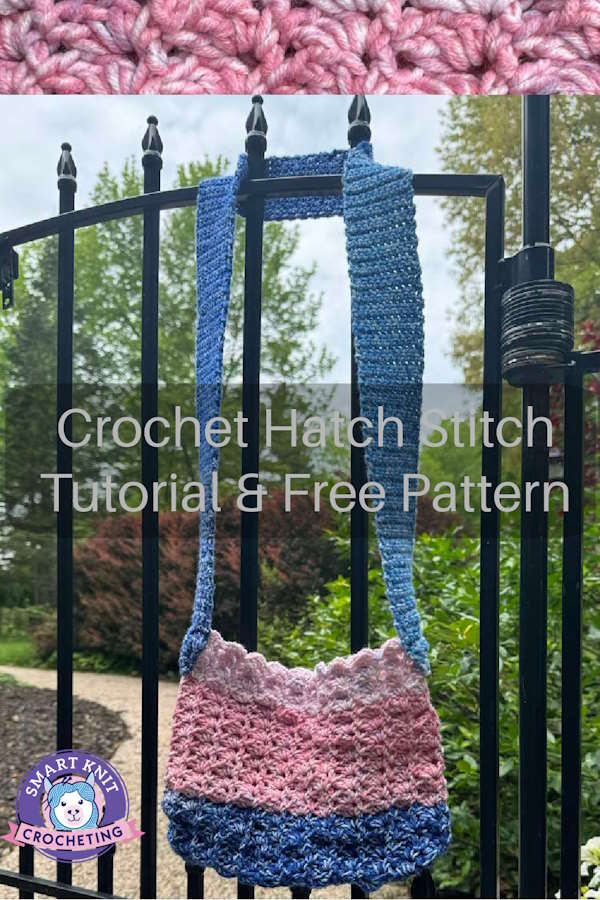
Crochet Hatch Stitch Tutorial and Free Crossbody Bag Pattern
The Crochet Hatch Stitch may look very complicated to a newbie, but it really isn’t.
Once you learn how to make chain stitches, double crochet stitches, and single crochet stitches, you’ll find this is an easy pattern to master, and it has so many possibilities.
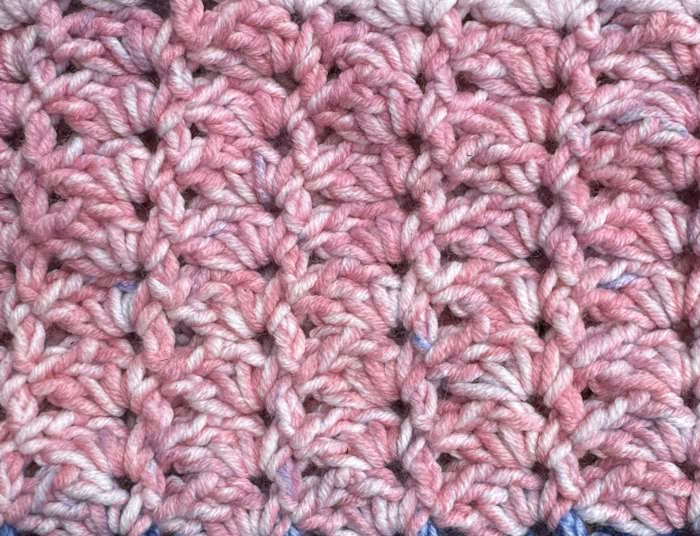
To me, it looks like a shell stitch, but it is a very distinct stitch of its own. In this article, I take you step by step through how to make this pattern and then provide you with a free pattern for you to practice your newfound skills.
But if you are itching for that freebie, go directly to the Crochet Hatch Stitch Crossbody Bag Pattern.
What is the Crochet Hatch Stitch?
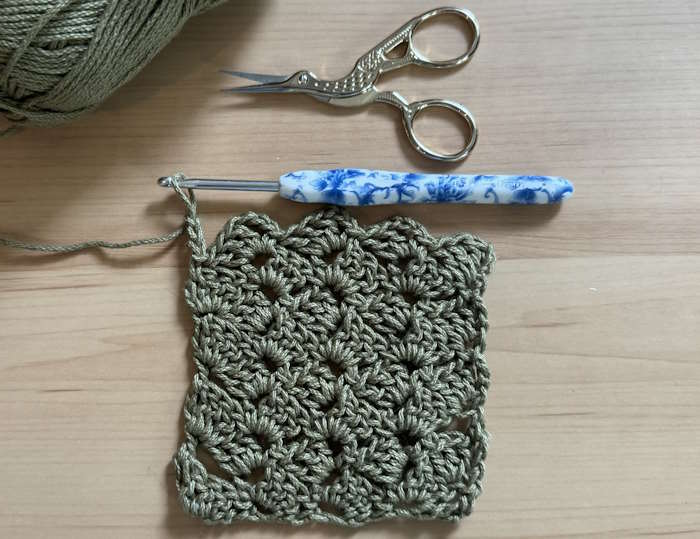
The hatch stitch combines double crochet and chain stitches to create a grid or "hatched" effect. It is an excellent stitch for creating lightweight, breathable fabric, making it ideal for blankets, scarves, and even summer tops.
Your free crochet hatch stitch crossbody bag is ideal for spring and summer. It works up fast once you get the hang of the repeat and the fabric is reversible.
Crochet Hatch Stitch Tutorial
Skill Level

Easy
Skills Needed for this Tutorial
These are skills needed to make the swatch and crossbody bag. Feel free to click to get a quick refresher.
Ch (chain stitch)
DC (Double crochet stitch) Treble crochet in UK Terms
SC (Single Crochet Stitch) Double crochet in UK Terms
Single crochet increases and decreases
Weave in Ends
Abbreviations (US Terms Used Throughout)
ch: Chain
dc: Double Crochet
sc: Single Crochet
Sc2tog: single crochet 2 together (single decrease)
Rep: Repeat
( ) Work all stitches within the open and closed parentheses into the same stitch or space)
Ch st: Chain Stitch
* *: Repeat the instructions within the asterisks
Hatch Stitch (sc, ch 3, 3dc) in same chain or stitch
Crochet Hatch Stitch Tutorial Notes
- All instructions are written in US terms.
- The pattern is worked over a multiple of 4 stitches and a one-row repeat.
Materials Needed for Practice Swatch
- Yarn: Any type of yarn can be used for practicing the hatch stitch. If you are a beginner, a smooth, light-colored yarn might be easier to work with as it helps you see your stitches more clearly. For the swatch tutorial, I used Lion Brand 24/7 Cotton
- Crochet hook: Choose a hook size compatible with your yarn. A bigger hook will make looser stitches, which might be easier to work with as you learn. I used a size US H (5.0 mm) hook
- Scissors
- Yarn needle for weaving in ends
- Stitch Markers (optional)
Swatch Instructions
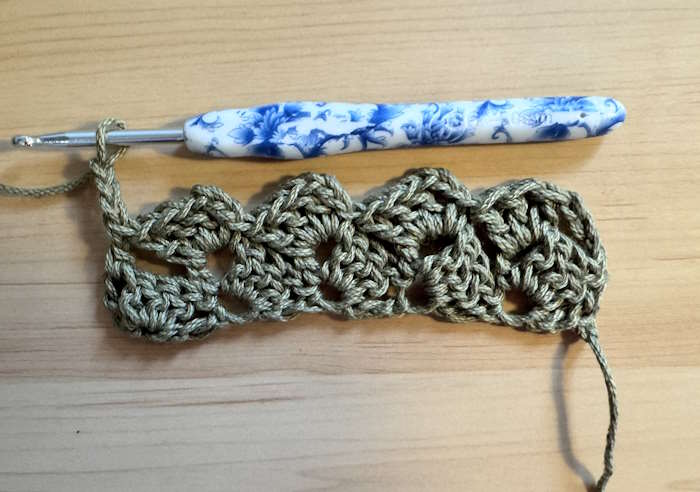
For your practice Swatch, Chain a multiple of 4.
Foundation Row: Make 3 dc in 5th ch from hook, *skip 3 ch sts. Then (1 sc, ch 3, 3 dc) into next ch repeat from * to last 3 ch sts. Skip 2 ch sts. 1 sc into the last chain. Turn.
Pattern Row: Ch 3, Make 3 dc in 1st st, skip the next 3 dc sts. work 1 sc in the first ch-3 space, Ch 3, make three double crochet in same space. * Skip 3 dc (1sc, 3ch, 3dc) into the next 3ch space, repeat from* to the last group, skip 3 dc, and work 1 sc into the last ch 3 space. Turn.
Repeat the Pattern row until you reach your desired length. Bind off and weave in ends.
Pro Tips
- Hook Size: If you want a more open, lacy look, use a larger hook size for the weight of your yarn.
- Blocking: This stitch works up flat but it’s always a good idea to block your work for an even more polished look.
- Using Stitch Markers: If you’re having trouble keeping track of stitches, stitch markers are your friends. They can help mark the beginning or end of rows or where to make your next stitch.
- Tension: Consistent tension is crucial for making even stitches. If you're too tight, the fabric will bunch; too loose, and it may look uneven.
- Count Your Stitches: Keep a correct stitch count throughout. It's easy to lose count when skipping stitches.
Crochet Hatch Stitch Crossbody Bag: FREE Pattern
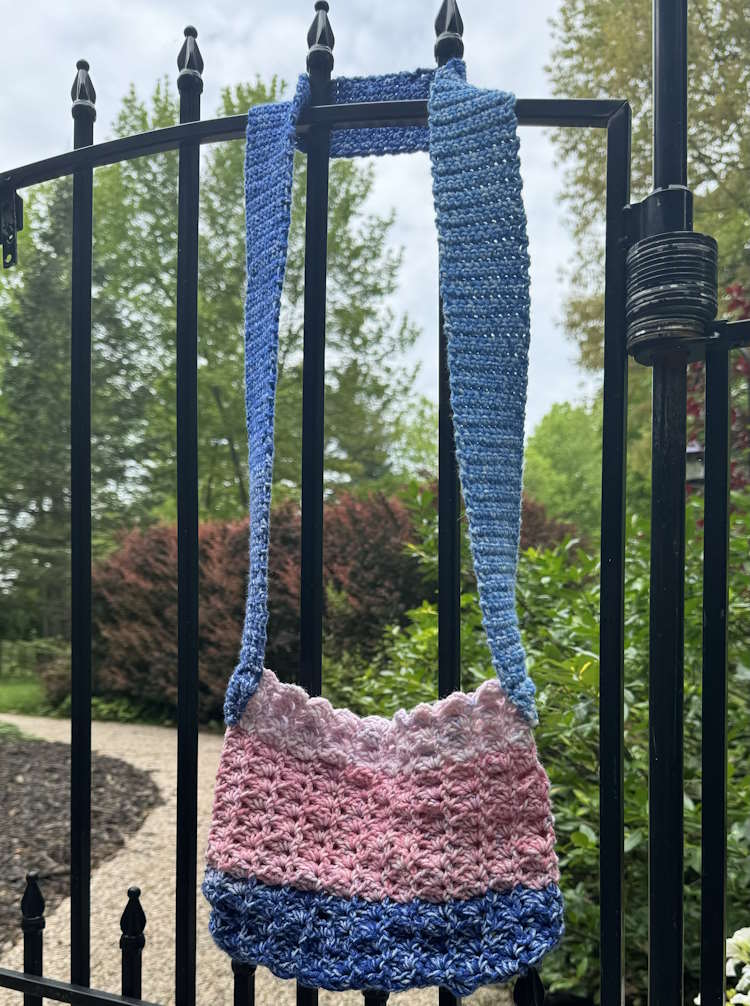
For skills required, skill level and abbreviations, please see above.
Materials
- Lion Brand, MANDALA® OMBRÉ 100% Acrylic, #4 (5.3 oz/150 g) 344 yd/315m in Colorways Pure (20)
- US H (5.0mm) Crochet Hook
- Scissors
- Yarn Needle for weaving in ends
- Stitch Markers (optional)
Instructions for the Main Body of the Bag
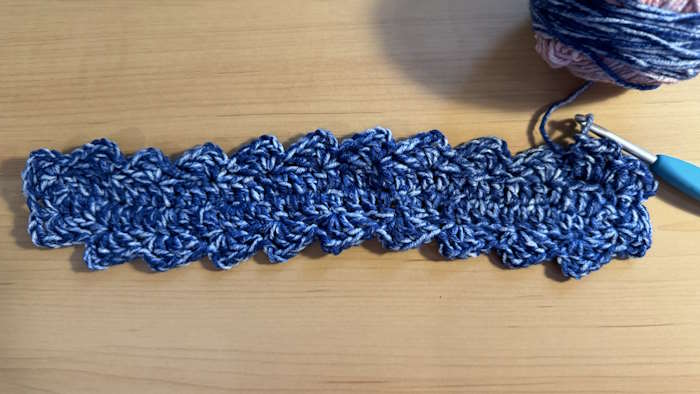
Ch 48.
Row 1: DC in the 3rd chain from the hook. Work one DC in each chain stitch on both sides of the chain and three DC in each corner. This row can be repeated if desired for a wider base.
Row 2: Ch 3, Make 3 dc in 1st st, skip the next 3 dc sts. work 1 sc in the first ch-3 space, Ch 3, make three double crochet in same space. * Skip 3 dc (1sc, 3ch, 3dc) into the next 3ch space, repeat from* to the last group, skip 3 dc, and work 1 sc into the last ch 3 space. Turn.
Repeat row 2 for a total of 16 rows. Fasten off but leave a long tail for sewing the handle.
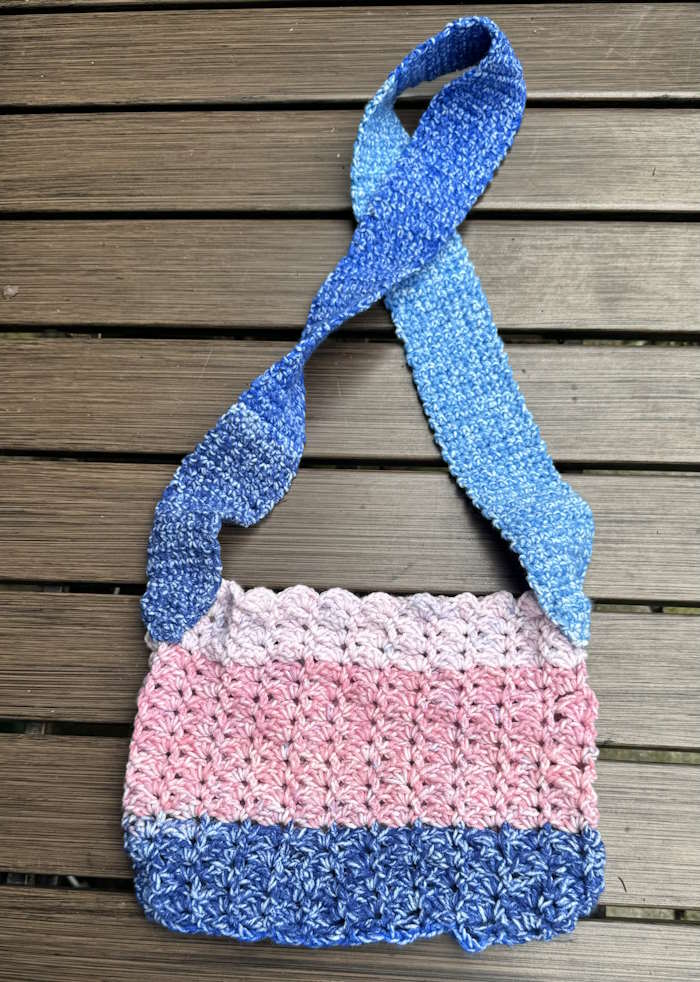
Handle Strap
Ch 2.
Row 1: 3 sc in second ch from hook, Turn. (3 sts.)
Row 2: Ch 1. 2 sc in first st, sc in each st to last st, 2 sc in last st, Turn. (5 sts)
Row 3: Ch 1. Sc in each st to end of row, Turn.
Repeat rows 2 and 3, three more times until you have 11 stitches.
Work even on 11 stitches until the strap measures 39 inches (99 cm).
Decrease row: Ch 1. Skip first st, sc in next sc and in each st to last 2 sts, sc2tog, Turn. (2 decreases made)
Next Row: Ch 1. Sc in each sc across row. Turn.
Repeat last two rows until 3 sts remain.
Last Row: Skip 1st st, sc2tog. Fasten off, leaving a long tail for sewing the crossbody strap to the bag.
Finishing
- Using your yarn needle, sew the strap to the bag. Finish with a decorate button if desired.
- You may want to line your bag with your favorite fabric.
- You can choose to keep the bag open like a market bag or close it by using Velcro strips or a zipper.
- Finally, if you love the Boho look, consider adding a fringe with the leftover yarn.
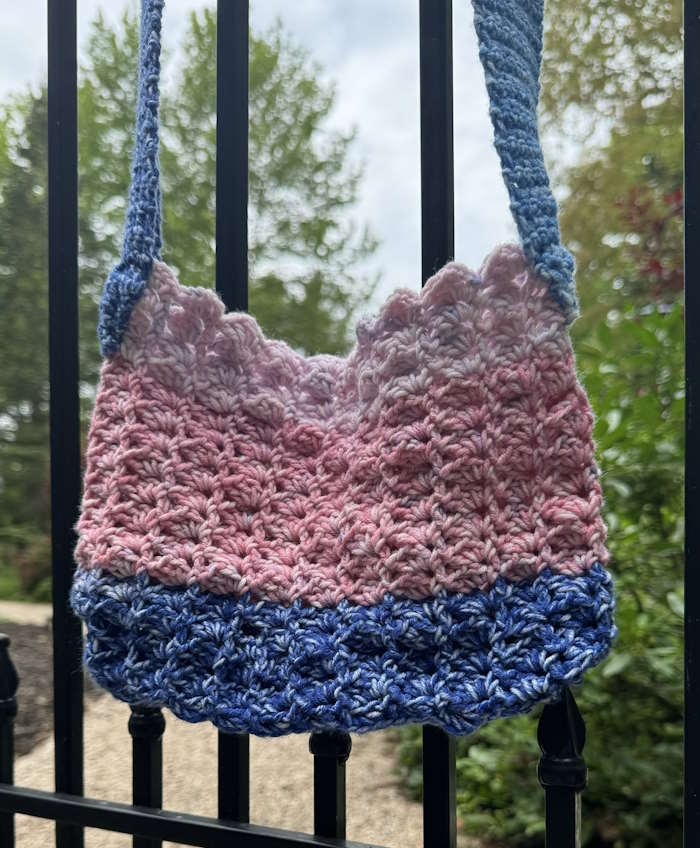
More Project Ideas Using the Hatch Stitch
Scarves and Shawls: The hatch stitch's breathable texture makes it perfect for lightweight, airy scarves or shawls.
Blankets: Combine colors or use a variegated yarn for a visually stunning throw blanket.
Market Bags: Use sturdy cotton yarn to craft durable, reusable market bags.
Garments: The hatch stitch works beautifully for summer tops or breezy cardigans, providing both coverage and ventilation.
A Side Note
I always like to give credit where credit is due. I’d like you to meet my two small assistants for their very valuable aid in making the Crossbody Bag. Their help has confirmed that this is indeed a lovely Mandala Ombré acrylic yarn.

Conclusion
The hatch stitch is a versatile and easy crochet stitch suitable for many projects. Mastering this stitch can give a beginner a great foundation in crochet basics and opens up new possibilities in your crafting endeavors. Happy crocheting, and remember that every stitch brings you closer to becoming a master
Crochet Hatch Stitch Tutorial: Pin for Future Reference
About Janice
Hi, I’m Janice, the voice behind Smart-Knit-Crocheting. I love to knit and crochet and even more, I love teaching others what I know.
Though I learned to knit and crochet as a child, I didn’t get serious about these amazing hobbies until I retired. I’m a certified knit and crochet instructor through the Craft Yarn Council and am working on becoming a Master Hand Knitter through The Knitting Guild Association.
I’m currently living with my husband of over 50 years and our 6 Shih Tzu dogs.
I love hearing from you, so please drop me a line and let me know what you’re working on, whether you love knitting or crocheting more, and if you have any questions. Please visit my about me page for more information.
Happy Crocheting
